Advertisement
Quick Links
All Tapco Tools are made under
one or more of the following U.S. Patents:
3,161,223
4,321,817 4,651,553 4,489,583
4,493,200
4,445,356 4,372,142 4,766,757
3,817,075
4,557,132 4,240,279 4,671,094
3,482,427
4,494,397 3,559,444 5,343,728
5,353,620
5,505,069
Other U.S. & Foreign Pats. Pend.
Operations Manual
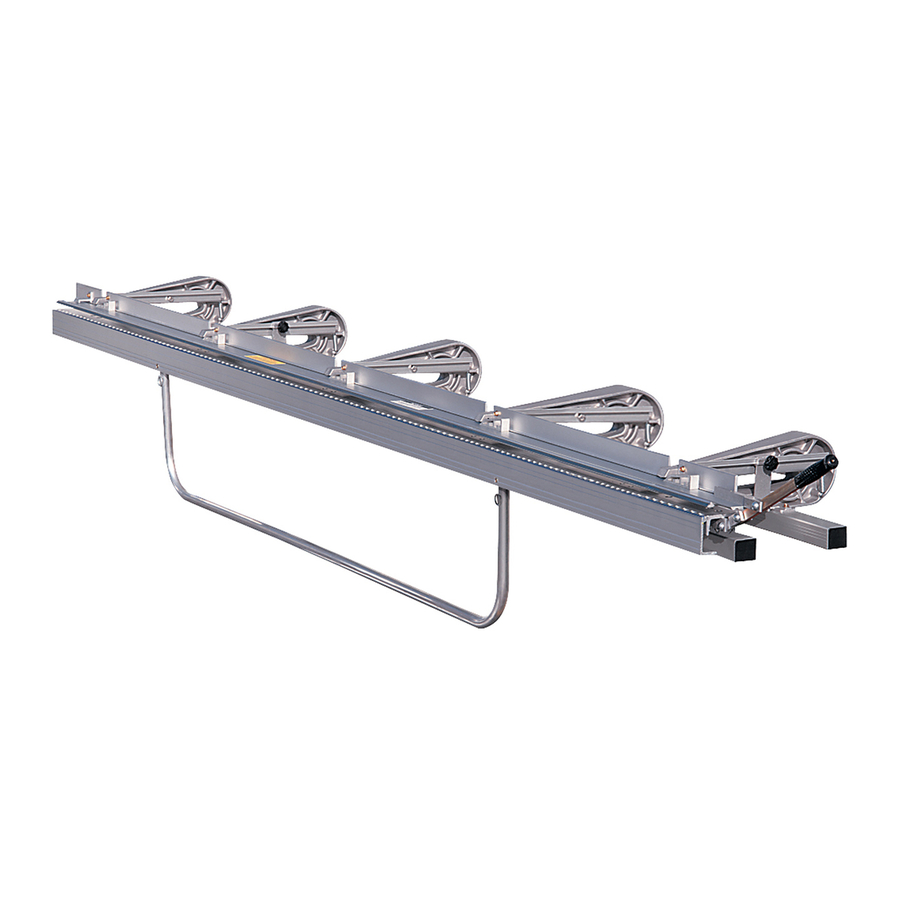
"Windy" SP Port-O-Brake
®
shown with optional
Tapco PRO-Coiler
®
and
Light Duty Folding Legs.
PORT-O-BRAKE
TABLE OF CONTENTS
Introduction ............................. 2
Setup Instructions ................... 3
Parts List ................................ 4
Accessories ............................ 5
Hints for Bending .................... 6
Examples of Common
Trim Shapes ........................... 7
Troubleshooting ...................... 8
Clamping Surface ................... 9
Replacing Stainless Edge .... 10
Replacing Vinyl Strip ............ 10
Replacing Wedges ................11
Replacing Hinges ..................11
Replacing Shoe Castings ..... 12
®
Advertisement

Summary of Contents for Tapco Windy SP PORT-O-BRAKE
-
Page 1: Table Of Contents
Troubleshooting ...... 8 Cleaning Locking and Clamping Surface ....9 Replacing Stainless Edge ..10 Replacing Vinyl Strip .... 10 All Tapco Tools are made under one or more of the following U.S. Patents: Replacing Wedges ....11 3,161,223 4,321,817 4,651,553 4,489,583... -
Page 2: Introduction
INTRODUCTION Congratulations on your purchase of a quality built Tapco Port-O-Brake ® With proper care and maintenance, your Port-O-Brake will provide you with ® many years of excellent service. This booklet will outline in detail the simple steps to properly maintain your... -
Page 3: Setup Instructions
“Windy” SP Port-O-Brake ® SETUP INSTRUCTIONS Attaching the Locking Handle COTTER PIN BEND ONE LEG OF COTTER PIN OUT AFTER PASSING YOKE THROUGH YOKE PIN LOCKING YOKE HANDLE PINS Insert bottom end of Locking Insert Cotter Pins through holes in Remove Locking Handle and Handle into the bottom Yoke on ends of both Yoke Pins. -
Page 4: Accessories
ACCESSORIES FOR YOUR “WINDY” SP PORT-O-BRAKE ® Pro-Coiler ™ The portable coil holder that becomes an integral part of your “Windy” SP Port-O-Brake ® • Keeps the coil off the ground and always in front of you • Helps ensure you get straight cuts all the time •... - Page 5 TRADITIONAL BENDING TECHNIQUES Helpful Hints for Trim Work 5. For some shapes you will be removing the piece and either spinning it front to back or flipping it face up or face down 1. Measure the total length of the particular trim area to be to make the next bend.
-
Page 7: Troubleshooting
TROUBLE SHOOTING MATERIAL SLIPPAGE Material Slippage is caused by the Brake not locking properly or fully along the entire length. To determine the need for Wedge Adjustment: A. Cut paper into sheets approximately 2” x 6”. B. Insert paper into clamping position under each Shoe Casting. C. -
Page 8: Cleaning Locking And Clamping Surface
CLEANING THE LOCKING AND CLAMPING SURFACE Tools needed: clean shop rag, commercial cleaning solvent such as Gum Out or WD-40 , light weight oil ® ® Open Brake Remove Top Yoke Pin Remove Sliding Bar Move Locking Handle to Right. Follow With Brake unlocked remove Cotter Grasp and pull Sliding Bar to the right steps 1, 2, and 3 in reverse order to... - Page 9 REPLACING THE VINYL PROTECTO STRIP Tools needed: drill, #26 drill bit, hammer, slotted screw driver, light oil, pliers or vice grips, center punch, and safety glasses Loosen Vinyl Protecto Strip Close Brake Drill Out “Center Punch” Marks Push Vinyl Strip from one end by tapping Move Locking Handle to left.
-
Page 10: Replacing Wedges
REPLACING THE MOVING HINGE Tools needed: electric drill, small drill bit, hammer, small diameter hard wire or narrow punch, vise grips or pliers, light oil, and safety glasses Loosen Hinge Pin Remove Handle Clean Out Hinge Pin Using small diameter hard wire or nar- Detach Faspin and remove Lifting Before removing Hinge Pin, drill out row punch and hammer, tap out Hinge... - Page 11 Hinge on the Shoe Casting to be re- rails front and back. placed. Remove Pivot Arm Remove Pivot Arms and springs and replace the Shoe Casting. When replac- ing, make sure all fasteners are tight TAPCO PRODUCTS COMPANY © Boral Building Products Inc. Item #11102 T0069-L 9/03...
Need help?
Do you have a question about the Windy SP PORT-O-BRAKE and is the answer not in the manual?
Questions and answers