
Related Manuals for KID MOTORZ BMW R1200RT-P


Summary of Contents for KID MOTORZ BMW R1200RT-P
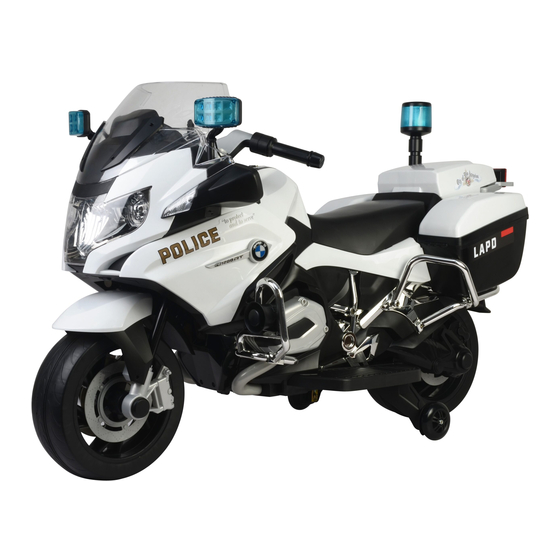
- Page 1 MODEL NO. 1800 1803 1801 1804 1802 1805 BATTERY OPERATED MOTORCYCLE Please read entire manual before starting assembly. Keep this manual along with your purchase receipt for future reference. Contents, colors and decorations may vary from those shown.
- Page 2 BATTERY OPERATED MOTORCYCLE...
- Page 3 (The warranty and customer service contact in this manual only apply in the United States and Canada) All NPL vehicles are covered by a ninety day warranty against defects in materials or workmanship for ninety days from the date of purchase from an authorized retailer.
- Page 4 Do not exceed the maximum weight capacity of 66 lbs. (30 kg). ● If you have any questions about your KID MOTORZ vehicle, please call our service lines at 1-909-643-9359 from 9 AM to 5 PM (PST ) Monday through Friday. Trained customer service representatives are available to take your call.
- Page 5 Warning To Prevent Serious Injuries Safe Driving Rules ●This product is intended for use by children ●ADULT SUPERVISION REQUIRED. MAKE SURE ages 3 and up, and is not intended for children CHILDREN KNOW AND FOLLOW THESE RULES under 3 years of age due to lack of ability to FOR SAFE DRIVING.
-
Page 6: Battery Warning
Battery Warning Your KID MOTORZ 12 volt battery is equipped with a built-in thermal fuse. The thermal fuse is a self-resetting safety device which automatically trips and shuts down operation of the vehicle if the vehicle is overloaded or the driving conditions too severe. -
Page 7: Battery Charging
Battery Charging charging port. Signal Signal Charger plug Charger plug Charge the Battery The rst charge will take about 12 hours. 1. The charging port is located under the seat at the right side of the motorcycle. 2. Insert the charger plug into the charging port. 3. -
Page 8: Battery Care And Disposal
Battery Care and Disposal Care Disposal • If a battery leak develops, avoid contact with the • This ride on contains is a sealed lead-acid battery. It leaking acid and place the damaged battery in a must be recycled or disposed of it in an environmentally plastics sealed bag. -
Page 9: Parts List
Parts List 1. Car Body 8. Left and right front railings 16. Screw 3.5×15TAB(D=8) 4PCS 9. Left and right rear railings 17. Screw 4×15BAB 4PCS 2. Left and right Left 10. Motorcycle tail plate 18. Screw 4×12BAB foot treadles 2PCS Right 3. - Page 10 Assembly Children can be harmed by small parts, sharp edges and sharp points in the vehicles unassembled state, or by electrical items. Care should be taken in unpacking and assembling the vehicle. Children should not handle parts, including the battery, or help in the assembly of the vehicle.
- Page 11 Assembly Insert the left and right head warning lights (Part 7) into the designated positions above the motocycle head (part 6) and then plug the leads into the jack. 19 19 19 19 Motorcycle head outlet hole Mount the motocycle head (part 6). Plug in accordingly in size for the plugs from head and body hole of the car.
- Page 12 Assembly Battery red-plug (+) Seat Red cable Black plug Battery cable black-plug (-) cable 6A over-current protection Black cable Control board First, unscrew the seat screws to open the seat; then, unscrew the screw of the control panel box and open control panel box.
- Page 13 Assembly 20 20 20 20 Press the switch button Firstly, mount left and right tool boxes (part 14) to the designated positions at left and right ends at the back. As shown in Picture , open the tail box covers of the left and right tool boxes, and use 2 screws (part 20) to fix the left and right tool boxes at each sides as shown in Picture 17 17 17 17...
-
Page 14: Operating Your Vehicle
Operating Your Vehicle 1. Key Switch • Turn clockwise to power on the car • Engine starting and rapid acceleration sound effect will be heard. • Two panel lights will turn on and the voltmeter in the middle will show the voltage of battery. 2. - Page 15 Operating Your Vehicle Panel light Voltmeter KM/H KM/H Key switch Siren and light button Horn button Combined alarm Music button Music button (Three songs) (Three songs) Three-gear forwarding speed-changing Forward LED switch indicator Forward / backward Backward LED transfer switch (middle indicator position for stop) Front lamp...
-
Page 16: Troubleshooting
Troubleshooting Operation of overcurrent protector 1) The overcurrent protector is installed under the holder of tail lamp (as shown in the figure). 2) When the car is overloaded, the overcurrent protector can automatically shut off the circuit (protection circuit); after circuit fault has been solved, the overcurrent protector can automatically connect the circuit. 3) When the car cannot move even if the storage battery has sufficient electricity, please check whether circuits in the car are open or shorting-out. - Page 17 Troubleshooting IMPORTANT! If you experience a problem with your vehicle, rst check the Problems and Solutions Guide below. If you still experience a problem, please contact our Service Center, at 1-909-643-9359 from 9 AM to 5 PM (PST) Monday through Friday. Or email us customerservice@funcreation.net or visit us www.funcreation.net for assistance and information from our trained technical staff.
- Page 18 Average battery life is 1 to 3 years depending on vehicle use and use conditions. Replace the battery with a new KID MOTORZ 12 volt rechargeable battery. Do not substitute parts. Please contact our Service Center to get a replacement battery.
- Page 19 Troubleshooting Check all wires around the motors and all connectors to make sure they are tight. Contact our Service Center for diagnosis and repair. Check all wires around the motors and all connectors to make sure they are tight. Contact our Service Center for diagnosis and repair. Contact our Service Center for diagnosis and repair.
Need help?
Do you have a question about the BMW R1200RT-P and is the answer not in the manual?
Questions and answers