Table of Contents
Advertisement
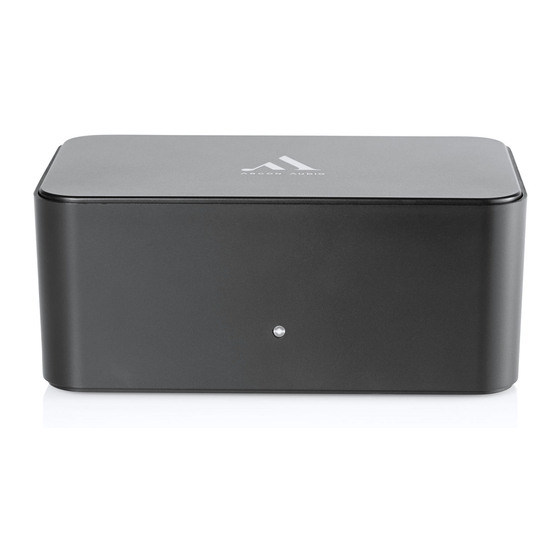
B T 3
Dear Customer,
Quality has always been our driving force and founding Argon Audio is a natural
extension of this philosophy.
We have 20 years' experience in creating and specifying high quality products,
manufacturing them and selling them on to end users with Value-for-Money as the
primary aim. And Argon Audio is a brand fully compliant with these values.
Design, and engineering is done in Denmark and manufacturing takes place in the Far
East, where quality vendors are highly competitive - and as a result supply outstanding
Value-for-Money products.
- To the delight of both ourselves and our customers!
Congratulations with your BT3, may it bring years of enjoyment.
1
w w w . a r g o n a u d i o . c o m
Advertisement
Table of Contents

Related Manuals for argon audio BT3


Summary of Contents for argon audio BT3
- Page 1 B T 3 Dear Customer, Quality has always been our driving force and founding Argon Audio is a natural extension of this philosophy. We have 20 years’ experience in creating and specifying high quality products, manufacturing them and selling them on to end users with Value-for-Money as the primary aim.
- Page 2 1.2 Safety Instructions page 3 2 Usage, controls and connections page 4 2.1 Overview of the Back panel page 4-6 2.2 Using BT3 as D/A converter page 6 3 Specifications page 6 1.1 Contents of the box; o ARGON AUDIO BT3...
- Page 3 B T 3 1.2 Safety Instructions • Unplug this product from the wall outlet before cleaning. Do not use this product near water or moisture. Do not spill liquids on the product. Clean only with a dry cloth. • Place the unit on a solid surface. •...
- Page 4 C. High End D/A converter Start up and main usage: Connect the power supply to the Argon Audio BT3 and connect the power supply to a power outlet. Power Off: short press power button, Power On: short press power button.
- Page 5 Go to Bluetooth setting on your Mobile phone, make sure Bluetooth is activated and select “pair new device” Press and hold PAIR (2) button on BT3 for 3 sec until the blue LED light on the front of BT3 starts blinking. ...
- Page 6 Connect the playback music source device to OPTICAL IN (Tx) (5), with an optical to optical cable. Connect the BT3 to your amplifier with a RCA cable to Audio Out (Rx) (6) on BT3. Playback will start. Blue LED will keep flashing for 90 seconds and then it will turn off.
Need help?
Do you have a question about the BT3 and is the answer not in the manual?
Questions and answers