Table of Contents
Advertisement
Brought to You by Augusta Flint
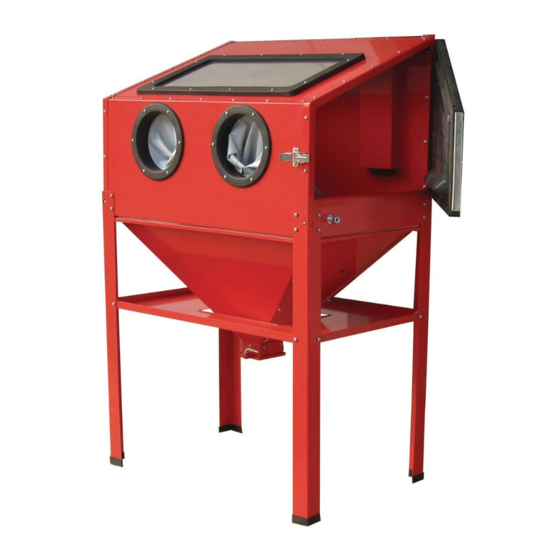
STEEL BLASTER CABINET
FLOOR MODEL
39170
Assembly & OPERATING INSTRUCTIONS
®
3491 Mission Oaks Blvd., Camarillo, CA 93011
Visit our Web Site at www.harborfreight.com
®
Copyright © 1998 by Harbor Freight Tools
. All rights reserved. No portion of this manual or
any artwork contained herein may be reproduced in any shape or form without the express
written consent of Harbor Freight Tools.
For technical questions and replacement parts please call 1-800-444-3353.
Advertisement
Table of Contents

Related Manuals for Harbor Freight Tools CENTRAL PNEUMATIC 39170


Summary of Contents for Harbor Freight Tools CENTRAL PNEUMATIC 39170
- Page 1 3491 Mission Oaks Blvd., Camarillo, CA 93011 Visit our Web Site at www.harborfreight.com ® Copyright © 1998 by Harbor Freight Tools . All rights reserved. No portion of this manual or any artwork contained herein may be reproduced in any shape or form without the express written consent of Harbor Freight Tools.
- Page 2 Brought to You by Augusta Flint THANK YOU for choosing a HARBOR FREIGHT TOOLS product. For future reference, please complete the owner’s record below: Model Purchase Date SAVE THE RECEIPT, WARRANTY AND THESE INSTRUCTIONS. It is important that you read the entire manual to become familiar with the unit BEFORE you begin assembly.
- Page 3 Brought to You by Augusta Flint Work Area TO AVOID RISK OF PERSONAL INJURY, EQUIPMENT DAMAGE, FIRE AND SHOCK, MAKE SURE YOUR WORK AREA IS: Free of damp, wet or rainy conditions. Free of flammable gasses or liquids. Free of children (never let them handle tools or machinery). Well-lit.
- Page 4 AWG rating. Every cord must meet the AWG rating. Use the chart below to determine what AWG rating is required for your situation. Cord length is rated in feet. Harbor Freight Tools can supply UL listed and outdoor rated cords in multiple AWG ratings if needed.
- Page 5 Brought to You by Augusta Flint Attaching the Fluorescent Light Make certain power is off and Blast Cabinet is unplugged prior to any installation. See main Assembly Diagram (page 8) and Light Assembly Diagram for attaching Light. Step 1) Connect the Clamps (47) to the Back Board of the Cabinet. Insert the Fluorescent Light into the clamps.
- Page 6 Brought to You by Augusta Flint Close and latch the door at all times prior to operating the cabinet. Clean up all spills; sand particles are very slippery. When using your Blasting Cabinet, a 5 HP compressor is recommended. A fine grade of abrasive is recommended to prevent clogging.
- Page 7 Brought to You by Augusta Flint Replacing Nozzles Note: When replacing a Nozzle (5A), always make sure the Air Jet (8) in place is com- patible with the desired Nozzle. The smaller of the two Air Jets should be used with the two smaller Nozzles (3/16” and 13/64”).
- Page 8 Brought to You by Augusta Flint Unpacking UNPACK AND CHECK CONTENTS When unpacking your Steel Cabinet Blaster, check to make sure the following parts are included. If any parts are missing or broken, please call HARBOR FREIGHT TOOLS at 1-800-444-3353. Parts List Part # Description...
- Page 9 Brought to You by Augusta Flint Parts Diagram-Floor Blast Cabinet 39170 #39170 Page 9...
- Page 10 Brought to You by Augusta Flint Gun Parts List Part # Description Quantity Part # Description Quantity Body Valve Stem Suction Head Seal Ring Trigger Clamp Ring Gasket Spring Nozzle Screw Seal Ring Rubber Plate Spike Air jet Screw Valve Base Gun-Assembly Diagram - Part numbers shown below have an A suffix (example: 1A) 12 15...
Need help?
Do you have a question about the CENTRAL PNEUMATIC 39170 and is the answer not in the manual?
Questions and answers