Advertisement
Advertisement
Table of Contents

Related Manuals for Vax ONE PWR CORDLESS GLIDE Series


Summary of Contents for Vax ONE PWR CORDLESS GLIDE Series
- Page 1 USER GUIDE CLHF-GLKS CLHF-GLBS...
-
Page 2: Safety Guide
• Don’t leave the charger plugged in when unattended. DO’S • Don’t use the machine if it is faulty • Only VAX ONEPWR batteries or has been dropped, damaged or (BV15020/BV15030/BV25040) and left outdoors. charger (BV05100UK) should be •... - Page 3 Children shall not BATTERY SAFETY PRECAUTIONS play with the machine. Cleaning and • Replace battery with VAX user maintenance shall not be made ONEPWR battery only. Use of by children without supervision. another battery may present a risk •...
-
Page 4: Warranty
Please recycle where facilities exist. Check with your Local Authority or retailer for recycling advice. © 2019 VAX Limited. All rights reserved. The VAX trade mark and VAX lozenge are the property of Techtronic Floor Care Technology Ltd and are registered in the EU and may be pending or registered in other countries. -
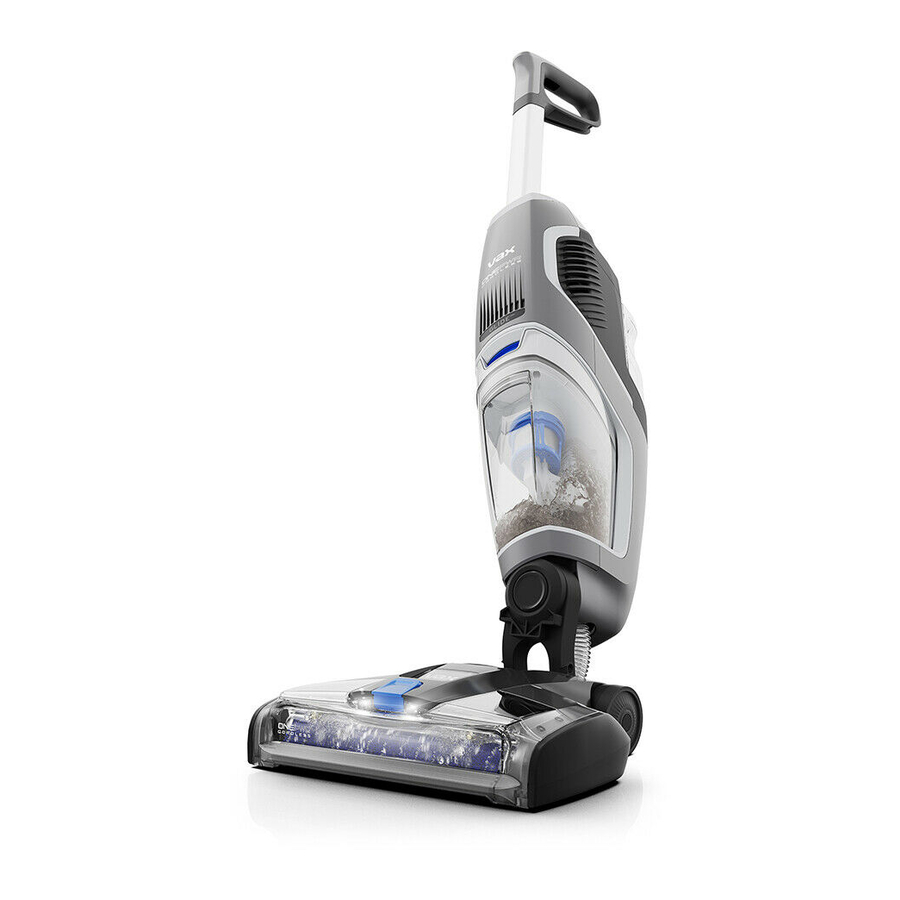
Page 5: Getting To Know Your Machine
Battery dock Battery cover Water/Solution tank ONEPWR Battery* ONEPWR Charger* 250ml Multi-floor Solution TECHNICAL SPECIFICATION VAX ONEPWR Glide Weight (without battery pack) 4.9kg Water/Solution Tank capacity 0.64L Dirty Water Tank capacity 0.29L Runtime and charge time dependent on battery pack used. -
Page 6: Getting Started
CHARGING THE BATTERY THIS MACHINE IS ONLY TO BE USED WITH VAX ONEPWR BATTERIES AND CHARGER. PLEASE READ THE SAFETY GUIDE BEFORE USE. NOTE: Before first use, ensure the battery is fully charged. Failure to fully charge the battery before first use may result in poor battery performance. - Page 7 Always finish on a dry stroke (no trigger pressed). • For heavily soiled areas, it may be necessary to repeat the cleaning process. • Only use VAX ONEPWR Multi-floor solution. Using other solutions may cause excess foaming and will invalidate your guarantee.
- Page 8 GETTING STARTED support.vax.co.uk FILLING THE WATER / SOLUTION TANK IMPORTANT: Do not leave solution stored in the tanks between uses. NOTE: When unpacking the machine, the water/solution tank cap will be attached to the side of the tank. Before first use, and after water/solution has been added, ensure that the cap is screwed onto the water/solution tank before refitting onto the machine.
-
Page 9: Operation
GETTING STARTED support.vax.co.uk OPERATION IMPORTANT: Your dirty water tank is fitted with a float. When the dirty water tank is full, or the floorhead is not in contact with the floor, the float will shut off the suction on the machine. You will be able to hear if this has happened as the motor noise on the machine will increase. -
Page 10: Cleaning And Maintenance
CLEANING & MAINTENANCE support.vax.co.uk ALWAYS SWITCH OFF THE MACHINE AND REMOVE THE BATTERY BEFORE CARRYING OUT ANY MAINTENANCE OR TROUBLESHOOTING. EMPTYING THE DIRTY WATER TANK IMPORTANT: Empty and rinse out the water/solution tank and dirty water tank and leave to air dry before refitting. -
Page 11: Cleaning The Filter
CLEANING & MAINTENANCE support.vax.co.uk CLEANING THE FILTER IMPORTANT: After every use wash the filter with warm water (40°C max) and leave for 24 hours or until fully dry before refitting onto the machine. For best cleaning results filters should be replaced every 6 months (depending on the level of use). - Page 12 CLEANING & MAINTENANCE support.vax.co.uk MACHINE RINSE AND BRUSHROLL QUICK CLEAN IMPORTANT: We recommend rinsing the machine and quick cleaning the brushroll after every use. SOLUTION LARGE AREA WATER SOLUTION WATER SMALL AREA Fill the tank up with warm water Refit the tank into the machine.
- Page 13 CLEANING & MAINTENANCE support.vax.co.uk REMOVING AND ADVANCED CLEANING OF THE BRUSHROLL IMPORTANT: Make sure both the brushroll and brushroll cover are fitted correctly. If fitted incorrectly this may cause poor water pick up. For best cleaning results, advanced cleaning of the brushroll should be done every 5-6 uses.
- Page 14 SAFETY GUIDE support.vax.co.uk REFITTING THE BRUSHROLL To refit the brushroll, slide the right Hook the brushroll cover onto the tabs on the base and close until it side into the machine and then push clicks into place. the left side in until it clicks.
-
Page 15: Troubleshooting
TROUBLESHOOTING support.vax.co.uk THERE IS AN ACCESSORY MISSING Check the contents on the back of the box. WHY DOES THE MACHINE HAVE NO POWER? • The battery is not fitted correctly. See ASSEMBLY page 7. • The battery has no charge. See CHARGING THE BATTERY page 6.
Need help?
Do you have a question about the ONE PWR CORDLESS GLIDE Series and is the answer not in the manual?
Questions and answers