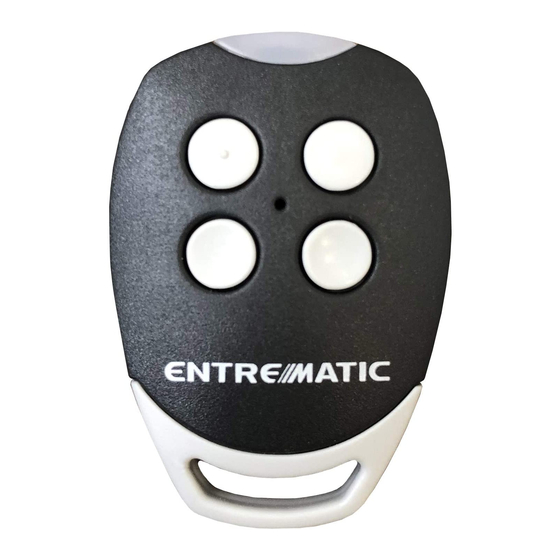
Advertisement
Coding of a remote controls DITEC GOL4 (white LED) et GOL4c
Ditec remote controls GOL4 and GOL4C are not compatible with each other:
Coding based on a remote already in use:
1) Simultaneously press buttons CH1 and CH2 of a new remote control and hold
for 5 seconds. The red LED turns on.
2) Within 10 seconds, take GOL4C or BIXLS2 (old model) remote already in use.
Hold one button and put the remote controls together as showed on the pictude
below (The front of the old remote should touch the space between the buttons
of the new one.).
3) The LED of the new remote control flashed 3 times as a sign of a successful
operation.
Manual
DITEC: GOL4 et GOL4C
(red LED):
www.ChronoRemoteControl.com
Advertisement
Table of Contents

Summary of Contents for DITEC GOL4
- Page 1 Coding of a remote controls DITEC GOL4 (white LED) et GOL4c (red LED): Ditec remote controls GOL4 and GOL4C are not compatible with each other: Coding based on a remote already in use: 1) Simultaneously press buttons CH1 and CH2 of a new remote control and hold for 5 seconds.
- Page 2 Registration of a code on a GOL4C remote (equivalent to coding using the dip- switches of the old BIXLS2 model): 1) Simultaneously press buttons CH1 and CH2 of a new remote control and hold for 5 seconds. The red LED turns on. 2) Within 10 seconds, copy the code made of 10 numbers using the CH1 button as 0 (OFF) and CH2 button as 1 (ON).
- Page 3 Registration of remote controls using BIXR1/ BIXR2 radio receiver : 1) Press the PRG button on the BIX receiver. A “SIG” LED turns on. The receiver is in a “learning mode”. 2) Press one of the channel buttons on your remote control. The LED flashes. 3) Repeat the operation for each remote control (100 max).


Need help?
Do you have a question about the GOL4 and is the answer not in the manual?
Questions and answers