Advertisement
Advertisement
Table of Contents

Related Manuals for Bissell CLEANVIEW POWERBRUSH 37E3G


Summary of Contents for Bissell CLEANVIEW POWERBRUSH 37E3G
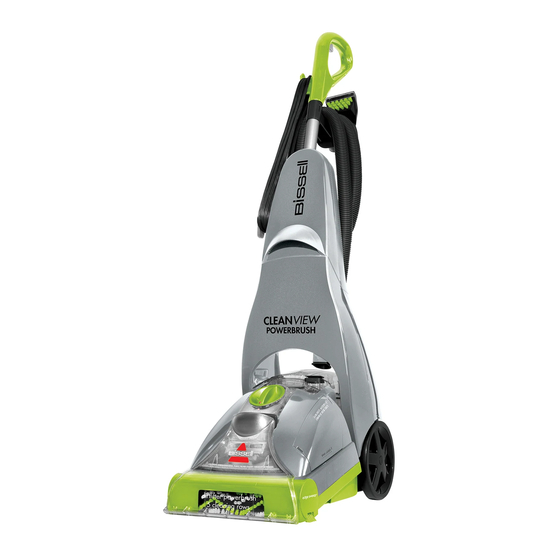
- Page 1 CLEANVIEW POWERBRUSH® USER GUIDE 37E3G...
-
Page 2: Important Safety Instructions
» Do not pick up toxic material (chlorine bleach, ammonia, drain » Do not immerse. Use only on surfaces moistened cleaner, etc.). by the cleaning process. Use only BISSELL® » Do not use appliance in an enclosed space filled with vapours given off by oil-based paint, paint thinner, some moth-proofing cleaning products intended for use with this substances, flammable dust, or other explosive or toxic vapours. - Page 3 Consumer Care... . . 16 My great-grandfather invented the floor sweeper in 1876. Today, BISSELL is a global leader in the design, manufacture, and service of high quality homecare products like your BISSELL carpet cleaner.
-
Page 4: Product View
10 EdgeSweep™ Brushes Cleaning Formula WARNING Keep plenty of genuine BISSELL® formula on hand so you can clean and protect whenever it fits your schedule. Always use genuine BISSELL cleaning To reduce the risk of fi re and electric shock due to in- formulas. - Page 5 5. Wrap flex hose around hose rack and secure it into notched out holder as shown. 6. Keep flex hose locked in place with hose secure latch. Notch Hose Secure Latch www.BISSELL.com.au...
-
Page 6: Special Features
Operation s WARNING Special features To reduce the risk of fi re, use only BISSELL® cleaning formula DirtLifter™ Powerbrush for full size machines in your deep cleaner. Use of cleaning The DirtLifter PowerBrush is designed to formulas that contain lemon or pine oil may damage this enhance cleaning performance. -
Page 7: Before You Clean
Remove lid, turn condition. over and locate built in measuring cup. 3. Fill with BISSELL formula to the indicated fill line on the built in measuring cup and pour into mouth of the bladder. -
Page 8: Carpet Cleaning
3. While pressing the spray trigger, make one slow forward wet pass and another back. Let the BISSELL® cleaning formula and DirtLifter PowerBrush do the work for you. Handle Release Power Switch Caution: Do not overwet. -
Page 9: Operation
30 seconds. After use, the HydroRinse tool can be clipped to the hose in between use. 12. Before wrapping hose onto tool rack, lift end of hose and stretch out to ensure all water is cleared from hose. www.BISSELL.com.au... - Page 10 17. Wipe diverter assembly with a soft cloth and replace back on machine. Replace nozzle. 18. Return ReadyTools dial to FLOOR CLEANING setting. » To clean with 2-in-1 Crevice Tool, slide brushes forward to clean stain, slide back to suction. www.BISSELL.com.au...
-
Page 11: Hard Floor Cleaning
9. When finished, remove hard floor tool, rinse and let dry before storing. Refer to the Maintenance and Care section on page 12 for machine clean up and storage instructions. www.BISSELL.com.au... -
Page 12: Maintenance And Care
Put the unit away in a closet or basement for the next use. Store cleaner in a protected, dry area. Since this product uses water, it must not be stored where there is a danger of freezing. Freezing will damage internal components and void the guarantee. www.BISSELL.com.au... - Page 13 11. Reattach red belt cover and screw. NOTE: Do not over tighten screws. 12. Reattach belt access door. If you have any questions or are having trouble removing, replacing or reinstalling your brush belt or brush, please call BISSELL® Consumer Care. www.BISSELL.com.au...
- Page 14 11. Reattach red belt cover and screw. NOTE: Do not over tighten screws. 12. Reattach belt access door. If you have any questions or are having trouble removing, replacing or reinstalling your pump belt, please call BISSELL® Consumer Care. www.BISSELL.com.au...
-
Page 15: Troubleshooting
Operation section. The lint screen may be clogged. Clean out lint screen. Refer to page 8. Other maintenance or service not included in the manual should be performed by an authorized service representative. Thank you for selecting a BISSELL® product. www.BISSELL.com.au... -
Page 16: Consumer Care
Any personal data will be handled pursuant to BISSELL’s Privacy Policy, which can be found at www.BISSELL.eu. Consumer Care If your BISSELL® product should require service or to claim under our limited guarantee, please contact us as follows: Website and Email: Write: www.BISSELL.com.au...
Need help?
Do you have a question about the CLEANVIEW POWERBRUSH 37E3G and is the answer not in the manual?
Questions and answers