Advertisement
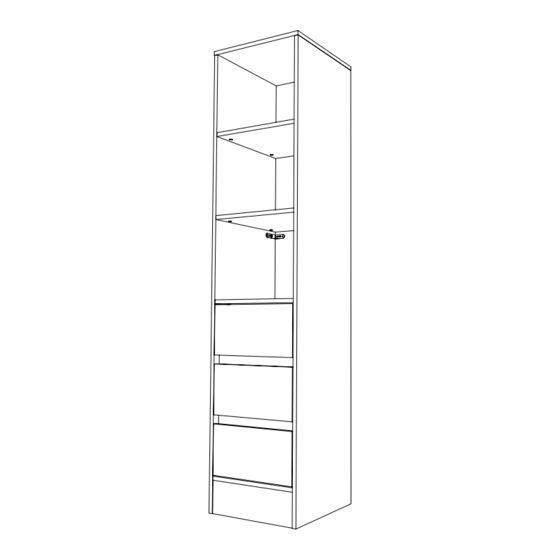
TOWER UNIT
3 DRAWERS
(450 & 600MM WIDE)
Assembly Instructions
CONTENTS:
1x Top panel
1x Side panel (left)
1x Side panel (right)
4x Shelves
1x Plinth panel
6x Soft close drawer runners
(3x left, 3x right)
2x Drawer infill panels
2x Metal infill strips
3x Drawer sides (left)
3x Drawer sides (right)
3x Drawer bases
3x Drawer fronts
3x Drawer backs
RECOMMENDED:
• Tools:
Pozidrive screwdriver
• Two person build
We recommend you use the Wall Mounting
Brackets provided to fix the Tower Unit to a wall
(where possible). This will prevent the unit being
pulled over. Use suitable wall fixings.
Page 1 of 5
TOWER UNIT PACK
22x
20x
2x
Cams
Dowels
Wall
mounting
brackets
DRAWER PACK
18x
6x
6x
Euro Screws
Cams
Dowels
Wooden dowels
*A drop of glue needs to be added into all holes the
wooden dowels are placed into (items 4 & 9).
20x
2x
Wooden
Glue*
dowels
9
24x
V1
UNB_TUDRAWER_INSTR_01.19
Advertisement
Table of Contents

Related Manuals for Howdens TOWER UNIT 3 DRAWERS


Summary of Contents for Howdens TOWER UNIT 3 DRAWERS
- Page 1 TOWER UNIT 3 DRAWERS (450 & 600MM WIDE) Assembly Instructions CONTENTS: TOWER UNIT PACK 1x Top panel 1x Side panel (left) 1x Side panel (right) 4x Shelves Cams Dowels Wall Wooden Glue* mounting dowels 1x Plinth panel brackets 6x Soft close drawer runners (3x left, 3x right) DRAWER PACK 2x Drawer infill panels...
- Page 2 Note: B panel shown Lay panels (B&C) on a flat surface. Fit cams & dowels to both panels. Place the cams in the holes. (Apply to all shelves). Fix through these holes highlighted Insert the screws into the holes shown on both sides (B & C). Page 2 of 5 UNB_TUDRAWER_INSTR_01.19...
- Page 3 Slot infill (G) onto the sticky side of the tape on the drawer infill strip (H). 1- Insert the cams into both infill panels (G). On the metal strip (H) remove the plastic backing from the double-sided tape then stick the 2 - Attach drawer infill panels onto the side panel (C) and tighten metal strip to the drawer infill (G).
- Page 4 Making the drawers Insert a drop of glue into all x6 holes in item A. (Repeat on all drawer sides). (Repeat on all drawer fronts). Drawer side Drawer front Drawer base Drawer base Drawer back Drawer back Drawer side 1 – Lay drawer side (I) on a flat surface, insert the base (K) into the 2 –...
- Page 5 Drawer shown Locking button from underneath. Pull the sliding part of the Turn to lower drawers out first and adjust height hold in place. 1 - Pull the sliding part of the lower drawer runners out (F) and sit the drawer on top. Whilst holding the runners in place, slide the 2 - Use the locking button to secure the drawer.
- Page 6 HOW TO FIT TOWER UNIT Assembly Instructions Assembly Instructions TOOLS REQUIRED: TOOLS REQUIRED: Assembly Instructions TOOLS REQUIRED: Place your tower unit into position (This can be left, centre Cutting around skirting boards (optional). Mark using a or right aligned). compass then cut using a coping saw. Ii'\ Ii'\ Please check your opening for any...
- Page 7 225mm :---------- Mark the position of the hanger bar. By measuring in 225mm to Fix first bracket through both holes. (We recommend the centre of the tower unit. 16mm screws). 225mm Back wall Fitting the second hanger bar. 1- Place hanger bar into first bracket and level up. 2- Make sure to mark position on the side wall 225mm from the back wall.
- Page 8 A GUIDE TO FIXINGS DE: EIN LEITFADEN FÜR DIE BEFESTIGUNG / FR: GUIDE DES FIXATIONS / RO: UN GHID PRIVIND ELEMENTELE DE FIXARE / IT: GUIDA AI DISPOSITIVI DI FISSAGGIO EN: Wall & Ceiling Fixings: You must first identify the type of wall or ceiling you intend to fix product onto and then contact your local hardware store if the fixings supplied are not suited to your wall or ceiling type. Care and Maintenance: Safety: Always check the fitting and location to ensure your safety in and around the home.
- Page 9 of brick, breeze block, concrete, stone or wood. Types of structures Types of structures You can use one of the following types of wall plug if your walls are made You can use one of the following types of wall plug if your walls are made No.1 “General Purpose / Concrete or Block No.2 “Plasterboard”...
Need help?
Do you have a question about the TOWER UNIT 3 DRAWERS and is the answer not in the manual?
Questions and answers