Advertisement
Table of Contents
- 1 Delivery and Installation
- 2 Installing the Battery
- 3 Operating the Safe
- 4 Installing the Temporary Spoke
- 5 Installing the Handle Spokes
- 6 Backup Key Operation
- 7 Setting Your Personal Combination
- 8 Changing Your Personal Combination in the Future
- 9 Care and Use of Your Safe
- 10 Limited Lifetime Warranty
- Download this manual
*** Attention! Please Read First! ***
The information in the following manual is important
and must be read in full and followed completely for your safety.
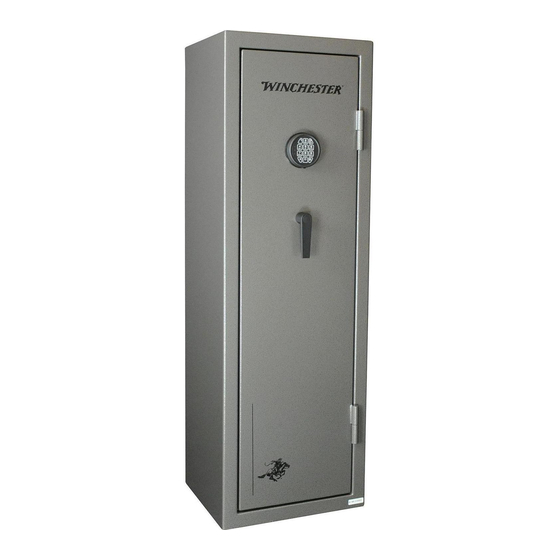
OWNER'S MANUAL
TS12-30
OD: 55"H x 18"W x 15.5" D
ID: 52.6" H x 15.8" W x 10.1" D
2
Weight: 21
lbs.
Gun Capacity: 12
Fire: 30 min @ 1400 degrees
TSC SKU: 1360472
TS26-45
OD: 57"H x 28"W x 20" D
ID: 53.8" H x 25.7" W x 14.7" D
3
Weight: 36
lbs.
Gun Capacity: 26
Fire: 45 min @ 1400 degrees
TSC SKU: 136473
Advertisement
Table of Contents

Related Manuals for Winchester TS12-30


Summary of Contents for Winchester TS12-30
- Page 1 OWNER’S MANUAL TS12-30 OD: 55”H x 18”W x 15.5” D ID: 52.6” H x 15.8” W x 10.1” D Weight: 21 lbs. Gun Capacity: 12 Fire: 30 min @ 1400 degrees TSC SKU: 1360472 TS26-45 OD: 57”H x 28”W x 20” D ID: 53.8”...
- Page 2 www.winchestersafes.com Owner’s Manual NOTES: For Support, visit www.winchestersafes.com Customer Service HOURS: 7:30am - 3:30pm CST Monday thru Friday Email: TSC@winchestersafes.com...
- Page 3 www.winchestersafes.com Owner’s Manual DELIVERY AND INSTALLATION A. If you purchased your safe from a retailer and are having it delivered and installed, the delivery company personnel will provide you with the proper instruction for the correct operation of your safe. Pay very close attention to the operation of the lock. Make sure you can comfortably operate the lock before they leave your home or office.
- Page 4 In a home fire, the coolest part of the fire is in the basement area and the hottest in the upstairs. 6. To maximize the burglary protection, and prevent the safe from tipping over, you MUST anchor your safe to the floor. 7. Your new Winchester Safe is now ready to operate.
- Page 5 www.winchestersafes.com Owner’s Manual Installing the Battery Step 1 - Remove the Key Pad Housing - while depressing the small button located on the bottom on the key pad housing, rotate the keypad counter- clockwise (left) and remove the key pad housing to access the battery connection. REF IMAGE 1.1 Step 2 - Connect the 9V Alkaline battery, gently insert the battery inside the key pad housing.
- Page 6 www.winchestersafes.com Owner’s Manual Operating the Safe For TS26-45, please refer to the next page for temporary spoke and handles installation firstly.
- Page 7 www.winchestersafes.com Owner’s Manual INSTALLING THE TEMPORARY SPOKE (For TS26-45) The temporary spoke provided is used to assist in opening the safe for the first time ONLY! Step 1 - Locate the temporary spoke. WARNING: Do not apply Spoke Handle Thread Lock on temporary spoke. Step 2 - Screw in the temporary spoke at the bottom of the handle hub.
- Page 8 www.winchestersafes.com Owner’s Manual Backup Key Operation Step 1 - Remove the Key Pad Housing - while depressing the small button located on the bottom on the key pad housing, rotate the keypad counter- clockwise (left) and remove the key pad housing. REF IMAGE 1.3 Step 2 - Using the provided keys (ref: image 1.4), insert the key and rotate clockwise until it stops.
- Page 9 www.winchestersafes.com Owner’s Manual...
- Page 10 www.winchestersafes.com Owner’s Manual...
- Page 11 www.winchestersafes.com Owner’s Manual LIMITED LIFETIME WARRANTY This safe made by Granite Security Products, Inc . (GSP) comes with a limited lifetime warranty, beginning on the purchase date against defects in materials and workmanship. . Proof of purchase is required to obtain service. Lock: 1-year from the purchase date.
- Page 12 19-TSC-00...
Need help?
Do you have a question about the TS12-30 and is the answer not in the manual?
Questions and answers
I only have one key and can’t find the back up key. Can I have the key I do have duplicated? The model I have is TS12-30