Black Orchid Hydro-Box Assembly & Instruction Manual
Hide thumbs
Also See for Hydro-Box:
- Assembly & instruction manual (12 pages) ,
- Assembly & instruction manual (12 pages) ,
- Assembly & instruction manual (12 pages)
Advertisement
Quick Links
Advertisement

Related Manuals for Black Orchid Hydro-Box


Summary of Contents for Black Orchid Hydro-Box
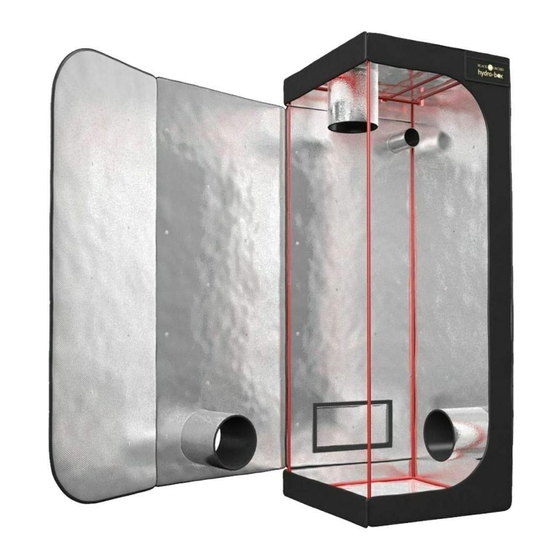
- Page 1 Assembly Instruction Manual 50cm x 50cm x 100cm...
- Page 2 Box Contents Pole 40cm Pole 47cm Pole Pole 47cm 40cm Pole 50cm Pole 50cm Tent Fabric Splash tray fabric Frame Corner joints (inc 1 spare)
- Page 3 Please follow the instructions carefully Tent Assembly Instructions STEP Create the Base of the frame using 4 corner joints, 2 A poles and 2 B poles...
- Page 4 Tent Assembly Instructions Please note the Black Plastic End Cap should be on the top for the top of the frame. STEP The Black Plastic End Cap should Push the poles into the corner joints on the bottom for the corners in the until the locking ball pops back out base of the frame.
- Page 5 Tent Assembly Instructions Create the base and the top of the tent frame STEP With the base joined together, next make the top of the frame with the other A and B poles...
- Page 6 Add poles C to the bottom and D to the top. Tent Assembly Instructions STEP...
- Page 7 Tent Assembly Instructions Join together the base of the frame with the top of the frame. Then add poles E and F to the top as seen STEP in Step 6...
- Page 8 Add poles E and F to the top of the frame Tent Assembly Instructions STEP...
- Page 9 Tent Assembly Instructions STEP Unfold your tent and place the frame into the base...
- Page 10 Tent Assembly Instructions STEP Make sure the bottom of tent is fitted firmly around the frame before lifting the top of the tent onto the frame...
- Page 11 Lift the top of the tent fabric up and carefully Tent Assembly Instructions fit it around the top of the frame Next zip up the top and bottom zips all the way STEP around sealing the tent Start from the back of the tent with the top zip then use the bottom zip to complete the back,...
- Page 12 Tent Assembly Instructions STEP Add the splash tray in the bottom once complete...
Need help?
Do you have a question about the Hydro-Box and is the answer not in the manual?
Questions and answers