Table of Contents
Advertisement
Quick Links
Advertisement
Table of Contents

Related Manuals for Rangemaster CRUB3314WH


Summary of Contents for Rangemaster CRUB3314WH
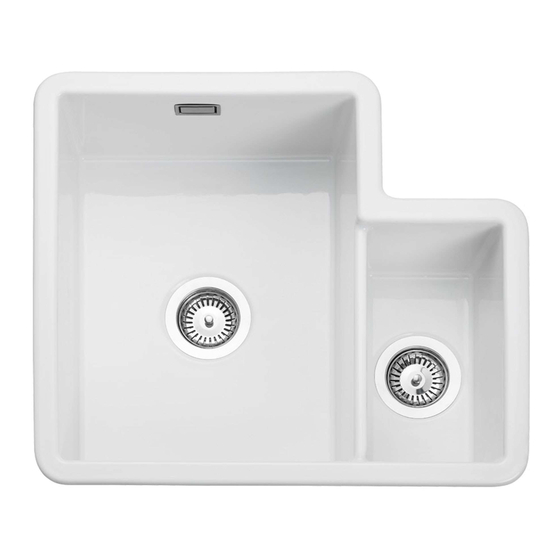
- Page 1 RUSTIQUE CERAMIC UNDERMOUNT SINK CERAMIC INSET SINK U110801-02...
-
Page 2: Parts And Contents
Electric saw with jigsaw fitment or a router • If unsure of fitting your sink we recommend seeking Translucent silicone sealant the advice of a professional fitter. Rangemaster will Fig. 1.1 not accept responsibility for errors in countertop preparation or installation. -
Page 3: Installation
Installation Undermount sink IMPORTANT: Due to the larger dimensional tolerances on CRUB3314WH/ (Fig. 1.3) ceramic products we strongly recommend making the cut CRUB3216WH/ (Fig. 1.4) out in a scrap piece of material then checking it against the actual sink to be fitted. The cut out size should be adjusted CRUB4040WH/ (Fig. - Page 4 Undermount sink cutout Fig. 1.3 CRUB3314WH/ CRUB385WH/ Fig. 1.7 Fig. 1.4 CRUB3216WH/ Fig. 1.8 CRUB1740WH/ Fig. 1.5 CRUB4040WH/ Fig. 1.9 Fig. 1.10 Fig. 1.6 CRUB5340WH/...
- Page 5 CRUB1740WH/ (Fig. 1.16) • The cut out details are shown in (Fig. 1.11) or (Fig. 1.12) ensure perfect positioning of this product. The cutout template is also available online www.rangemaster. co.uk. • When installing as an Inset Sink, a chamfer in the underside of the worktop may be required for the overflow body (Fig.
- Page 6 Inset sink cutout Fig. 1.11 CRUB3314WH/ Fig. 1.15 CRUB385WH/ Fig. 1.16 CRUB1740WH/ Fig. 1.12 CRUB3216WH/ Fig. 1.17 Fig. 1.13 CRUB4040WH/ Fig. 1.18 ArtNo.512-0001 - Gemini applying sealant Fig. 1.14 CRUB5340WH/ Fig. 1.19...
-
Page 7: After Installation
After installation Clean the sink using the attached care advice ready for use. Check the sink is flat to the worktop, straight and level; pour a small amount of water onto the drainer (if applicable) to check for drainage. Close the plug(s) in all bowls, fill the sink with water below the overflow and check the water does not leak through or around the waste(s). -
Page 8: Technical Data
In the unlikely event that you should experience any defect recommend that this product is installed by a skilled in the materials or workmanship of your new Rangemaster professional. This will ensure the best possible finished sink within 10 years of purchase, the manufacturer will repair installation. -
Page 9: Kitchen Taps
Check out our full range of Kitchen Products Kitchen Sinks Stainless Steel Kitchen Sinks Granite Composite Kitchen Sinks Glass Kitchen Sinks Ceramic Kitchen Sinks Franke Kitchen Sinks Kitchen Taps Contemporary Kitchen Taps Traditional Kitchen Taps Franke Kitchen Taps Pull out Rinser Kitchen Taps Instant Boiling Water Taps Insinkerator Waste Disposal Units...
Need help?
Do you have a question about the CRUB3314WH and is the answer not in the manual?
Questions and answers