Table of Contents
Advertisement
Advertisement
Table of Contents

Related Manuals for Bush CMN155DABBT


Summary of Contents for Bush CMN155DABBT
- Page 1 Instruction Manual CMN155DABBT...
-
Page 2: Table Of Contents
Product Code CMN155DABBT Accessories included . . . . . . . . . . . . . . . . . . . . . . . . . . . . . . .3 DRC ( dynamic range control ) . - Page 3 Safety information Important – Please read these instructions fully before using CAUTION: TO REDUCE THE RISK OF ELECTRIC SHOCK, DO NOT REMOVE ANY COVER . NO USER-SERVICEABLE PARTS INSIDE, REFER ANY SERVICING TO QUALIFIED SERVICE PERSONNEL . • Please read this owner’s guide This symbol means that this unit is double •...
-
Page 4: Accessories Included
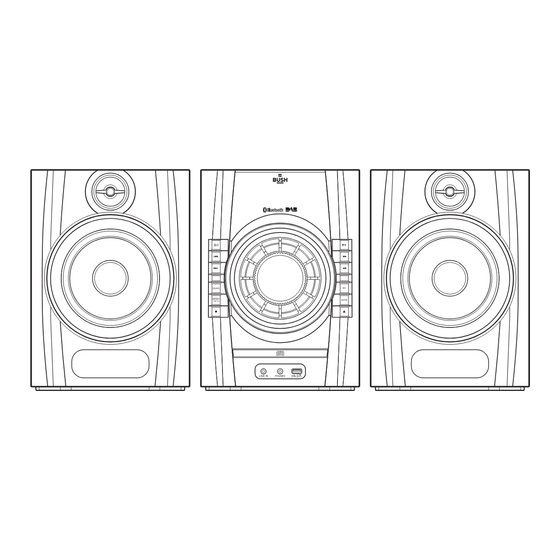
Functions & controls Please familiarize yourself with the parts and accessories listed below Accessories included • 1 x CMN155DABBT • 1 x AAA battery • 1 x Instruction manual • 1 x Remote control • 2 x Speakers • 1 x Antenna cable... -
Page 5: Overview Of Remote Control
Functions & controls Please familiarize yourself with the parts and accessories listed below Overview of remote control STANDBY: STANDBY mode ON/OFF EJECT: Press to eject/close the disc tray PROG: Program a playlist SOURCE: Press to toggle between TUNER, CD, USB, AUX & BT CD: Press for CD mode BT: Press for Bluetooth mode AUTO: Press to autoscan for FM... -
Page 6: Preparation For Use
Installation Preparation for use Connecting the loud speakers 1: Unwrap the speaker wires . Remote control battery installation 2: Place a speaker on either side of the main unit, 1: Press your thumb down onto the engraved arrow preferably at the same height, and with at least 150mm between each speaker and the main unit . -
Page 7: Getting Started
User instructions Getting started Switching input modes 1: Connect the mains plug to a wall outlet and switch on . Follow the below instructions to switch between CD, 2: Press the STANDBY button on the main unit (2) or USB, DAB, FM, LINE-IN & BLUETOOTH input modes. remote control to wake from standby . -
Page 8: Storing Station Presets
User instructions Storing station presets Display modes Follow the below steps to store a tuned station to one Every time you press the “INFO” button on the remote of 20 preset locations to allow quick access. control, the display will cycle through the following display modes. -
Page 9: Getting Started
User instructions Getting started Display modes (cont) 1: When the DAB mode is activated for the first time the Signal strength unit will perform a scan for available stations . When This option will display a bar indicating the signal located the first alphanumerical station will begin strength . -
Page 10: Manual Tuning (Cont)
User instructions Manual tuning (cont) Playing a disc (cont) 5: To save any extra stations located to the station list or to return to the default screen, press the ENTER NOTE: When playing an MP3CD the first track button and press the MENU button once more to from the first folder will play automatically unless return to DAB mode . -
Page 11: Random Playback Cd /Mp3 Cd
User instructions Random playback CD /MP3 CD Programmed playback CD /MP3 CD Follow the below instructions to playback the contents Follow the below steps to program and alternate play of a CD or MP3CD in a random order. back order. 1: Press the SHUFFLE button on the remote . -
Page 12: Usb Operation
User instructions USB operation Fast searching tracks 1: To fast forward a track during playback press and hold Playing a track (16) on the main unit or remote control . 2: To fast rewind a track during playback press and hold Follow the steps below to load a USB flash drive and play a track . -
Page 13: Aux Input Operation
3: Enable Bluetooth on your audio device and search for available bluetooth connections . Select the CMN155DABBT from the list . If you are asked for a pass code enter ‘0000’ . NOTE: If you turn off either device before pairing 2: Switch to LINE IN input mode (see page 6) . -
Page 14: Controlling A Connected Device
User instructions Controlling a connected device Once connected you can either use the controls on the audio device to begin playback, skip tracks etc. Or you can use the control buttons on the unit/remote control. 1: The PLAY/PAUSE button (17) on the main unit or remote when pressed will begin playback of the selected track on the audio device . -
Page 15: Uk Mains Plug Information
UK Mains plug information Disc handling information • Do not touch the playback side of the disc . For your convenience a mains plug with a fuse (3 Amp) has been fitted to this appliance. For your safety • Do not attach paper or tape to disc . please observe the following information. -
Page 16: Disposal Information
User instructions Troubleshooting In the unlikely event of difficulties with your appliance please follow the trouble shooting guide below . If the problem persists, contact the retailer if the machine is still under guarantee . Customer helpline: 0870 600 3030 Problem Reason(s) Solution(s) - Page 17 Guarantee PRODUCT GUARANTEE This product is guaranteed against manufacturing defects for a period of Year This product is guaranteed for twelve months from the date of original purchase. Any defect that arises due to faulty materials or workmanship will either be replaced, refunded or repaired free of charge where possible during this period by the dealer from whom you purchased the unit.
Need help?
Do you have a question about the CMN155DABBT and is the answer not in the manual?
Questions and answers
Hi I’m in need of a remote but can’t find one amhwheee
You can find a remote for the Bush CMN155DABBT at these locations:
1. A replacement remote control is available for £9.99 with free delivery to the UK mainland, as mentioned in the description provided by Class Electronics. Additional surcharges apply for specific regions.
2. The RM Series Remote Control compatible with the Bush CMN155DABBT is listed on eBay for £11.89.
This answer is automatically generated