Advertisement
Quick Links
Quick Start Guide
MODEL
GX-BT9H
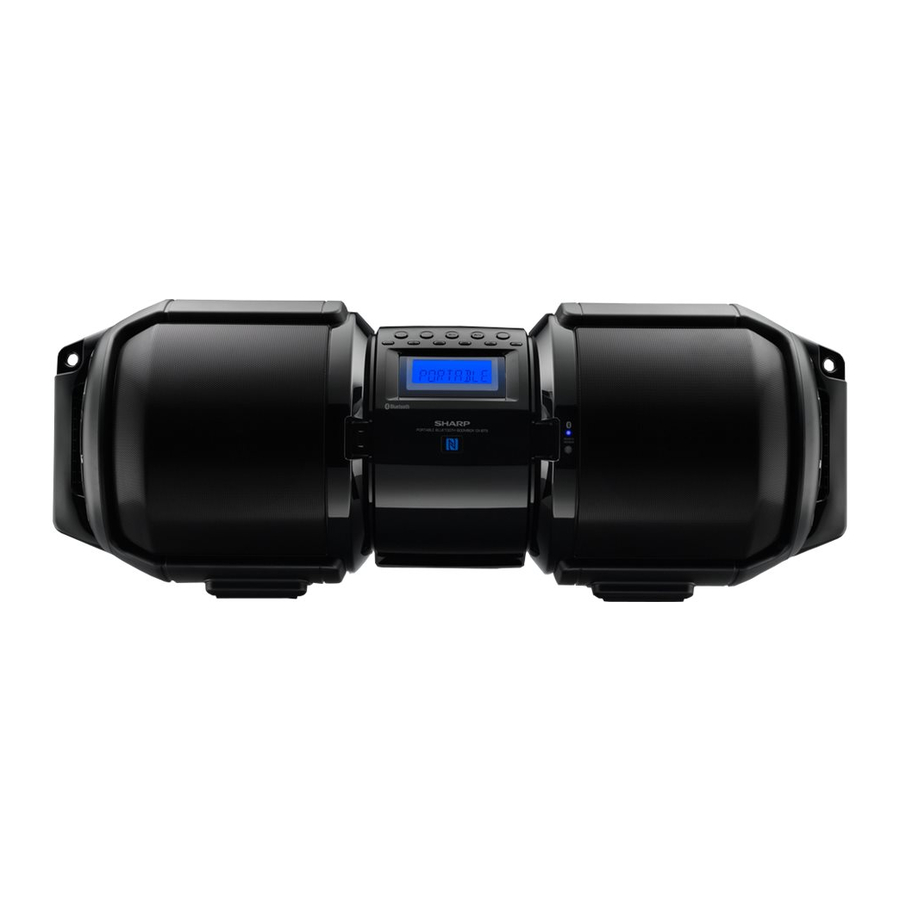
PORTABLE BLUETOOTH
This Quick Start Guide will help you to correctly install and operate your system.
Accessories
AC power lead x 1
Carrying Strap x 1
Turn on your system
The first time the unit is plugged in with AC power, the unit
will enter the Bluetooth standby mode.
1. Press the ON/STANDBY button to turn the power on.
Accessories
*TINSEA490AWZZAW*|
Car adaptor (not supplied)
Socket: DC 12 V 4.5 A
*TINSEA490AWZZAW*|
TINSEA490AWZZ
BOOMBOX
®
Remote control x 1
(RRMCGA371AWSA)
"AAA" size battery
(UM/SUM-4, R3, HP-16 or
similar) x 2
PORTABLE MUSIC BOOMBOX GX-BT9
Recommended plug type
9.5mm (3/8")
3.5mm (1/8")
5.5mm (7/32")
To DC IN 12 V
socket
If you require any advice or assistance regarding
your Sharp product, please visit our web-site
www.sharp.co.uk/support
Customers without internet access may telephone
0870 527 4277 during office hours (or (01) 676 0648
if telephoning from Ireland).
Placing the unit
To get the best display viewing angle, place the unit as
below.
Position 1:
On the shelf/
table
Position 2:
On the floor/
ground
Remote control battery installation
1. Open the battery cover.
2. Insert the supplied batteries according to the terminal
indicated in the battery compartment.
When inserting or removing the batteries, push them towards
the (–) battery terminals.
3. Close the cover.
REMOTE
SENSOR
Foot cushion 1 and 2
touching the surface.
Foot cushion 2 and 3
touching the surface.
To AC
Wall socket
INPUT
AC 110 - 240 V ~
socket
50/60 Hz
15B R KI 1
Advertisement

Summary of Contents for Sharp GX-BT9H
- Page 1 If you require any advice or assistance regarding Quick Start Guide your Sharp product, please visit our web-site www.sharp.co.uk/support Customers without internet access may telephone MODEL 0870 527 4277 during office hours (or (01) 676 0648 GX-BT9H if telephoning from Ireland).
- Page 2 1. Touch your device to the NFC detection area on the main source device operating manual for details). unit. 4. Select “GX-BT9H SHARP” from the source list. If Passcode* NFC detection area is required, enter “0000”. on the main unit * Passcode may be called PIN Code, Passkey, PIN number or Password.


