Advertisement
Table of Contents
- 1 Mounting the Unit on Cab Roof
- 2 Most Suitable Location for Mounting Air Conditioning Unit
- 3 Rooftop Air Conditioner Installation Schematic
- 4 Drain Hose Installation
- 5 Wiring
- 6 Compressor Wiring
- 7 Air Diffuser Plenum
- 8 Final Assembly and Check
- 9 Electrical Schematic
- 10 Plumbing Schematic
- Download this manual
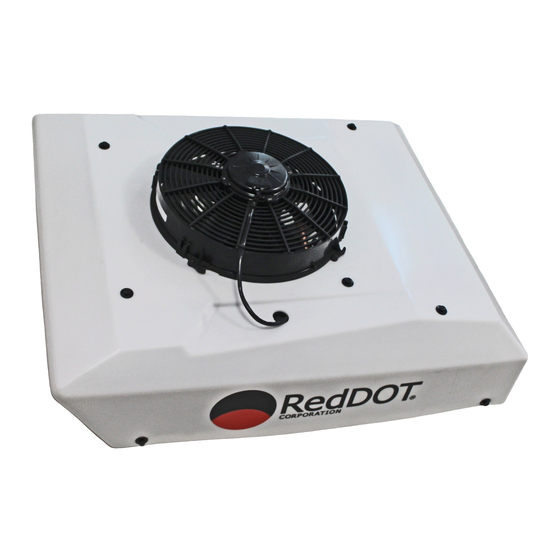
MODEL E-6100 ROOFTOP AIR CONDITIONER INSTALLATION INSTRUCTIONS
NOTE:
1. Please read instructions all the way through before beginning work. Not following these instructions may result in
voided warranty.
2. Check that all items called out on the RD-2-7784-0 accessory kit list have been included.
3. It is critical that minimum 4GA cable be used for the compressor power/ground runs. Direct connection to battery or
nearby terminal blocks is recommended. Maximum 26 foot runs allowable for 4GA cable. Using larger wire is
acceptable, but voltage drop must be considered. Using cables smaller than 4GA may result in voided warranty
and/or damage to vehicle.
A. Mounting The Unit On Cab Roof
Note:
a. To maintain proper oil circulation and condensate drainage, unit must be mounted within the maximum tilt angles
shown here (exceeding these angles may result in compressor damage and/or voided warranty):
RD-2-7783 (REV. A)
Rooftop Air Conditioner
INSTALLATION INSTRUCTIONS
Page 1
E-6100
Do not mount the unit with the
front lower than the rear, as this
will prohibit water drainage.
SUBJECT TO CHANGE WITHOUT NOTICE
Advertisement
Table of Contents

Summary of Contents for Reddot E-6100
- Page 1 E-6100 Rooftop Air Conditioner INSTALLATION INSTRUCTIONS MODEL E-6100 ROOFTOP AIR CONDITIONER INSTALLATION INSTRUCTIONS NOTE: 1. Please read instructions all the way through before beginning work. Not following these instructions may result in voided warranty. 2. Check that all items called out on the RD-2-7784-0 accessory kit list have been included.
- Page 2 1. Remove the headliner or loosen enough to drop the center portion. (Disregard if no headliner). 2. Determine the most suitable location for mounting the air conditioning unit. a. Mark the front-to-rear centerline of the cab on the outside of the cab roof. b.
- Page 3 ROOFTOP AIR CONDITIONER INSTALLATION SCHEMATIC CHECK INSTALLATION KIT TO MAKE CERTAIN THAT ALL PARTS LISTED ARE INCLUDED RD-2-7783 (REV. A) Page 3 SUBJECT TO CHANGE WITHOUT NOTICE...
- Page 4 Figure 2 B. Drain Hose Installation Note: The drain hose is stepped down in size at two places to promote siphoning water from the drain pan under evaporator. The reduction in diameter forces the water to flow in a solid column. This creates a suction that draws the rest of the water out of the pan.
- Page 5 5. Orange Wire (condenser fan circuit): Connect to an ignition switch supply through a 15 amp circuit breaker (24V) or 30 amp circuit breaker (12V). 6. Open the fuse cover on the unit, and remove the M5 nut and lock washer from the open position of the fuse holder. 7.
- Page 6 ELECTRICAL SCHEMATIC D. Air Diffuser Plenum 1. Install headliner. Make sure that wire loom exits plenum ring properly and is not pinched. 2. Install four M5 x 0.8 x 75 screws in the plenum assembly and secure with retainers provided. 3.
- Page 7 PLUMBING SCHEMATIC RD-2-7783 (REV. A) Page 7 SUBJECT TO CHANGE WITHOUT NOTICE...
- Page 8 DISTRIBUTED BY: Red Dot Corporation 495 Andover Park East Seattle, WA 98188 P: (206) 575-3840 www.rdac.com RD-2-7783 (REV. A) Page 8 SUBJECT TO CHANGE WITHOUT NOTICE...

Need help?
Do you have a question about the E-6100 and is the answer not in the manual?
Questions and answers