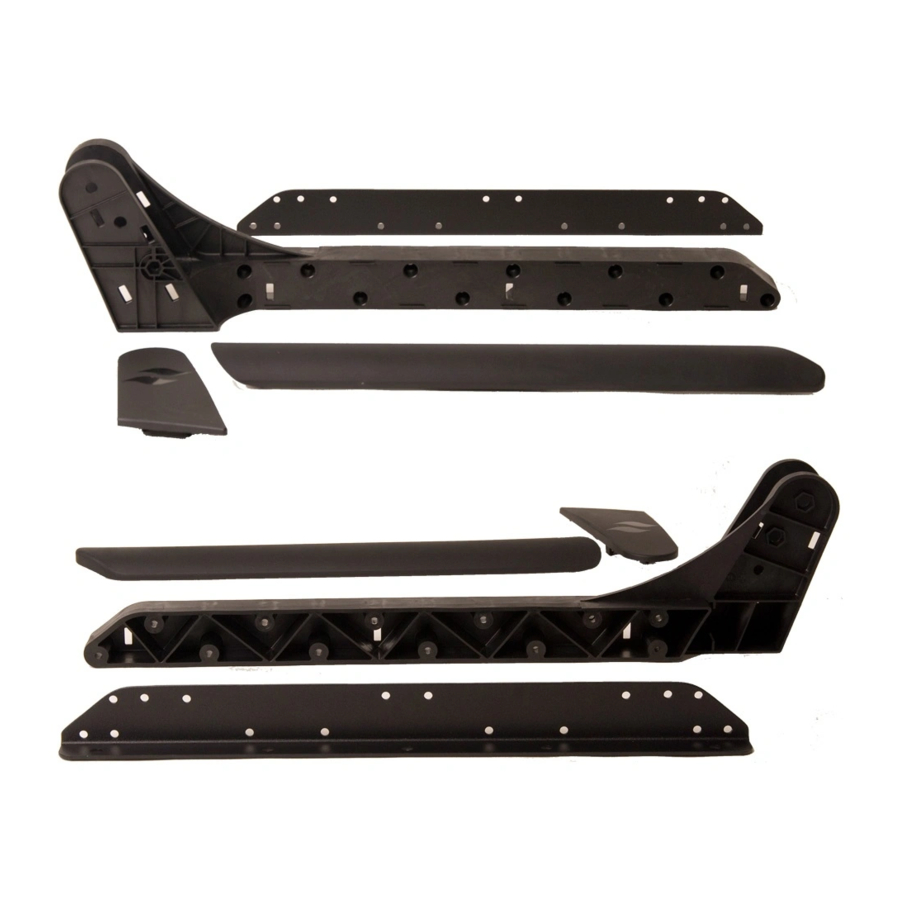
Leisure Concepts CoverMate III Installation Instructions
Hide thumbs
Also See for CoverMate III:
- Installation manual ,
- Instructions (3 pages) ,
- Installation instructions (2 pages)
Table of Contents
Advertisement
Quick Links
Figure 1
E
Pivot Arm
F
M
K
Ball Stud Assy
R
Figure 2
Back
of
O
spa
4"
Figure 3
C
E
Pivot Arm
Figure 4
X
Plastic Spacer
P
Carriage Bolt
CMIII 090901
NorthlineExpress.com
T
Rubber Stop
L
G
Spa with Cover
#12 x 2" mounting screws
Left Mounting Bracket
B
A
Support Arm
Nut
Y
Wind Lock Bar
http://www.northlineexpress.com
Covermate III
Installation Instructions
Step #1
Position the spa cover (in closed position) on the spa. Making sure that all four
corners are properly positioned and square on the spa.
Step #2
Install the rubber stop, bolt assembly and ball studs on the left and right
brackets (see Fig. 1) Note: Lightly tighten bolt assembly, overtightening
will cause plastic to dis gure, not allowing cover plates to snap on
properly.
Step #3
Using the #12 x 2" screws, attach the left and right mounting brackets to the
appropriate sides of the spa (see Fig. 2)
Step #4
Starting with the left side rst, lay the long end of the cover support arm on
the top of the cover, lying parallel to the spa cover hinge about 1/2" away. Slide
the U-shaped retainer clip under the cover hinge. Note: Do not insert the
U-shaped retainer clip in between the seams of the spa cover. (see Fig. 3)
With the left support arm lying on the cover, slide the straight coupler piece
over the long end of the left cover support arm. Next, slide the long end of the
right support arm into the center coupler making sure the U-shaped retainer
clip is inserted in between the two cover halves with the horizontal part
touching the underside of the cover hinge.
Step #5
Slide the left and right pivot arms onto the short end of the support arms. (see
Fig. 3), then connect the pivot arms to the brackets (see Fig. 1). Note: Do not
insert self-tapping screws at this time. This will be completed in step #8. Be
sure to run the bolt head as pictured. Lightly tighten the bolt so that the
pivot can move freely.
Step #6
Next install the wind lock bar on the determined bracket side. (see Fig. 4).
Lightly tighten nut, washer and bolt combination so that the lock bar
moves freely.
Step #7
Next, install the ball studs to the left and right pivot arms. Note: Be sure that
the ball is pointing away from the spa. (see Fig. 5).
Figure 5
R
S
Page 1
Toll-Free 1-866-667-8454
Advertisement
Table of Contents

Summary of Contents for Leisure Concepts CoverMate III
- Page 1 Covermate III Installation Instructions Figure 1 Step #1 Position the spa cover (in closed position) on the spa. Making sure that all four Pivot Arm corners are properly positioned and square on the spa. Rubber Stop Step #2 Install the rubber stop, bolt assembly and ball studs on the left and right brackets (see Fig.
- Page 2 Step #11 Snap on the left and right bracket covers (small and large covers) (see Fig. 10). Operation of the Covermate III Plastic Black Body 1. Fold the rst half of the spa cover o the spa. Gripping the foam grip.


Need help?
Do you have a question about the CoverMate III and is the answer not in the manual?
Questions and answers