Table of Contents
Advertisement
Quick Links
1.26
Contents
1. Correct and proper use . . . . . . . . . . . . . . . . . . . . . . . . . . . . . . . . . . . . . . . . . . . . . . . . . . . . . . . . . . . . . . . . . . . . . . . . . . . . .
2. Safety instructions. .. . . . . . . . . . . . . . . . . . . . . . . . . . . . . . . . . . . . . . . . . . . . . . . . . . . . . . . . . . . . . . . . . . . . . . . . . . . . . . . . .
3. Inventory. . . . . . . . . . . . . . . . . . . . . . . . . . . . . . . . . . . . . . . . . . . . . . . . . . . . . . . . . . . . . . . . . . . . . . . . . . . . . . . . . . . . . . . . . .
4. Fitting encased convectors on finished floors. . . .. . . . . . . . . . . . . . . . . . . . . . . . . . . . . . . . . . . . . . . . . . . . . . . . . . . . . .
5. Fitting encased convectors on unfinished floors. . . . . . . . . . . . . . . . . . . . . . . . . . . . . . . . . . . . . . . . . . . . . . . . . . . . . .
6. Wall-mounted encased convectors with brackets. . . . .. . . . . . . . . . . . . . . . . . . . . . . . . . . . . . . . . . . . . . . . . . . . . . . . .
7. Pipework. . . . . . . . . . . . . . . . . . . . . . . . . . . . . . . . . . . . . . . . . . . . . . . . . . . . . . . . . . . . . . . . . . . . . . . . . . . . . . . . . . . . . . . . . .
I 250/08/05/1GB
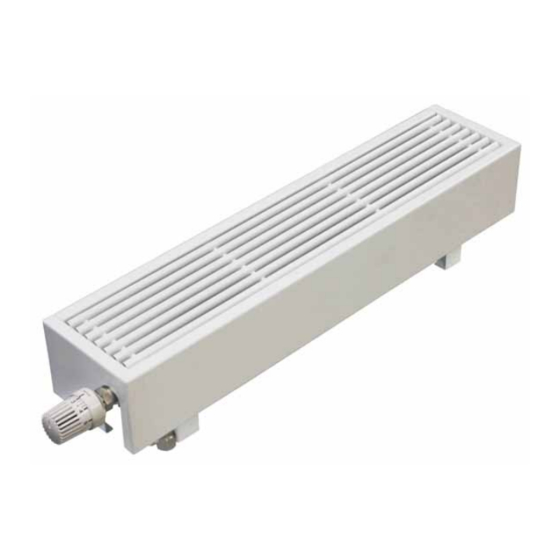
Encased convectors
Encased convector models with
1.26
heat exchangers
Installation manual
Seite
2
2
3
4
5
6
7+8
Advertisement
Table of Contents

Related Manuals for Kampmann Powerkon + F


Summary of Contents for Kampmann Powerkon + F
-
Page 1: Installation Manual
1.26 Encased convectors 1.26 Encased convector models with heat exchangers Installation manual Contents Seite 1. Correct and proper use ................2. - Page 2 Powerkon + F encased convectors should only be used indoors, that is to say, in private property, offices and exhibition rooms for example. This equipment is not suitable for use in damp areas, such as swimming pools or outdoors.
- Page 3 1.26 1.52 Encased convectors 1.26 Encased models with heat exchangers Installation manual 3. Inventory Each encased convector delivery contains the following components: • 1 no. casing , powdercoated, supplied as a one-piece unit, complete with linear grille as a top air outlet grille, with a valve recess at one end.
- Page 4 • Connect up the flow return pipework. The 1/2” valve set type 126102 and the thermostatic valve head type 110210 from the Kampmann accessories range can be used. Fit the air vent the flow connection. • Fit the casing with the valve cut-...
- Page 5 • Connect up the flow and return pipework. The 1/2” valve set type 126102 and the thermostatic valve head type 110210 from the Kampmann accessories range can be used. Fit the air vent to the flow connection. • Fit the casing...
- Page 6 • Connect up the flow and return pipework. The 1/2” valve set type 126102 and the thermostatic valve head type 110210 from the Kampmann accessories range can be used. Fit the air vent onto the flow connection. • Place the casing...
- Page 7 Valve dimensions Casing height Casing depth Dimensions* * Dimensions based on Kampmann valve set type 126102 (optional accessory); encased convector fitted on a finished floor is illustrated 1 = 1/2” flow 2 = 1/2” return 3 = air vent 4 = 1/2” thermostatic valve body, on flow 5 = thermostatic valve head 6 = 1/2”...
- Page 8 1.26 1.26 Encased convectors Encased models with heat exchangers Installation manual Pipework dimensions Casing depth Casing height 80 mm* Casing height 130 mm* * Encased convector shown with finished floor brackets 1 = 1/2” flow 2 = 1/2” return...
Need help?
Do you have a question about the Powerkon + F and is the answer not in the manual?
Questions and answers