Table of Contents
Advertisement
◆Preface
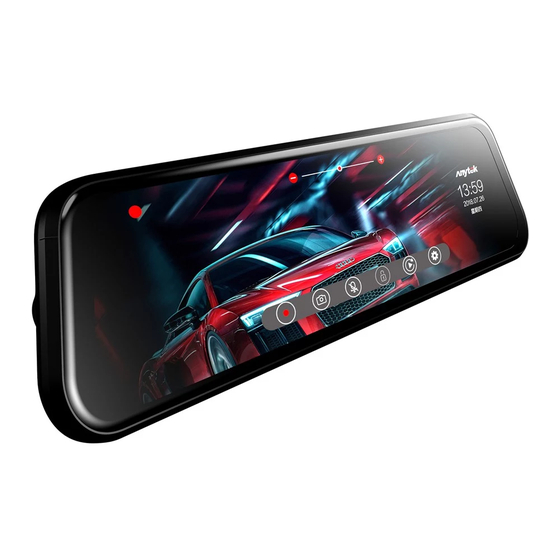
Thank you for purchasing the Anytek T12+ Car Dash
Cam.
Please ensure that you have read the product manual
and instructions in full, prior to installation and use.
Failure to do so may result in product failure/damage or
incorrect operation and therefore impact the product
performance
◆Copyright infringement warning
Please note that this product is only for personal use, the
method of use shall not violate the goods infringe on
domestic or international copyright laws. Even recorded
images for personal use only, please note that in some
cases to use this product to record performances,
exhibitions or business activities of the image may
infringe the copyright or other legal rights and interests of
others.
◆NOTE
- Do not open or disassemble the product, which could
lead to electric shock or equipment damage. If necessary,
1
Advertisement
Table of Contents

Related Manuals for Anytek T12+


Summary of Contents for Anytek T12+
- Page 1 ◆Preface Thank you for purchasing the Anytek T12+ Car Dash Cam. Please ensure that you have read the product manual and instructions in full, prior to installation and use. Failure to do so may result in product failure/damage or incorrect operation and therefore impact the product performance ◆Copyright infringement warning...
- Page 2 referred to the service center or professional treatment. - The product can be used in other applications, such as photography, self-timer and so on. - Do not stack items on the device, do not press the screen, may cause the screen breakage. - Do not use sharp objects touching the screen, in order to avoid damage to the screen.
- Page 3 sunlight, especially in the car. Avoid the dust get into the device. - Avoid to use in damp environment . Please note that in a closed environment, the moisture in the air easy to condense and attached to the device. - Avoid touch and intense impact.
- Page 4 - In the case of sudden changes in temperature or humidity, may cause moisture condensation inside the device, which can cause prepare a short circuit. - Protect the device, avoid the dust or encounter collisions in the process of transportation . - When in transport, please use the original packaging.
- Page 5 10. Parking monitor 11. Support TF card up to 32GB 12. Support recording video while charging ◆Product structure TF card slot AV-IN Power USB port Camera Lens Button Loudspeak Reset Screen...
- Page 6 ON/ OFF Button Function 1: Power ON/ Power OFF Press the power button to turn the Dash Cam on. It will automatically start recording once it receives power. When power is turned off manually or power is removed, the Dash Cam will save the current file and turn off. Function 2: Background light ON/ OFF When standby, short press the power button to enter screen saver.
- Page 7 and max to 32GB. B. Please pay attention to the card direction when inserting the card into the card slot.( Please refer to the icon near the card slot). 3. Fix the Dash Cam on the original rear view mirror of the vehicle.
- Page 8 【NOTE】Turn vehicles ignition to accessories, and the Dash Cam will power ON and start recording automatically, you will hear an audible tone once powered. ◆Video operation 1. Turn on the vehicles’ engine, the Dash Cam will power ON and start to recording videos. 2.
- Page 9 A. The recording time setting has 1/3/5min. If choose any of it, when the TF card is full, the previous files will be covered by the later files. B. The files of front and rear camera will be saved separately in the TF card. Under the catalog “DCIM” and the folders will be named of “DCIMA”...
- Page 10 icon “ ” to playback. ◆One button lock function When recording, click the lock icon “ ”to lock the present file. The locked file will have “ ” icon. To unlock the file, click unlock icon “ ”. The locked file will not be covered.
- Page 11 date. 【NOTE】Please make sure to set the time/ date before using. In case of any accident happens and to save the date/ time accordingly. Thus to provide the effective evidences. ◆Motion detection function In the main interface, click “function setting” to enter the setting interface.
- Page 12 function when the Dash Cam is not recording. ◆G-sensor fundtion The Dash Cam has built-in G-sensor. In the main interface, click the “function setting” enter the function setting interface. Click video recording setting to find “G-sensor” . Click G-sensor to set it. When recording, if there is any shock(such as collision, crash etc..), the present file will be saved automatically.
- Page 13 recording for 24s. ◆Reversing view First, please connect the Dash Cam with car charger and the inset the rear camera into AV-IN slot, connect the red and black line with reversing light. Connect the car charger and the Dash Cam will start recording video automatically.
- Page 14 Memory card TF Card up to 32GB USB, Car charger 5V. Power supply 2000mA Frequency 50HZ/60HZ Li-on battery 3.7V. Battery Capacity 500mAH Microphone/Loudspe Support aker Simple Chinese/ Language Traditional Chinese/ English NOTE: The specifications can be changed due to update, upgrade etc..
- Page 15 Please check whether there is enough space on the micro SD card or internal storage. Stopping automatically while recording? Due to the high amount of HD video data being recorded, please use a high-speed Micro SD card. To tell if you have the required high speed card, check if it has the ‘Micro SDHC’...
- Page 16 Make sure to peel off the transparent protective sticker on the front of the Dash Cam's lens. Technical assistance If you need assistance setting up or using your Anytek product now or in the future, call Anytek Support. TEL: 400-9300-520...
- Page 17 Copyright © 2019 by Anytek All rights reserved. No part of this publication may be reproduced, distributed, or transmitted in any form or by any means, including photocopying, recording, copying or other electronic or mechanical methods, without the prior written permission of the...
Need help?
Do you have a question about the T12+ and is the answer not in the manual?
Questions and answers