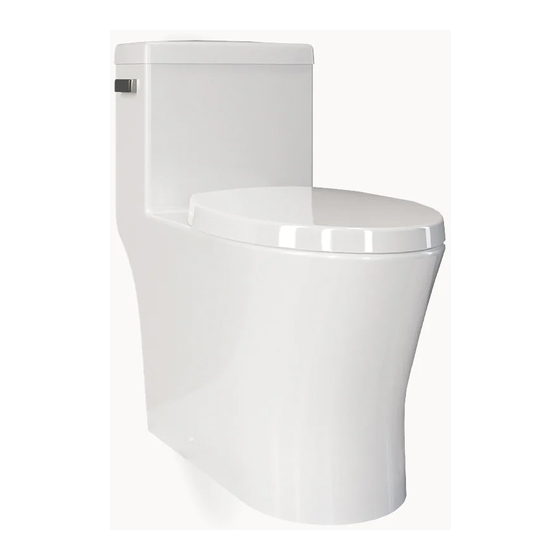
Summary of Contents for Crosswater MPRO Series
- Page 1 MPRO One-piece Single-flush Toilet US-PRO9005-SF Finished Wall 28" 7-1/4" 14-1/2'" 1-1/2" 2-1/4" 11" 12"~11" Finished Floor US-PRO9005-SF 1 - 6...
-
Page 2: Installation Instructions
Installation Instructions PARTS SUPPLIED: Check to make sure that all these parts are included in the package: Nut - qty. 2 Clip - qty. 2 Bolt - qty. 2 Protector sleeve Screw - qty. 2 Washer - qty. 2 Cap - qty. 2 qty. - Page 3 Figure 1 1) Clean any debris out of the closet flange (not supplied), then install the mounting bolts into the slot of the flange head down with the threaded shank of the bolt pointed upward as shown (See figure 1). Slide each bolt until the end of slot.
- Page 4 After Installation/Adjustment Figure 5 Flush the toilet two to three times to confirm there is no water leakage and that the lever mechanism is working properly. 6) Connect the opposite end of the water supply hose to the angle stop (See figure 5). A flexible supply hose is recommended.
-
Page 5: Troubleshooting Guide
Refill Clip Install Place the Refill Clip on the side of overflow pipe furthest away from fill valve and slide it down with metal tab on the outside and plastic clip on inside of overflow pipe. Attach one end of refill hose to nipple on fill valve. Attach other end of hose to refill clip. -
Page 6: Cleaning Instructions
Do not use in-tank cleaners as they can seriously damage the fittings in the tank. This damage could cause leakage and result in property damage. Crosswater London shall not be responsible or liable for any damage that occurs as a result of the use of in-tank cleaners.


Need help?
Do you have a question about the MPRO Series and is the answer not in the manual?
Questions and answers