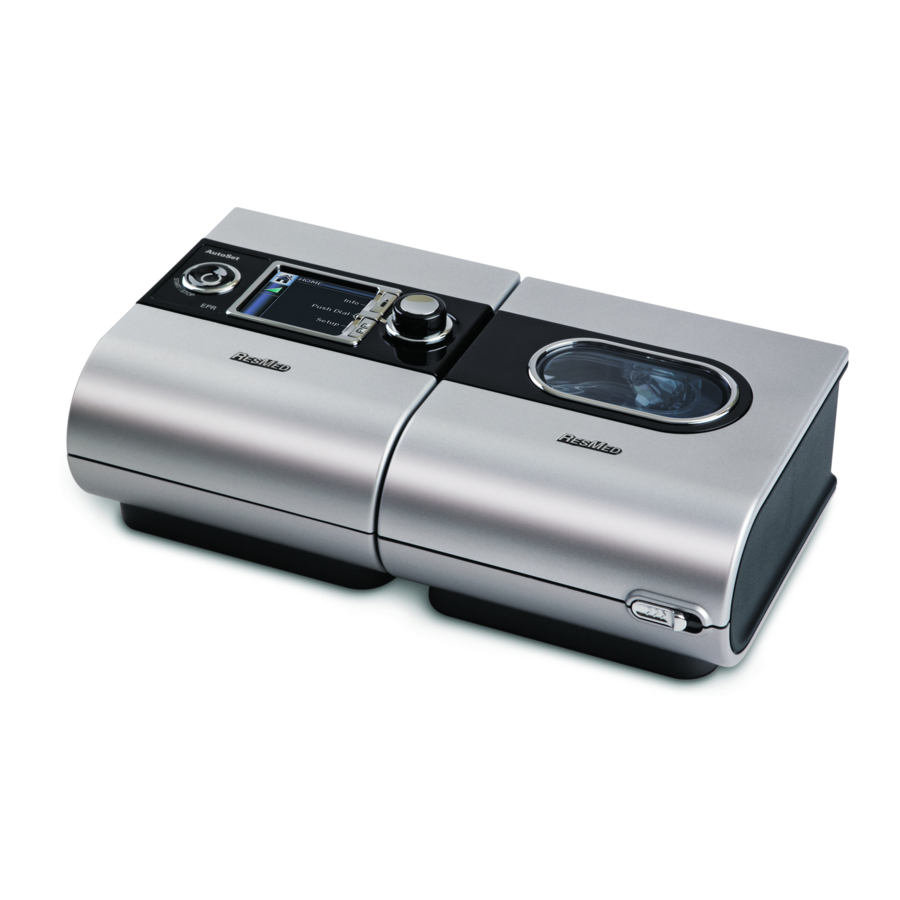
ResMed S9 Series Quick Start Manual
Lab system
Hide thumbs
Also See for S9 Series:
- User manual (129 pages) ,
- Information manual (64 pages) ,
- Clinical manual (37 pages)
Summary of Contents for ResMed S9 Series
-
Page 1: Table Of Contents
S9 VPAP Tx Lab System ™ QUICK START GUIDE Table of Contents Setting up the S9 VPAP Tx Filling the H5i Water Tub Navigating the Menus Mask Fit Mask Type and Tube Type Setting Starting a Session in the Control Room Disassembling the H5i Humidifier Reassembling the H5i Humidifier Air Tubing Disinfection Guide... -
Page 2: Setting Up The S9 Vpap Tx
S9 VPAP Tx Lab System | Quick Start Guide Setting up the S9 VPAP Tx Align the H5i with the S9 VPAP Tx and push them together until they click into place. ™ Connect the DC plug of the power supply unit to the rear of the S9 VPAP Tx. Connect the power cord to the power supply unit. -
Page 3: Filling The H5I Water Tub
S9 VPAP Tx Lab System | Quick Start Guide Filling the H5i Water Tub ™ The S9 VPAP Tx is compatible with the integrated H5i heated humidifier. For further information on using this humidifier, refer to the H5i user guide. Slide the silver latch Through the center Return the water tub... -
Page 4: Mask Fit
Pillows Pillows • For a complete list of recommended masks and their Nasal Nasal* settings, go to the ResMed.com Products page Pediatric Pediatric under Service & Support. If you do not have internet access, please contact your ResMed representative. *For Ultra Mirage mask, use Nasal Ultra... -
Page 5: Starting A Session In The Control Room
To start a titration session: 1. Double-click the EasyCare Tx icon on the Desktop. The EasyCare Tx toolbar is displayed and the default Tx Link is automatically connected. ResMed (If the Tx Link is not automatically connected, connect to a Tx Link.) EasyCare Tx 2. -
Page 6: Disassembling The H5I Humidifier
S9 VPAP Tx Lab System | Quick Start Guide Disassembling the H5i Humidifier Slide the latch. Lift open the flip lid. Remove the water tub. Discard any excess water from the water tub. Unclip all four side latches. Pull apart the tub lid, plate and base. Remove the maximum water level mark from the plate by pinching and pushing out the locks. -
Page 7: Reassembling The H5I Humidifier
S9 VPAP Tx Lab System | Quick Start Guide Reassembling the H5i Humidifier When all the parts are clean and dry, reassemble the H5i as follows: Reinsert the air outlet, ensuring that the straight side is facing up. Place the outlet clip back onto the air outlet. Ensure that the outlet clip goes past the ridge on the air outlet. Reinsert the maximum water level mark into the plate, ensuring that it clicks into place. -
Page 8: Air Tubing Disinfection Guide
Storage temperature: -4°F to 140°F (-20°C to 60°C) 1 Cleaning: ResMed has tested the following detergents according to the manufacturer’s instructions: – Alconox Tergazyme (diluted at 1%) using hot water (approximately 60°C or 140°F) or warm water (approximately 50°C or 122°F) –... -
Page 9: H5I Disinfection Guide
2 High level thermal disinfection: Due to specific regional require- of one minute in duration. Repeat the rinse procedure two additional ments, ResMed water tubs have been tested for disinfection for 100 times using fresh water for a total of three rinses. -
Page 10: General Warnings And Cautions
UK, Germany, France & Australia, from September 2012. Visit www.resmed.com/maskbrand. ResMed Corp San Diego, CA, USA +1 858 836 5000 or 1 800 424 0737 (toll free). ResMed Ltd Bella Vista, NSW, Australia +61 (2) 8884 1000 or 1 800 658 189 (toll free). See ResMed.com for other ResMed locations worldwide. PRODUCT is a trademark of ResMed Ltd. PRODUCT is a trademark of ResMed Ltd and is registered in the U.S.


Need help?
Do you have a question about the S9 Series and is the answer not in the manual?
Questions and answers