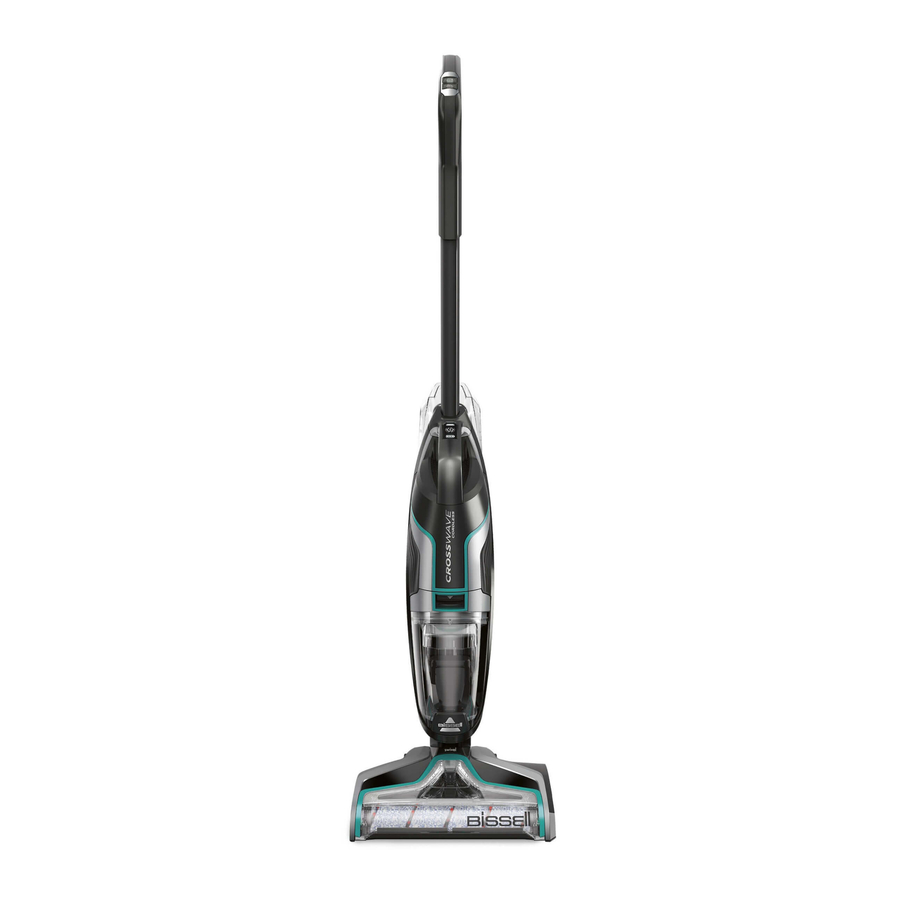
Bissell CrossWave Cordless 2551 Series User Manual
Hide thumbs
Also See for CrossWave Cordless 2551 Series:
- Quick start manual (2 pages) ,
- Battery removal instructions (2 pages)
Advertisement
Advertisement
Table of Contents

Related Manuals for Bissell CrossWave Cordless 2551 Series


Summary of Contents for Bissell CrossWave Cordless 2551 Series
- Page 1 CROSSWAVE ® CORDLESS _______________ USER GUIDE 2551 SERIES...
-
Page 2: Safety Instructions
This will ensure that the safety of the product is maintained. screws, coins, etc. »Use only BISSELL® cleaning products intended for use with this appliance to prevent internal component damage. See the WARNING Cleaning Formulas section of this guide. -
Page 3: Table Of Contents
We love to clean and we’re excited to share one of our innovative products with you. We want your BISSELL CrossWave Cordless to work like new for the years to come, so this guide has tips on how to use, maintain and, if there’s a problem, troubleshoot. -
Page 4: Product View
Cleaning Formulas WARNING To reduce the risk of fi re and electric shock due to internal component damage, use only BISSELL® cleaning fl uids intended for use with the hard fl oor device. CROSSWAVE® FORMULAS Keep plenty of CrossWave formulas on... -
Page 5: Assembly
NOTE: Make sure unit is fully charged before first use. To check the battery status, remove the unit from the charging base and turn the unit ON by pressing either the Area Rug or Hard Floor Button. Battery is fully charged when all three white status lights are illuminated. www.BISSELL.com... - Page 6 Overcharging may cause battery damage, fi re or explosion. Your BISSELL® CrossWave® Cordless has a Battery LED light display that will turn on when the unit is ON or charging to show the battery life status. The LED lights are white, but one will be blinking red when the battery is at less than 10%.
- Page 7 TIP: For overly challenging and stuck-on messes on your hard floors, activate the RUG mode and hold your CrossWave® Cordless over the mess. Using short passes while holding the trigger allows the multi-surface brush to go to work. www.BISSELL.com...
-
Page 8: Maintenance & Care
NOTE: The 3-in-1 Docking Station needs to be plugged into an outlet in order to run the Clean Out Cycle. If the Clean Out Button is held down over a minute, the unit will stop cleaning automatically. www.BISSELL.com... - Page 9 NOTE: Any solution remaining in the Clean Water Tank should be emptied prior to machine storage. NOTICE To reduce the risk of a leaking condition, do not store unit where freezing may occur. Damage to internal components may result. www.BISSELL.com...
- Page 10 Tank by pulling it up. the Dirty Water Tank. throw debris in trash. Hand wash the filter and screen with Rinse the float located at the bottom warm water and mild detergent. of the top of the Dirty Water Tank. www.BISSELL.com...
- Page 11 Once parts are dry, bottom first. Then tilt Place strainer back reassemble and the top of the tank into Dirty Water Tank. replace the top of toward the machine and Dirty Water Tank. push into place until you hear a “click”. www.BISSELL.com...
- Page 12 Brush Roll end into the right side of the the edges of the foot. Then press the Foot. Then lock the pull tab into place window back into place until you hear by pressing downward. a “click”. www.BISSELL.com...
- Page 13 For specific disposal instructions of batteries, please contact the RBRC (Rechargeable Battery Recycling Corporation) at 1-800-822-8837 or visit www.Call2Recycle.org. Using a Phillips-head screwdriver, remove the 4 screws on the sides of the battery pack. Then, remove the battery pack from the unit. www.BISSELL.com...
-
Page 14: Troubleshooting
1 solid LED light Charger component failure. Contact Consumer Care. Internal error. Turn machine OFF and let cool for ten minutes, then turn 2 or 3 LED red machine ON. If issue does not resolve, contact Consumer lights flashing Care. www.BISSELL.com... -
Page 15: Warranty
Subject to the *Exceptions and Exclusions from the Terms of the Limited Warranty, upon *Exceptions and Exclusions from the receipt of the product BISSELL will repair or Terms of the Limited Warranty replace (with new, refurbished, lightly used, or This warranty is exclusive and in lieu of remanufactured components or products), at any other warranties, either oral or written. -
Page 16: Product Registration
NOTE: Please keep your original sales receipt. It provides proof of purchase date in the event of a warranty claim. See Warranty page for details. Parts & Supplies For Parts and Supplies, go to www.BISSELL.com and enter your model number in the search field. Love your product? BISSELL®...
Need help?
Do you have a question about the CrossWave Cordless 2551 Series and is the answer not in the manual?
Questions and answers