Table of Contents
Advertisement
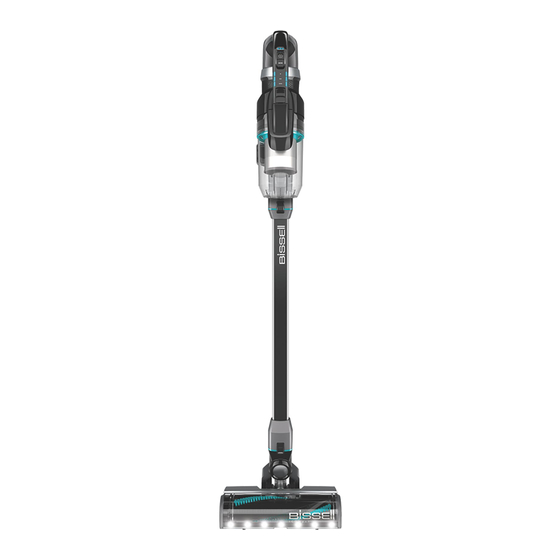
ICON 25V CORDLESS VACUUM
MODEL 2602F
Go online for a comprehensive walkthrough
of your product!
This guide has everything you need to get ready for first use,
including setting up, using and maintaining your machine,
but online you'll find additional resources like tips and
troubleshooting, videos, product registration, parts and more.
Go to BISSELL.com.au.
Advertisement
Table of Contents

Summary of Contents for Bissell 2602F
- Page 1 ICON 25V CORDLESS VACUUM MODEL 2602F Go online for a comprehensive walkthrough of your product! This guide has everything you need to get ready for first use, including setting up, using and maintaining your machine, but online you’ll find additional resources like tips and troubleshooting, videos, product registration, parts and more.
-
Page 2: Important Safety Instructions
• Do not use on wet surfaces. Do not expose to rain. Store indoors. center. SAVE THESE INSTRUCTIONS ORIGINAL INSTRUCTIONS. FOR OPERATION ON A 220-240 VOLT A.C. 50-60 HZ POWER SUPPLY ONLY. THIS MODEL IS FOR HOUSEHOLD USE ONLY. 2 BISSELL.com.au... -
Page 3: Table Of Contents
For a comprehensive walkthrough of your product, go to BISSELL.com.au. What’s in the Box? ..........4 Emptying the Dirt Tank ........8 Getting to Know Your Vacuum ....4 Removing the Brush Roll ........ -
Page 4: What's In The Box
Wall Storage & Dusting Brush TurboBrush® Tool & Charging Station Getting to Know Your Vacuum For additional support videos and information about your vacuum, visit BISSELL.com.au. Product View 1. Hand Vacuum Assembly 2. Power Button 3. Cleaning Mode Button 4. Tank Release Button 5. -
Page 5: Assembly
Battery” for instructions. connected. Installing the Wall Storage & Charging Station Go to BISSELL.com.au for more tips and video instructions on installing the Wall Storage & Charging Station. Open the Wall Storage Insert the tool holders into Plug the power adapter &... -
Page 6: Charging The Battery
Charging the Battery Go to BISSELL.com.au for additional how-to videos. Before first use, make sure to fully charge your stick vacuum for 4 hours to get a full charge. To charge the battery you can plug the charger directly into the Hand Vacuum Assembly or into the Wall Storage &... -
Page 7: Using The Vacuum
Using the Vacuum Looking for more guidance? Go to BISSELL.com.au for tips and 24-7 support while cleaning. ICON Cordless can be used as a stick vacuum, hand vacuum or for extended reach with hand vacuum + wand. Press the Power Button to... -
Page 8: Emptying The Dirt Tank
Emptying the Dirt Tank More of a video person? Go to BISSELL.com.au for additional how-to videos. Turn OFF your machine. Grab the top of the tank Fully remove the separator Remove the Dirt Tank from the and pull up. This will activate a... -
Page 9: Cleaning & Replacing The Filters
Cleaning & Replacing the Filters Go to BISSELL.com.au for tips on maintaining and replacing your vacuum filters. Pre-Motor Filters For best cleaning performance, always clean your pre-motor filter after each use. To clean the pre-motor Pull filter from the top of... -
Page 10: Disposing Of The Batteries
Disposing of the Batteries Go to BISSELL.com.au for additional support and how-to videos. Run the battery out. Make Remove five screws from the Pull the bottom cover off of sure the unit is disconnected back of the unit. the back of the unit. -
Page 11: Troubleshooting
Troubleshooting For a comprehensive walkthrough of your product and support visit BISSELL.com.au. This guide has everything you need to get ready for first use, including setting up, using and maintaining your machine, but online you’ll find additional resources like tips and troubleshooting, videos, product registration, parts, and more. -
Page 12: Guarantee
BISSELL which is imposed by law, or limits or original purchaser, for two years any defective or modifies any remedy available to the consumer malfunctioning part due to manufacturer defect.


Need help?
Do you have a question about the 2602F and is the answer not in the manual?
Questions and answers