Table of Contents
Advertisement
Quick Links
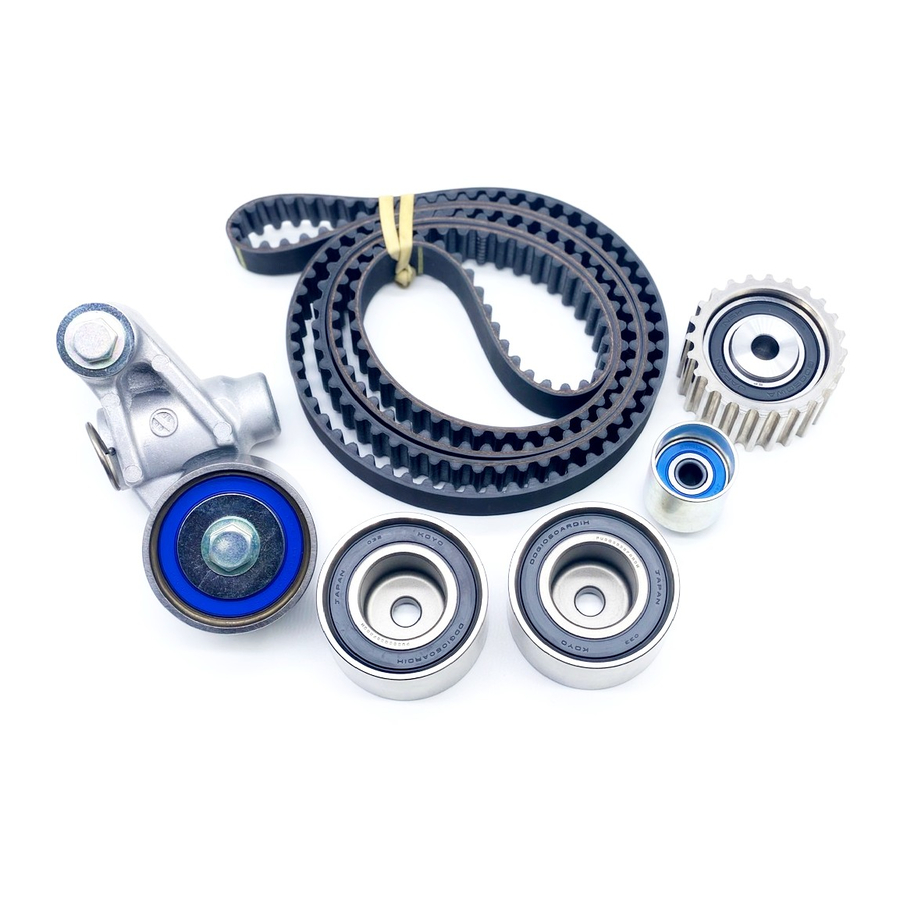
S T i T I M I N G B E L T
I N S T R U C T I O N S
Thank you for your purchase of SPT Performance Parts.
The following instructions have been provided to you as a courtesy
of Subaru of America, Inc.
Installation instructions are intended only for certified trained
automotive technicians or those with the necessary automotive
knowledge to properly complete the job. In some cases, special
tools may be required. Installation should never be undertaken by
unqualified persons or by those lacking the necessary tools and
facilities.
Subaru of America, Inc. reserves the right to alter these installation
instructions at any time without prior notification to customers.
http://www.spt.subaru.com
11/2003
Advertisement
Table of Contents

Related Manuals for Subaru STi TIMING BELT


Summary of Contents for Subaru STi TIMING BELT
- Page 1 Installation should never be undertaken by unqualified persons or by those lacking the necessary tools and facilities. Subaru of America, Inc. reserves the right to alter these installation instructions at any time without prior notification to customers. http://www.spt.subaru.com...
- Page 2 STi PERFORMANCE TIMING BELT Timing Belt Installation Instructions Remove the serpentine belts ALTERNATOR / POWER STEERING BELT 1) Remove the belt cover. 2) Loosen the lock bolt (A). 3) Loosen the slider bolt (B). 4) Remove the Alternator / Power Steering belt (C). AIR CONDITIONING COMPRESSOR BELT 1) Loosen the lock nut (A).
- Page 3 3) Remove the A/C belt. 4) Remove the A/C belt tensioner. Remove the crankshaft pulley 1) Remove the crankshaft pulley bolt. To lock crankshaft, use: ST 499977300 CRANKSHAFT PULLEY WRENCH 2) Remove the crankshaft pulley. Remove the timing belt cover 1) Remove the left-hand belt cover (A).
- Page 4 2) Remove the right-hand belt cover (B). 3) Remove the front belt cover (C). Remove the timing belt 1) Remove the timing belt guides. (MT vehicle)
- Page 5 2) If the alignment mark and/or arrow mark (which indicates rotation direction) on timing belt fade away, put new marks before removing the timing belt as follows: (A) Turn the crankshaft using ST 499987500 and align alignment marks on crankshaft sprocket, lefthand intake camshaft sprocket, left-hand exhaust camshaft sprocket, right-hand intake camshaft sprocket and right hand exhaust camshaft...
- Page 6 : 54.5 tooth length : 51 tooth length : 28 tooth length 3) Remove the belt idler (A).
- Page 7 4) Remove the timing belt. CAUTION: After the timing belt has been removed, never rotate the intake and exhaust, camshaft sprocket. If the camshaft sprocket is rotated, the intake and exhaust valve heads strike together and valve stems are bent. Remove the automatic belt tension adjuster assembly 1) Remove the automatic belt tension adjuster assembly.
- Page 8 Install the automatic belt tension adjuster assembly and belt idler CAUTION: • Always use a vertical type pressing tool to move the adjuster rod down. • Do not use a lateral type vise. • Push the adjuster rod vertically. • Be sure to slowly move the adjuster rod down applying a pressure of 294 N (30 kgf, 66 lb).
- Page 9 4) Install the automatic belt tension adjuster assembly. Tightening torque: 39 N·m (4.0 kgf-m, 28.9 ft-lb)
- Page 10 Install the timing belt Crankshaft and camshaft sprocket alignment (1) Align mark (A) on the crankshaft sprocket with mark on the oil pump cover at cylinder block. (2) Align single line mark (A) on the right-hand exhaust camshaft sprocket with notch (B) on belt cover.
- Page 11 and exhaust camshaft sprockets are aligned.) (4) Align single line mark (A) on left-hand exhaust camshaft sprocket with notch (B) on belt cover by turning the sprocket counterclockwise (as viewed from front of engine). (5) Align single line mark (A) on left-hand intake camshaft sprocket with notch (B) on belt cover by turning the sprocket clockwise (as viewed from front of engine).
- Page 12 engine can be independently rotated with the timing belts removed. As can be seen from the figure, if the intake and exhaust valves are lifted simultaneously, their heads will interfere with each other, resulting in bent valves. (A) Intake camshaft (B) Exhaust camshaft •...
- Page 13 intake and exhaust valves to lift simultaneously, resulting in interference with their heads. 7) Installation of timing belt: Align the alignment mark on the timing belt with marks on the sprockets in the alphabetical order shown in the figure. While aligning marks, position the timing belt properly. CAUTION: •...
- Page 14 8) Install the belt idlers. Tightening torque: 39 N·m (4.0 kgf-m, 28.9 ft-lb) CAUTION: Make sure that the marks on the timing belt and sprockets are aligned. 9) After ensuring that the marks on the timing belt and sprockets are aligned, remove the stopper pin from tensioner adjuster.
- Page 15 (11) Tighten the remaining bolts. Tightening torque: 9.8 N·m (1.0 kgf-m, 7.2 ft-lb)
- Page 16 Install the timing belt cover 1) Install the front belt cover (C). Tightening torque: 5 N·m (0.5 kgf-m, 3.6 ft-lb) 2) Install the right-hand belt cover (B).
- Page 17 Tightening torque: 5 N·m (0.5 kgf-m, 3.6 ft-lb) 3) Install the left-hand belt cover (A). Tightening torque: 5 N·m (0.5 kgf-m, 3.6 ft-lb) Install the crankshaft pulley 1) Install the crankshaft pulley. 2) Install the pulley bolt. To lock the crankshaft, use: ST 499977300 CRANKSHAFT PULLEY WRENCH (3) Clean the crankshaft pulley thread using an...
- Page 18 CAUTION: If the tightening angle of crankshaft pulley bolt is less than 45 degrees, the bolt should be damaged. In this case, the bolt must be replaced. (8) Replace the crankshaft pulley bolts and clean them. Crankshaft pulley bolt: 12369AA011 (9) Clean the crankshaft thread using an air jet.
- Page 19 Tightening torque: Lock bolt through bolt: 25 N·m (2.5 kgf-m, 18 ft-lb) Slider bolt: 8 N·m (0.8 kgf-m, 5.5 ft-lb) 17) Install the belt cover.
Need help?
Do you have a question about the STi TIMING BELT and is the answer not in the manual?
Questions and answers