
Related Manuals for ARCTIC WIND AP6018


Summary of Contents for ARCTIC WIND AP6018
- Page 1 PORTABLE AIR CONDITIONER USER MANUAL FOR MODEL: AP6018 Before using your air conditioner, please read this manual carefully and keep it for future reference, along with your receipt.
-
Page 2: Table Of Contents
Foreword Portable Air conditioners are pieces of high value. In order to ensure your lawful rights and interests, please have the professional technicians to do the installation for you. This Instruction Manual is the universal-purpose version for the models of portable air conditioners manufactured by our Co. -
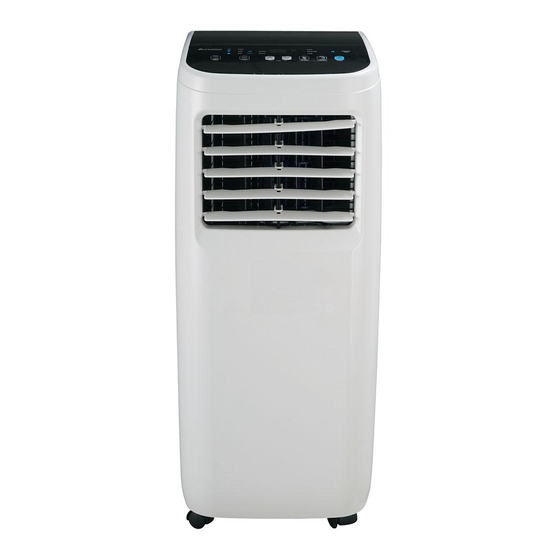
Page 3: Product Diagram
PRODUCT DIAGRAM PRODUCT DIAGRAM 1. Control Panel 2. Manual Control Louver & Air Outlet 3. Carry Handle 4. Caster 5. Air Filter 6. Air Filter 7. Hot Air Discharge Opening 8. Air Intake Grille 9. Condensation Drain Hole 10. Exhaust Hose 11. -
Page 4: Parts & Assembly
PARTS & ASSEMBLY WINDOW VENTING KIT Window Kit Adapter OPTIONAL WINDOW SECURITY BRACKET ASSEMBLY & INSTALLATION When the unit is operating in air conditioning mode, the unit draws in indoor air and exhausts hot air out of the room to complete the air exchange. The Window Kit must be installed when operating the unit in Air Conditioning or Dehumidification Mode. -
Page 5: Window Kit Assembly
WINDOW KIT ASSEMBLY... -
Page 6: Window Kit Installation
WINDOW KIT INSTALLATION PORTABLE AIR CONDITIONER The window venting kit must be installed in order for the unit to work correctly. The window venting kit has been de- signed to fit into most vertical and horizontal window openings and sliding glass doors up to 7 feet. 1. -
Page 7: Security Bracket
SECURITY BRACKET Optional Security Bracket Installation Your Window Kit also includes an optional security bracket that can be installed to prevent the window from being opened from the outside while a Window Kit is installed. Single and Double Hung Windows Sliding Windows... -
Page 8: Control Panel
CONTROL PANEL Fan Speed Bucket Full Turbo Cool Sleep Mode Air Conditioner Indicators Indicator Fan Mode Indicator Indicator Mode Indicator Indicator Timer Indicator Power Indicator Dehumidifier Mode Auto Mode Indicator Indicator OPERATING INSTRUCTIONS FOR CONTROL PANEL BUTTONS 1) Power On and Off - Press the POWER button once to manually turn the unit on. Press the POWER button once more to turn the unit off. -
Page 9: Remote Control
REMOTE CONTROL LCD DISPLAY POWER BUTTON TIMER/TEMP INCREASE SLEEP BUTTON MODE BUTTON TIMER/TEMP DECREASE TURBO COOL BUTTON FAN SPEED TIMER BUTTON °C/°F SWITCH BUTTON REMOTE LOCK BUTTON MY TEMP BUTTON... - Page 10 REMOTE CONTROL 1) Power On and Off - When the unit is plugged in, press the POWER button to turn on the unit. Press the POWER button once more to turn the unit off. When in Cool mode, Auto mode, and Sleep mode, the selected temperature will appear on the remote control LCD display.
-
Page 11: Unit Operation
UNIT OPERATION Cool Mode 1) Install the exhaust hose and window kit properly (see pages 3&4). 2) Plug the Power Cord into an electrical outlet. 3) Turn on the unit by pressing the POWER button. 4) Press the MODE button until the Cool mode indicator lights up on the control panel display. 5) Press the until the desired room temperature appears on the control panel display. - Page 12 UNIT OPERATION Auto Mode 1) Install the exhaust hose and window kit properly (see pages 3&4). 2) Plug the Power Cord into an electrical outlet. 3) Turn on the unit by pressing the POWER button. 4) Press the MODE button until the AUTO mode indicator lights up on the control panel display. Auto Mode will operate the unit in Cool mode when the temperature is above 72 degrees, Fan mode when the temperature is below 72 degrees.
-
Page 13: Maintenance
MAINTENANCE HOW TO DRAIN THE INTERNAL WATER TANK *You will need a small pan, approximately 1” high to catch the water coming out of the water tank. Once the water tank is empty, the unit will resume operation within a few minutes. 1. - Page 14 MAINTENANCE NOTE: Make sure power is off and the power cord is not plugged into an electrical outlet prior to perform- ing any maintenance on the unit Clean or replace filter - If the air filter is blocked with a dust, the airflow volume may reduce. It is recommended to clean the filter once every two weeks or as needed.
-
Page 15: Troubleshooting
TROUBLESHOOTING PROBLEM CAUSE SOLUTION • Plug unit in. • Unit is not plugged in • Check electric breaker box for a Air conditioner does not • No electric current to outlet trip power on • Internal safety device has tripped •... - Page 16 Distributed by: Perfect Aire, LLC 5401 Dansher Rd. Countryside, IL 60525 844-472-2473 www.arcticwindac.com AW/User_AP6018/12152017 Specification and performance data is subject to change without notice. Printed in China...
Need help?
Do you have a question about the AP6018 and is the answer not in the manual?
Questions and answers