Advertisement
Table of Contents
- 1 Table of Contents
- 2 Important Safety Instructions
- 3 Product Overview
- 4 Setup / Basic Operation
- 5 Listening To A Vinyl Record
- 6 Listening To Music Via Rca Line Out
- 7 Listening To Music Via Bluetooth Out
- 8 Using The Anti-Skate / Pitch Control / Stroboscope
- 9 Usb Recording Operation
- 10 Specifications
- 11 Troubleshooting
- 12 Fcc Statement
- 13 California Prop 65 Warning
- 14 Warranty
- Download this manual
Advertisement
Table of Contents

Related Manuals for Victrola VPRO-2000


Summary of Contents for Victrola VPRO-2000
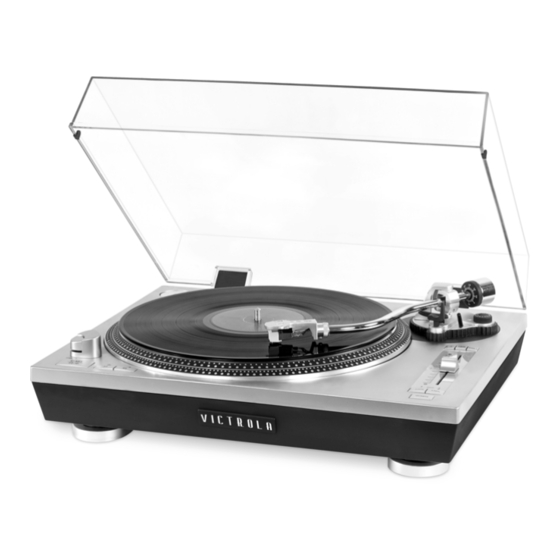
- Page 1 MODEL: VPRO-2000 PROFESSIONAL TURNTABLE Instruction Manual PLEASE READ THIS INSTRUCTION MANUAL CAREFULLY BEFORE USE AND KEEP IT FOR FUTURE REFERENCE.
-
Page 2: Table Of Contents
IMPORTANT SAFETY INSTRUCTIONS ................3 PRODUCT OVERVIEW ....................... 5 SETUP / BASIC OPERATION....................7 LISTENING TO A VINYL RECORD ..................8 LISTENING TO MUSIC VIA RCA LINE OUT................ 10 LISTENING TO MUSIC VIA BLUETOOTH OUT ..............10 USING THE ANTI-SKATE / PITCH CONTROL / STROBOSCOPE ......... 11 USB RECORDING OPERATION..................12 SPECIFICATIONS......................12 TROUBLESHOOTING ....................... 13 FCC STATEMENT ......................14 CALIFORNIA PROP 65 WARNING ..................15 WARRANTY........................15... -
Page 3: Important Safety Instructions
CAUTION: To reduce the risk of fire or electric shock, do not expose this appliance to rain or moisture. WARNING: To prevent electric shock, do not use this (polarized) plug with an extension cord, receptacle or other outlet unless the blades can be fully inserted to prevent blade exposure. IMPORTANT SAFETY INSTRUCTIONS Read these instructions –... - Page 4 14. Refer all servicing to qualified personnel. Servicing is required when the apparatus has been damaged in any way, such as power supply cord or plug is damaged, liquid has been spilled or objects have fallen into the apparatus has been exposed to rain or moisture, does not operate normally, or has been dropped.
-
Page 5: Product Overview
PRODUCT OVERVIEW Front View: ON/OFF: Press to turn the unit on or off. START/STOP: Engages and disengages the belt drive in the turntable. SPEED INDICATOR TURNTABLE SPEED BUTTON: Select 33 or 45 RPM turntable speed. (NOTE: 78 RPM is selected by pressing both 33 and 45 buttons simultaneously, both speed indicator will light up.) STROBE DOTS (On Turntable Edge): Operate in conjunction with stroboscopic light located under the ON/OFF to provide visual indication of accurate turntable speeds. - Page 6 11. CUEING LEVER 12. TONE ARM REST HOLDER 13. VOL-/VOL+: When streaming via Bluetooth, press to adjust the sound level. 14. BLUETOOTH INDICATOR 15. PAIR: In Bluetooth mode, press to connect the your Bluetooth amplifier device. Press and hold to disconnect from your Bluetooth amplifier device. 16.
-
Page 7: Setup / Basic Operation
SETUP / BASIC OPERATION 1. Remove any packaging materials from the unit. 2. Connect the AC power cord to a wall outlet. 3. Press the ON/OFF button to turn the unit on. Installing the Platter Before Use: 1. Take all the components from the package and make sure to place the unit on a clear stable surface. 2. -
Page 8: Listening To A Vinyl Record
Place the turntable slip mat on the platter. Remove the counterweight and place it on the back of the Tone arm. See Illustration to the right – See Instructions below for proper installment. Remove the 45 RPM adapter from the packaging and place it in the top right corner of the record player. - Page 9 6. Finally, from this “0” reference position, grasp BOTH parts of the counter weight and black number ring and rotate the weight counter-clockwise so that the “2.5” marking on the dial is in the 12 o’clock position. This will set the tone arm to 2.5 grams of downward force, the recommended tracking weight for this needle (cartridge).
-
Page 10: Listening To Music Via Rca Line Out
Caution: - Do not remove/bend the stylus needle and do not touch the needle to avoid injury. - Turn off the unit’s power before you replace the stylus and keep out of reach of children. LISTENING TO MUSIC VIA RCA LINE OUT 1. -
Page 11: Using The Anti-Skate / Pitch Control / Stroboscope
USING THE ANTI-SKATE / PITCH CONTROL / STROBOSCOPE Using the Anti-Skate Dial Before using the turntable, make sure the anti-skating dial is set to “0”. The anti-skating function helps compensate inward tracking force that occurs with certain records when the stylus (needle) nears the center or end of the record. If the turntable is experiencing excessive skipping while nearing the center pin, follow these steps to reduce any skating. -
Page 12: Usb Recording Operation
USB RECORDING OPERATION To properly record your vinyl to MP3 via computer, use the included USB Output Cable and Instructional CD Software. Connect one end of the USB cable to the turntable and the other end into your computer. Then connect the AC power cord to the turntable. To install and use the software on your computer, select the proper Mac or PC install files, then follow the prompts provided on the Instructional CD. -
Page 13: Troubleshooting
TROUBLESHOOTING In case of trouble with the unit, please look at the chart below. If the issue is not listed below, please contact customer service or the supplier for more assistance. Symptom Possible Cause Solution - Power does not come on when - Connect the unit to - Unit is unplugged. -
Page 14: Fcc Statement
Please note: As a result of continual improvements, the design and specifications of this product are subject to change without notice. Victrola is a registered trademark of Innovative Technology Electronics LLC. Bluetooth is a registered trademark of Bluetooth SIG, Inc. -
Page 15: California Prop 65 Warning
God or attempted repair by an unauthorized service agent. To obtain service, the purchaser MUST present an original sales receipt / proof of purchase. Please contact us at www.victrola.com to request an RMA (Return Material Authorization) number to return products for service or replacement. - Page 16 REMEDY OF THE CUSTOMER, (IT) SHALL NOT BE LIABLE FOR ANY INCIDENTAL OR CONSEQUENTIAL DAMAGES FOR BREACH OF ANY EXPRESS OR IMPLIED WARRANTY ON THIS PRODUCT EXCEPT TO THE EXTENT PROHIBITED BY APPLICABLE LAW. ANY IMPLIED WARRANTY OF MERCHANTABILITY OR FITNESS FOR A PARTICULAR PURPOSE ON THIS PRODUCT IS LIMITED IN DURATION TO THE DURATION OF THIS WARRANTY.
Need help?
Do you have a question about the VPRO-2000 and is the answer not in the manual?
Questions and answers