Bio Green Thermo 2 Installation And Operating Instruction
Hide thumbs
Also See for Thermo 2:
- Installation and operating instruction (48 pages) ,
- Installation and operating instruction (24 pages) ,
- Installation and operating instruction (74 pages)
Table of Contents
Advertisement
Quick Links
Advertisement
Table of Contents

Related Manuals for Bio Green Thermo 2


Summary of Contents for Bio Green Thermo 2
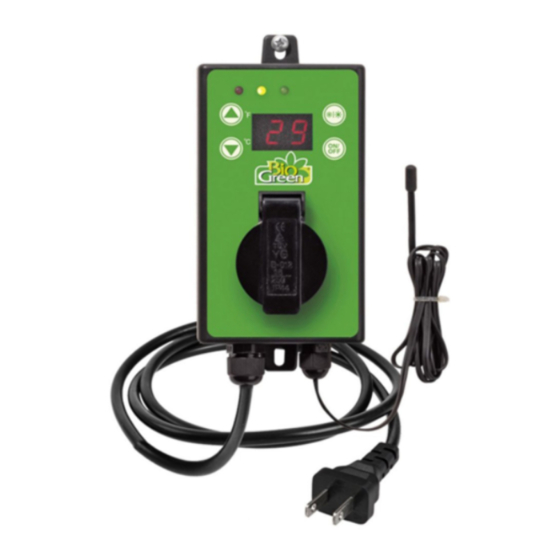
- Page 1 Installation and operating instruction Digital-Thermostat Thermo 2...
- Page 2 Digital-Thermostat Thermo 2 1. Scope of supplyl Digital-Thermostat Thermo 2 Incl. suspension device 2. Technical data Type of unit: Thermo 2 Power supply: 230 V / 50-60 Hz Max. breaking capacity: 3000 W Max. switching current: 16 A Control range: 0 –...
- Page 3 Digital-Thermostat Thermo 2 4. Advice on safety and risks • Only a 230 V ~ / 50-60 Hz mains socket in the public supply network may be used as a power source. Never try to operate the unit at a different voltage.
- Page 4 Digital-Thermostat Thermo 2 5. Installation Make sure that the mains voltage corresponds to the voltage indicated in Chapter 2 (technical data). The place of installation must be chosen so that the unit can under no circumstances get wet (e.g. dripping condensation, open roof hatches, etc.) or fall into water.
- Page 5 Digital-Thermostat Thermo 2 6. Operation When installing, check that the unit or mains cable is not damaged. Also make sure that the Heat Heat and cool Cool sensor cable has not become sharply kinked as mode on LED this may impair operation.
- Page 6 Digital-Thermostat Thermo 2 Operating modes It is indicated by the yellow LED whether the heat or cool mode is active. LED’s Operating mode yellow green “Heat” mode selected / theoretical temperature reached / heat mode off “Heat” mode selected /...
- Page 7 Digital-Thermostat Thermo 2 9. Servicing and maintenance under warranty We give you a 2 year unlimited manufacturer’s warranty (from date of purchase) on all Bio Green products. Excluded from the warranty is damage due to violence, improper use and failure to follow instructions for use, cleaning and maintenance work.
Need help?
Do you have a question about the Thermo 2 and is the answer not in the manual?
Questions and answers