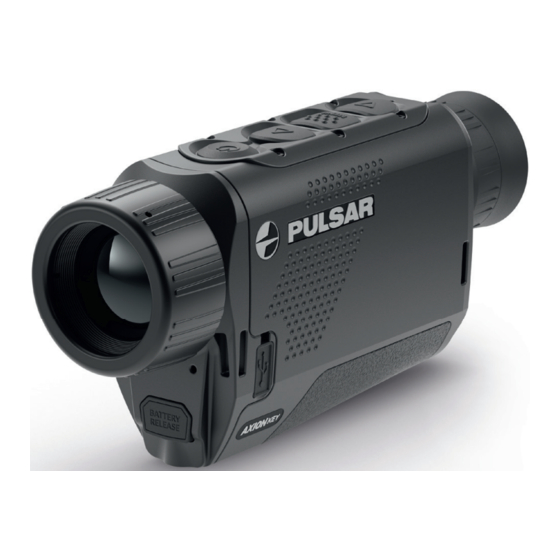
Summary of Contents for Pulsar Axion Key X?22
- Page 1 AXION Thermal Imaging Monoculars Operating Instructions English / Français / Deutsch / Español / Italiano / Русский...
-
Page 2: Istruzioni Per L'uso
Thermal Imaging Monoculars AXION KEY English Operating Instructions Imageurs Thermiques AXION KEY 8-14 Français Mode d'emploi Wärmebildkameras AXION KEY 15-21 Deutsch Bedienungsanleitung Generador de imágenes térmico AXION KEY 22-28 Español Instrucciones de uso Termovisori AXION KEY 29-35 Italiano Istruzioni per l'uso Тепловизор... -
Page 3: Specifications
џ Improvements may be made to the design and software of this product to enhance its user features. Battery Pack The current version of the User's Manual may be found on the website www.pulsar-vision.com Quick-change APS3 Li-ion battery pack џ... -
Page 4: Using The Rechargeable Battery
COMPONENTS AND CONTROLS USING THE RECHARGEABLE BATTERY 1. Eyepiece dioptre adjustment ring AXION KEY thermal imagers are supplied with a 2. Down button rechargeable APS3 Lithium-ion Battery Pack which 3. Menu button enables the thermal imager to be used for up to 3 4. - Page 5 Battery charge status (see table). EXTERNAL POWER SUPPLY LED Indicator * Battery charge status External power is supplied from an external source, such as a 5V Power Bank. Battery charge from 0% to 10%; Charger not connected to the mains power supply. Attach the external power source to the device's USB connector (8) (Fig.
-
Page 6: Main Menu Functions
Composition and description of the menu Brightness – by pressing the UP (4) / DOWN (2) buttons and changing the display brightness value from 00 to Mode Selection of observation mode The thermal imager has three automatic operating modes. Contrast ... -
Page 7: Status Bar
fixed cross – that is required to facilitate a search for the defective pixel and to align the Date Setting the Date marker with it. There are horizontal and vertical directional arrows to move the marker Enter the 'Date' submenu with a short press of the Menu button (3). The date appears in џ... -
Page 8: Maintenance
horizontal fixed cursor so that the object is positioned between the cursors. An automatic recalculation of the USB CONNECTION USB connection distance to the target occurs simultaneously with this movement. Use as power Connecting the device to a computer used as an external power source. If the distance is not determined within 10 seconds, the information disappears from the display. - Page 9 Malfunction Possible reason Correction By following the link below you can find answers to the most frequently asked questions about thermal imaging https://www.pulsar-nv.com/glo/support/faq/79 Thermal imager does Battery completely discharged. Charge the battery. not power up. Does not operate USB cable damaged.


Need help?
Do you have a question about the Axion Key X?22 and is the answer not in the manual?
Questions and answers