
Related Manuals for Samsung NK30N7000US


Summary of Contents for Samsung NK30N7000US
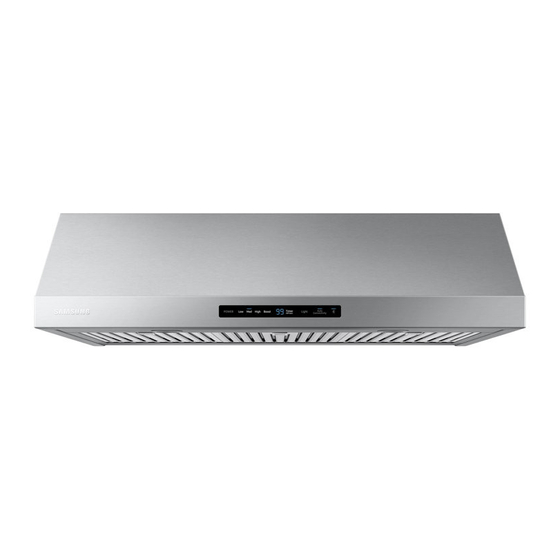
- Page 1 Range Hood Hotte de la cuisine Campana de cocina Installation Instructions Guide Guide d’instructions d’installation Guía de Instrucciones para Instalación NK30N7000US / NK36N7000US / NK30N7000UG / NK36N7000UG LIB0139973...
-
Page 2: Table Of Contents
Table of Contents Important Safety Instructions Installation Requirements Electrical Requirements Venting Requirements Venting Methods Tools and Parts Dimensions and Clearances Installation Prepare Location Installing the Range Hood Connect Vent System Electrical Connection Complete Installation Range Hood Use Range Hood Description Range Hood Controls Connectivity Cooktop / Hood Range Range Hood Care... -
Page 3: Important Safety Instructions
Important Safety Instructions APPROVED FOR RESIDENTIAL APPLIANCES FOR RESIDENTIAL USE ONLY READ AND SAVE THESE INSTRUCTIONS PLEASE READ ENTIRE INSTALLATION GUIDE BEFORE PROCEEDING. INSTALLATION MUST COMPLY WITH ALL LOCAL CODES. IMPORTANT: Save these Instructions for the Local Electrical Inspector’s use. INSTALLER: Please leave these Instructions with this unit for the owner. - Page 4 Important Safety Instructions WARNING WARNING TO REDUCE THE RISK OF FIRE, ELECTRIC SHOCK, OR INJURY TO TO REDUCE THE RISK OF A RANGE TOP GREASE FIRE: PERSONS, OBSERVE THE FOLLOWING PRECAUTIONS: ■ Never leave surface units unattended at high settings. Boilovers ■...
-
Page 5: Installation Requirements
Installation Requirements Electrical equirements For the most efficient and quiet operation: • Use no more than three 90° elbows. IMPORTANT Observe all governing codes and ordinances. • Make sure there is a minimum of 24” (61 cm) of straight vent between the elbows if more than 1 elbow is used. -
Page 6: Tools And Parts
Hood assembly with blower and LED lamps already installed. • Hardware bag with: Part Part 5.4x75 mm screws (for 10x60 mm wall 5x45 mm anchors) NK30N7000US NK36N7000US NK30N7000UG NK36N7000UG 10 x 60 mm 4.5x13 mm 30″ (76 cm) 36″ (91.2 cm) Torx 10 adapter 3.5x9.5 mm... -
Page 7: Installation
Installation Requirements Installation Clearances Wood filler strips (recessed cabinet bottoms only) 3” (7.6 cm) Cabinet bottom ⁄ ⁄ 30”model: 13 ” (35 cm) 30”model: 13 ” (35 cm) ⁄ ⁄ 36”model: 16 ” (42,5 cm) 36”model: 16 ” (42,5 cm) 3”... -
Page 8: Installing The Range Hood
Installation STYLE 1 - CUT OPENINGS FOR 3¼” X 10” (8.3 CM X 25.4 CM) To make a circular vent opening on the underside of the cabinet top: RECTANGULAR VENT SYSTEM 1. Draw a centerline on the underside of the top of the cabinet. Wall venting 2. -
Page 9: Connect Vent System
Installation Connect ent Vent connector installation The range hood is factory set for use the top vent outlet. Determine whether the range hood will be installed using either a top or rear vent connection. Rear vent connector installation NOTE For rear venting, the blower motor position must be changed. You will need the rear motor mounting bracket that is included with the range hood. -
Page 10: Electrical Connection
Installation Mounting the Range Hood on a Cabinet Mounting the Range Hood on the Wall 1. Using 2 people, lift the range hood into it’s final location. Feed enough 1. Fix the wiring conduit of the hood. electrical wire through the strain relief to make connections in the termi- 2. -
Page 11: Complete Installation
Range Hood Use lete t e n tallation 3. Remove the knockout in the terminal box cover, and then install a UL listed or CSA approved ⁄ ” strain relief. 1. Replace the baffle filters. See the “Range Hood Care” section. 2. -
Page 12: Connectivity Cooktop / Hood Range
Press and hold again to turn on the sounds. COOKTOP AND RANGE HOOD CONNECTIVITY This appliance has a feature which allows you to pair compatible Samsung cooktops and your hood via Bluetooth. After you enable this function and pair your hood and a compatible... -
Page 13: Range Hood Care
Range Hood Care 2. Wash the stainless steel baffle filter as needed in a dishwasher or hot Cleanin detergent solution. IMPORTANT: Clean the hood and grease filters frequently 3. To reinstall the filter, first make sure the spring release handle is according to the following instructions. -
Page 14: Warranty (Usa)
SAMSUNG’s authorized service center. REVENUE OR PROFITS, FAILURE TO REALIZE SAVINGS OR SAMSUNG will repair or replace this product, at our option and OTHER BENEFITS, OR ANY OTHER SPECIAL, INCIDENTAL OR at no charge as stipulated herein, with new or reconditioned... -
Page 15: Warranty (Canada)
WITH RESPECT TO THIS PRODUCT SHALL BE BINDING ON SAMSUNG will repair or replace this product, at our option and SAMSUNG. SAMSUNG SHALL NOT BE LIABLE FOR LOSS OF at no charge as stipulated herein, with new or reconditioned...