
Related Manuals for Timbertech Impression Rail Express


Summary of Contents for Timbertech Impression Rail Express
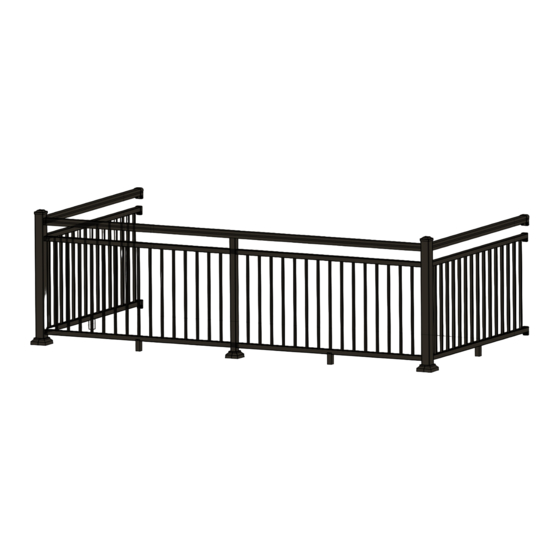
- Page 1 Impression Rail ™ Express Open Mid-Rail Installation Guide Aluminum Posts ......4 Level Panels ........8 Stair Panels ........11 TimberTech.com...
- Page 2 If you have any questions or need further assistance, please call AZEK Customer Service at 877-ASK-AZEK (877-275-2935), or visit our website at www.TimberTech.com. • Impression Rail Express is tested as a whole system and should be used that way. It is not intended to be used in conjunction with other railing systems or fasteners.
- Page 3 Installing Impression Rail Express ™ Open Mid-Rail Aluminum Railing System **CONCRETE APPLICATIONS** WHEN POSTS ARE SECURED TO CONCRETE SUBSTRATES USE CONCRETE ANCHORS (SOLD SEPARATELY) ENSURE PROPER BLOCKING 3" X 42" POST/BASE KIT ON DECK SURFACE 2" X 42" CENTER POST PANEL ATTACH KIT REQUIRED WHEN DECK PANELS ARE CUT &...
- Page 4 Installing Impression Rail Express ™ Aluminum Posts Determine All Posts Needed and Prepare (end, center or corner) Important Note: 3" posts are required to reach 6' and 8' lengths. 2" posts must Dia. #1 be set in-line to panel. Do not install post caps and vinyl post base covers until railing assembly is completed.
- Page 5 Installing Impression Rail Express ™ Aluminum Posts Install Stair End Posts (if applicable) DECK SURFACE • Temporarily install end stair post so rail centerline aligns with top stair posts installed in Step 1 (if STAIR DOWN applicable). Recommended post installation locations are shown. (Dia.
- Page 6 Installing Impression Rail Express ™ Aluminum Posts TOP VIEW 3" CENTERLINE Install 45° Corner Posts TYPICAL (Post to be installed at 22.5° to accommodate a 45° LOCATE 45° ANGLED POST angle.) Dia. #8 Position post on same 3" centerline (typical) and temporarily fasten to deck surface.
- Page 7 Installing Impression Rail Express ™ Aluminum Posts Secure 2" Posts to Deck (center only) • For continuous top rail systems, install 2" posts centered between 3" end and corner posts. NOTE: 2" Posts must be installed with center screw chases in-line with panel (Dia.
- Page 8 Installing Impression Rail Express ™ Open Mid-Rail Level Panels Cut Level Panels and H-channels Clamp or hold panel against post, adjust for equal end spacing. (Dia. #1) Dia. #1 • Determine the desired center of Temporarily clamp panel and unpunched H-channel against posts and mark for cutting.
- Page 9 Installing Impression Rail Express ™ Open Mid-Rail Level Panels Cut and Install Two Bottom Rail Snaps • Measure between posts at the top and bottom. (Dia.#3) • For Continuous Top Rail, measure opening from 3" post to 3" post. • Cut two bottom snap covers 1/16" less than opening(s). •...
- Page 10 Installing Impression Rail Express ™ Open Mid-Rail Level Panels Install Foot Blocks For openings greater than 4', install foot blocks under center of bottom rail (Dia. #8) • Slide foot block under bottom rail and mark. • Install two deck screws at location of foot block, install foot block over screws.
- Page 11 Installing Impression Rail Express ™ Open Mid-Rail Stair Panels 3” POST KIT Important Notes: UNPUNCHED H-CHANNEL AND TOP SNAP • Actual Stair Panel Lengths: 6' Panels = 69.43" and 8' Panels = 91.31". 3″ posts are UPPER BOTTOM SNAP STAIR PANEL required to reach 6' and 8' lengths.
- Page 12 Installing Impression Rail Express ™ Open Mid-Rail Stair Panels Install Stair Clips On Posts Dia. #3 • After stair panel has been cut to proper size and angle, place the panel on the 2x4″ (or CLIP INSTALL TOP EDGE hold 11/2″ above stair nosing) board, between With #2 pencil place 2X #8 X mark on post at top of...
- Page 13 Installing Impression Rail Express ™ Open Mid-Rail Stair Panels Install Upper and Lower Bottom Snap Covers • Following the same angle as the secured stair panel, Temporarily clamp top clamp or hold top/bottom rail snaps against 3" posts and bottom rail snaps against posts and mark (Dia.
- Page 14 Installing Impression Rail Express ™ Open Mid-Rail Stair Panels REVISIONS - BALLOONS DENOTE CHANGES REV. DESCRIPTION DATE APPROVED 7/31/2018 75.70 OUTSIDE OF CAPS 75.44 OUTSIDE OF POSTS Dia. #10 Secure H-channels to Posts 69.44 INSIDE OF POSTS IMPRESSION TOP RAIL REVISIONS - BALLOONS DENOTE CHANGES •...
- Page 15 Installing Impression Rail Express ™ Open Mid-Rail Aluminum Railing System Plan Drawings / Notes Important Note: The diagrams and instructions in this brochure are for illustration purposes only and are not meant to replace a licensed professional. Any construction or use of the product must be in accordance with all local zoning and/or building codes. The consumer assumes all risks and liability associated with the construction or use of this product.
- Page 16 AZEK Building Products 1330 W Fulton Market, Suite #350 Chicago, IL 60607 TimberTech.com ©2019 AZEK Building Products. All Rights Reserved.
Need help?
Do you have a question about the Impression Rail Express and is the answer not in the manual?
Questions and answers