Advertisement
Advertisement
Table of Contents

Summary of Contents for SNEAKER THRONE The Sneaker Throne
- Page 1 ULTIMATE LIGHT-UP SNEAKER DISPLAY...
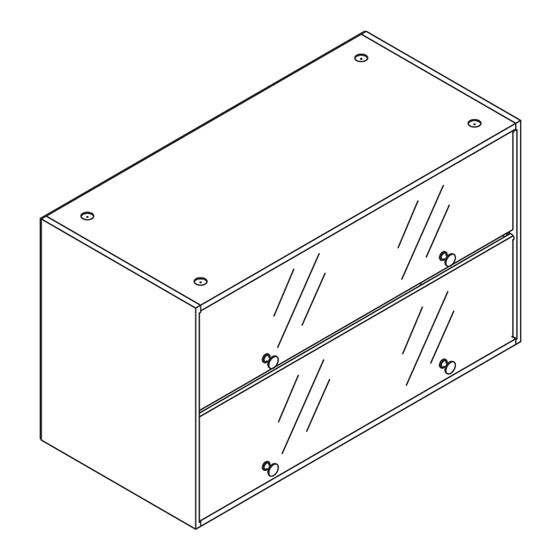
- Page 3 CAUTION: Please assemble the whole unit on top of carpet or soft surface to ensure product is not scratched or damaged during assembly. If needed, please assemble on top of a towel. Using a screwdriver, screw in the above 12 screws securely. Please take note of the proper hole location of each screw.
- Page 4 Insert 6 wooden pegs into sides of Panel A, Panel B and Panel C. Insert Cam Locking Screws into Panels A, B and C. Small arrows on the Cam Locking Screw should be facing the screws extending from Panel D. Place D panel on top inserting all screws and wooden pegs into appropriate holes.
- Page 5 VERY IMPORTANT: DO NOT SCREW THE WOODEN FEET INTO THE TOP OF THE UNIT. THE WOODEN FEET SHOULD BE SCREWED INTO THE BOTTOM OF THE UNIT. THERE ARE 4 TINY PRE- DRILLED HOLES TO HELP SCREW IN THE WOODEN FEET. IF YOU DO NOT SEE THE HOLES, DO NOT SCREW IN THE FEET.
- Page 6 You will need a total of 6 AA Batteries for the LED lighting option. Please insert the batteries into each of the black light boxes. Please attach the MALE pin connector (9) to the LED light strip (10) and then attach the portion that is extending from the black box (8). Now it is time to test the LED Lighting.
- Page 7 TIP OVER HAZARD: Secure finished unit to a wall stud using L-Bracket and Wall Screw (not provided). When stacking units, secure all units to wall studs using L-Bracket and Wall Screw. Please consult your local hardware store for approriate mounting hardware. Do not stack more than one unit on top for a maximum stacking height of 40".
Need help?
Do you have a question about the The Sneaker Throne and is the answer not in the manual?
Questions and answers