Advertisement
Quick Links
INSTRUCTION MANUAL
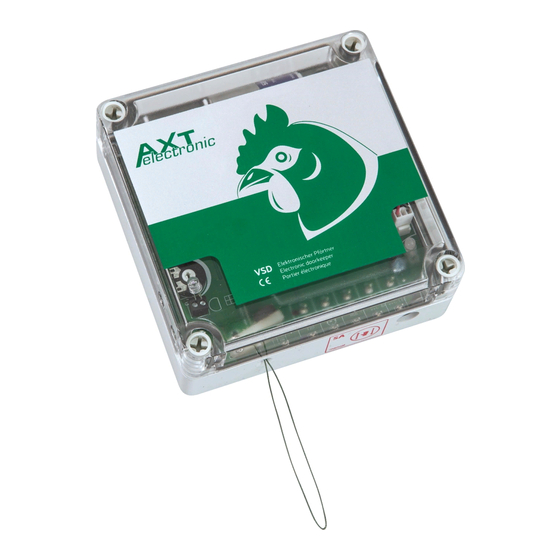
Electronic Doorkeeper VSD
Thank you for purchasing the
Electronic Doorkeeper VSD.
Please note the general information
on the back of this sheet and the
safety instructions in the manual.
AXT-electronic GmbH & Co. KG
Wartburgstrasse 10
99817 Eisenach / GERMANY
Phone: 0049 3691 721070
service@axt-electronic.de
www.axt-electronic.de
Advertisement

Related Manuals for AXT ELECTRONIC VSD


Summary of Contents for AXT ELECTRONIC VSD
- Page 1 INSTRUCTION MANUAL Electronic Doorkeeper VSD Thank you for purchasing the Electronic Doorkeeper VSD. Please note the general information on the back of this sheet and the safety instructions in the manual. AXT-electronic GmbH & Co. KG Wartburgstrasse 10 99817 Eisenach / GERMANY Phone: 0049 3691 721070 service@axt-electronic.de...
- Page 2 Fasten the second guide rail. 3. Now connect the Doorkeeper VSD to the slider (fix the cord to the slider) and insert the slider plate into the rails. Bring the slider together with the Doorkeeper into the desired upper position (door open).
-
Page 3: Additional Accessories
SA marking. ADDITIONAL ACCESSORIES Electronic Doorkeeper VSD Plug-In power supply The power supply unit is connected to contacts 1 at the bottom (blue cable) and 2 at the top (red cable). After plugging in the power supply, the Doorkeeper starts (LED flashes several times, last red) and is now ready for operation (LED off ). -
Page 4: Led Indicators
Now press both mode buttons together for at least 5 seconds. The mode is switched over. No „S“ may appear in the display for the use of the timer with the Doorkeeper. Depending on the accessories installed, the VSD Door- also reacts to the switching times in the timer. This is an opening and a closing time or a closing period (from- keeper can be used in three different operating modes. -
Page 5: Error Analysis
ERROR ANALYSIS Error / Failure Analysis Solution / Explanation No reaction to manual Do you use the related magnet and Not every magnet works. A corresponding magnetic field is required. control hold it against the corresponding We also supply replacement magnets. Please contact us, or have a look in our control panel? shop. - Page 6 This also ensures better rear ventilation. Remove the fixing screws for the wall. Cable glands and strain reliefs on the VSD/E are 6. Clean the devices (blow them out with com- not prescribed or necessary by us, but can be im-...
Need help?
Do you have a question about the VSD and is the answer not in the manual?
Questions and answers