Table of Contents

Related Manuals for Silver Cross 3D Car Seat


Summary of Contents for Silver Cross 3D Car Seat
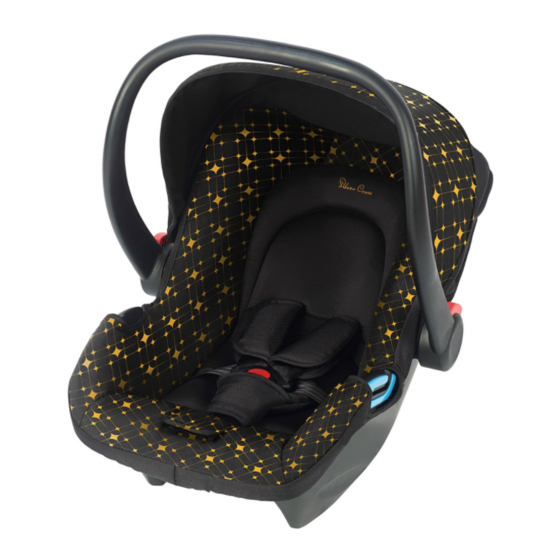
- Page 1 3D Car Seat Universal Group 0+ Suitable from birth to 13kg IMPORTANT, RETAIN FOR FUTURE REFERENCE: READ CAREFULLY To protect your baby correctly the Silver Cross 3D Car Seat must always be installed and used as per the manufacturer’s instructions.
- Page 2 NOTICE IMPORTANT! Please read all instructions in this manual and in the vehicle This is a ‘Universal’ child restraint. owner’s manual related to It is approved to Regulation no. 44, 04. series of amendments, for child safety seats carefully general use in vehicles and it will fit and understand them.
- Page 3 DO NOT take apart or DO NOT use a second- attempt to take apart the hand child seat or child seat child safety seat except as whose history you do not instructed in this manual. know. DO NOT use the child ALWAYS check the safety seat with damaged tightness of the restraint and...
- Page 4 NEVER install the child NEVER use this child safety seat forward facing. safety seat with 2 point vehicle belts. DO NOT use on the vehicle seats that face the DO NOT use in any sides or rear of the vehicle configuration not shown in (A, B).
- Page 5 DO make sure to HOT! Cover the child properly secure any loose safety seat when left in objects, such as luggage or direct sunlight. Parts of books, in your car as they a child safety seat may may cause injuries in the become too hot for the event of an accident.
- Page 6 Checklist Before Use Parts List Adjuster button Inspect Adjuster strap • Only use this car seat rear facing Crotch pad • Child restraint must be free of Harness damage Crotch belt Canopy Verify Child is Within Weight and Size Range Head support •...
- Page 8 Parts List Continued Shoulder belt guide Harness slot Splitter plate Shell...
- Page 9 Adjusting the Handle 1a. There are 4 positions: in vehicle position (A), carry position (A), middle positions (B,C) and stationary position (D) To adjust, squeeze handle release buttons on both sides, then rotate the handle. The handle will lock into position. You should hear a click when the handle button is engaged and handle is locked into the upright...
- Page 10 Adjusting the Harness Adjust the shoulder straps height so they are level with, or just below, the child’s shoulders. 2 b-c To adjust the height of shoulder straps, you need to take out the straps from the splitter plate located in the rear of the seat.
- Page 11 Adjusting the Harness 2d. Pull both straps through the shell and seat cover. Thread the harness straps through the proper harness slots. Make sure that both straps are even and not twisted. From the rear of the seat, secure the harness strap onto the splitter plate (reverse 2b).
- Page 12 Adjusting the Crotch Strap Position The crotch strap adjusts to 2 positions to fit the child’s size. Only move crotch strap position to outer position when the child weighs more than 7kg. Typically this is when harness is in middle slots. To move the crotch strap, locate the metal plate attached to crotch strap under the child...
- Page 13 Securing the Child Restraint Press the adjuster button on the front centre of the seat, and pull on both shoulder straps to loosen the harness. Press the red button on the buckle to release the shoulder straps and move them to the side.
- Page 14 Securing the Child Restraint Align the top and bottom buckle tongues to form one tongue. Insert into the buckle until you hear a ‘click.’ Make sure the shoulder straps are not twisted. Adjust the shoulder pads over the centre of child’s shoulders. Pull harness adjustment strap until shoulder straps are tight against the child.
- Page 15 Installation in the Vehicle WARNING DO NOT route the vehicle belt using any other path when using this child seat. For assistance contact child restraint manufacturer. DO NOT use 2 point vehicle belt to install this child seat. ONLY install this child restraint rear-facing on forward-facing vehicle seats.
- Page 16 Installation in the Vehicle 5 c-d. Route the shoulder part of the vehicle seat belt around the back of the child restraint and through the shoulder belt guide and then buckle the seat belt. If vehicle shoulder belt is too short, please move vehicle seat as far back as possible and lower the vehicle seat belt...
- Page 17 Care and Maintenance Removing the Canopy Cover 6. a-b. On the side of canopy, pull the tab and detach the canopy frame. 6 c-d. Pull out the cover from shell front. Periodically inspect your child seat for worn or damaged parts. If damaged parts are found, replace the child seat.
- Page 18 Avoid placing heavy objects on top of the seat. Warranty All Silver Cross products are guaranteed for a period of 12 months against faulty workmanship, when the product is used correctly according to the instruction manual.
- Page 19 Notes:...
- Page 20 UNIVERSAL <0-13kg ECE R44/04 04.44.4228-02 Silver Cross (UK) Ltd, Micklethorn, Broughton, Skipton, North Yorkshire, BD23 3JA tel: 0845 872 6900 | silvercrossbaby.com...
Need help?
Do you have a question about the 3D Car Seat and is the answer not in the manual?
Questions and answers