Table of Contents
Advertisement
1
By: Fusion Pacific
The ORIGINAL Hard Cover Spa®
OWNER'S MANUAL
MODELS E1-E2-E3-E4
IMPORTANT SAFETY INSTRUCTIONS INSIDE.
READ ENTIRE MANUAL BEFORE INSTALLING SPA.
PLEASE SAVE THIS MANUAL FOR FUTURE REFERENCE.
OWNER'S RECORD
Please record the following important information here for handy reference.
MODEL #: _________
SERIAL #: _____________________________________________
DATE PURCHASED: ________________________
PRICE PAID (BEFORE TAX): $______________
DATE INSTALLED: _______________________
DEALER NAME: _______________________________________________
DEALER ADDRESS: _____________________________________________
CITY ________________________STATE____ ZIP_________
DEALER TELEPHONE: _____________________________________
March 2017
Advertisement
Table of Contents

Related Manuals for Eco Spa E1

Summary of Contents for Eco Spa E1
-
Page 1: General Information Cover, Owner's Record
By: Fusion Pacific The ORIGINAL Hard Cover Spa® OWNER’S MANUAL MODELS E1-E2-E3-E4 IMPORTANT SAFETY INSTRUCTIONS INSIDE. READ ENTIRE MANUAL BEFORE INSTALLING SPA. PLEASE SAVE THIS MANUAL FOR FUTURE REFERENCE. OWNER’S RECORD Please record the following important information here for handy reference. -
Page 2: Factory Limited Warranty
This warranty begins on date of delivery and it extends to the original purchaser of any model ECO SPA manufactured January 2015 or later. If your ECO SPA develops a defect that is covered under the terms of this warranty, it will be repaired by Fusion Pacific Inc. -
Page 3: Table Of Contents
IMPORTANT SAFETY INSTRUCTIONS …………………………………………………..……….…………. PAGES 5 – 7 ……….…………………………………….………………………………… INSTALLATION GUIDE PAGES 8 - 9 SETTING UP AND FILLING YOUR NEW ECO SPA ………………………………….………….……….…… PAGE 10 CARE AND MAINTENANCE INSTRUCTIONS ……………………………………………………….… PAGES 11 - 12 AUTOMATED FEATURE FUNCTIONS POWER UP/BOOT SEQUENCE …………………………………………………..………….…….….…….……... PAGE 13 AUTOMATIC DRY-FIRE PROTECTION ..………………………….……………………………………..…….…... -
Page 4: Thank You, Helpful Hints
HELPFUL HINTS The covers and Air Controls must be closed for the ECO SPA to heat up efficiently. Heating time can vary depending on ambient air temperature, but generally if operating on 110 Volts your ECO SPA will heat after fill-up at the rate of approximately 1.5°... -
Page 5: Important Safety Instructions
IMPORTANT SAFETY INSTRUCTIONS READ AND FOLLOW ALL INSTRUCTIONS WARNING Connect to a grounded, Grounding Type Receptacle Only. To reduce the risk of electric shock, replace damaged cord immediately. Do not bury the cord. DANGER To reduce the risk of injury to persons, do not remove Suction Fittings. TO REDUCE THE RISK OF INJURY: ... - Page 6 IMPORTANT SAFETY INSTRUCTIONS READ AND FOLLOW ALL INSTRUCTIONS DANGER: RISK OF ELECTRICAL SHOCK Do not permit any electric appliance such as a light, telephone, radio, or television within 5 feet of a spa or hot tub. WARNING: CHILDREN SHOULD NOT USE A SPA OR HOT TUB WITHOUT ADULT SUPERVISION. AVERTISSEMENT: NE PAS LAISSER LES ENFANTS UTILISER UNE CUVE DE RELAXATION SANS SURVEILLANCE.
-
Page 7: Important Safety Instructions ..................................................................................
IMPORTANT SAFETY INSTRUCTIONS READ AND FOLLOW ALL INSTRUCTIONS WARNING: PREGNANT OR POSSIBLY PREGNANT WOMEN SHOULD CONSULT A PHYSICIAN BEFORE USING A SPA OR HOT TUB. AVERTISSEMENT: LES FEMMES ENCEINTES, QUE LEUR GROSSESSE SOIT CONFIRMEE OU NON, DEVRAIENT CONSULTER UN MEDECIN AVANT D’UTILISER UNE CUVE DE RELAXATION. WARNING: WATER TEMPERATURE IN EXCESS OF 40°... -
Page 8: Installation Guide
Please Read and Understand All Instructions Before Operating Your SELECTING THE INSTALLATION LOCATION Your new ECO SPA is completely self-contained. It can be set up on a patio, deck, or indoors with special consideration Your ECO SPA must be installed on a relatively smooth, solid, flat and level surface that will support 3,000 pounds. - Page 9 If you are going to operate your ECO SPA at 110 Volts your ECO SPA draws a maximum of 12 Amps operating at 110 Volts. A GFCI power cord is supplied with all 110 Volt models. Locate the round plate labeled POWER CORD on the outside bottom corner of the rear side of the spa, remove it and pull out the electrical cord with the attached GFCI unit that is located behind this plate.
-
Page 10: Setting Up And Filling Your New Eco Spa
Fill your ECO SPA to an approximate water level of 2" above the top of the highest jet. Once the spa is filled to this level, power can then be supplied to your ECO SPA. Carefully re-install the 2 filter cartridges into their sockets and re-install the Filter Cover. -
Page 11: Care And Maintenance Instructions
CARE AND MAINTENANCE INSTRUCTIONS HARD COVERS & SPA SURFACES When not in use please keep your ECO SPA hard covers clamped down at all times, especially in extreme weather conditions. Consistent use of the clamps will help maintain the fit of the covers to the spa. - Page 12 ECO SPA’s Drain Valve to open it and commence draining. WINTERIZING If your ECO SPA is to be transported or stored in temperatures 32º F (0º C) or lower, it is critical that your ECO SPA be fully winterized.
-
Page 13: Automated Feature Functions
After the above sequence of parameters has appeared at power up, the Topside Controller’s Display will show “- - -“ and the pump starts on Low Speed for 2 minutes as the Eco Spa’s System performs a flow check to verify a proper water flow rate to the heater of 18 GPM to protect the heater from firing prematurely (“dry fire”). -
Page 14: Automatic Smart Winter Mode
AUTOMATIC SMART WINTER MODE Our Smart Winter Mode function is preset at the factory to automatically protect your spa from the cold by turning on the pump several times a day to prevent water from freezing in the spa’s plumbing system. You do not have to program this function and cannot alter it. -
Page 15: Understanding & Using Your Eco Spa Topside Controller
UNDERSTANDING & USING YOUR ECO SPA TOPSIDE CONTROLLER What The Icons In The Window Mean Smart Winter Mode: appears only when the spa has automatically activated its Smart Winter Mode. Heater: Flashes when taking a reading of the current water temperature or if calling for heat. -
Page 16: Programming - Setting The Clock
LIGHT Button Press the LIGHT button to turn On the spa’s underwater Multi-Color LED Mood Light, if so equipped. The red indicator light adjacent to the button indicates that the Light is On. Press the LIGHT button a second time to turn the light Off. Repeat this on/off operation to change the light’s various colors. -
Page 17: Programming - Setting The Filter Cycle
SETTING FILTER CYCLE START TIME The display will show FSXX, “XX” representing the starting hour of the Filter Cycle. Observe whether AM or PM is displayed above the Hour digits and use the WARM or COOL button to adjust the Hour to the desired start time. Press the LIGHT button to jump to the next parameter, Filter Duration (Fd). -
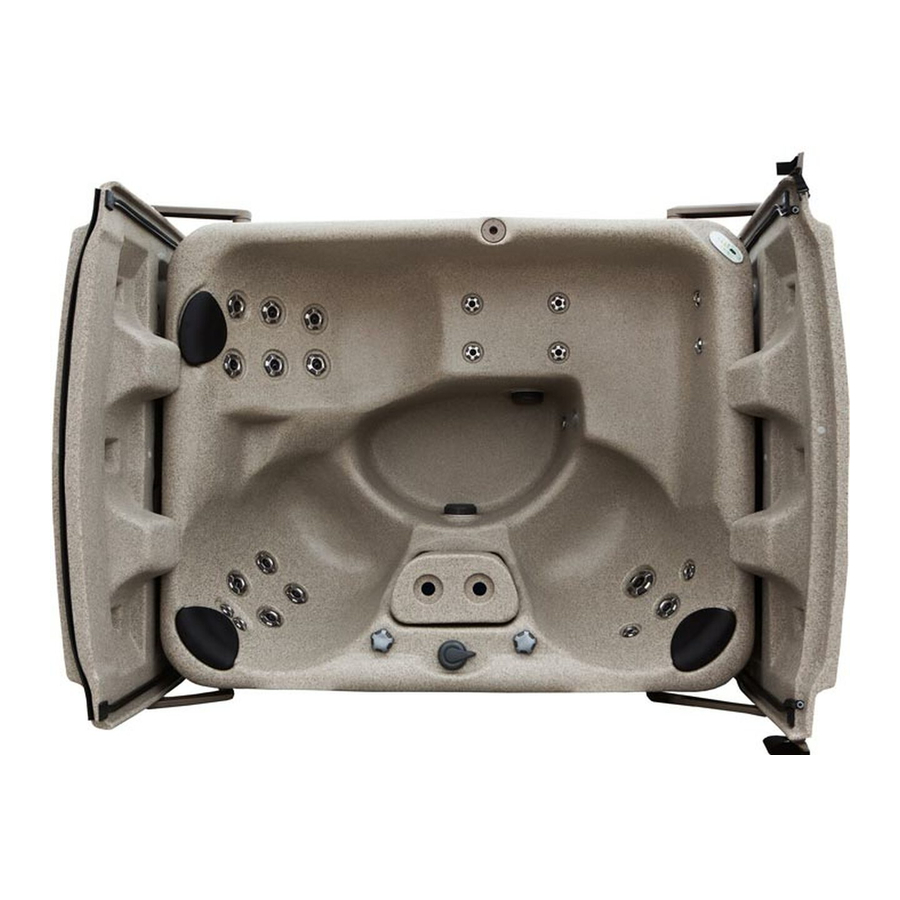
Page 18: Jet, Component And Equipment Operating Instructions
Locations of Jets, Components & Equipment JET OPERATION Your ECO SPA is designed with a versatile jet system to allow you to select a wide variety of massage patterns and tailor your ECO SPA to your specific massage and hydrotherapy needs. -
Page 19: Diverter Valve
Ozone jet in turn releases it into the water to aid in sanitizing by killing and breaking down certain organic materials. SUCTION FITTINGS Keep the SUCTION FITTINGS (located in the foot well area) of the ECO SPA unobstructed and free from debris at all times. Do not remove the suction-fitting screen while the ECO SPA is connected to electrical power. -
Page 20: Troubleshooting
For a new 220 Volt installation or for an recently converted from 110 Volt to 220 ECO SPA Volt operation the problem is most likely with the wiring of the 220 Volt circuit’s GFCI breaker. If GFCI trips instantly the problem is usually the neutral wire path in the GFCI. For an... - Page 21 SPA WON’T HEAT UP If operating on 110 Volts, your will only gain 1.5 degree per hour and will not heat ECO SPA with the pump on high speed. If operating on 220 volts, your will gain from 3 to 6 ECO SPA degrees per hour and will heat with the pump on low or high speed.
- Page 22 This condition is most likely caused by an ‘airlock’, essentially an air bubble around the pump’s impeller preventing the pump from getting ‘traction’ on the water supply. See the correct procedure for filling your ECO SPA on page 10 to help prevent an airlock from developing while filling the spa.
-
Page 27: Wiring For 110/220 Volt Operation
Eco Spa was set at the factory for 110 Volt operation. If your Eco Spa was set at the factory to operate on 220 Volts the breaker setting will read b.40. If you are converting your Eco Spa from 110 Volt to 220 Volt operation, use the WARM or COOL button to adjust the value from b.16 to b.40. -
Page 28: Maintenance Log
MAINTENANCE LOG Use this page to record any maintenance performed on your ECO SPA CLEAN CHANGE DATE FILTERS FILTERS OTHER MAINTENANCE NOTES... -
Page 29: Warranty Activation Card
Warranty Activation Card To enjoy the full benefits of your Eco Spa warranty, please fill out the form below completely and mail it with copy of your sales receipt or purchase agreement within 30 days of original installation date to:... - Page 30 By: Fusion Pacific The ORIGINAL Hard Cover Spa® ECO SPAS 17129 KOALA ROAD ADELANTO, CA 92301 www.ecospas.com...
Need help?
Do you have a question about the E1 and is the answer not in the manual?
Questions and answers
board clicks but not sending power to the pump, error code is 177 and r5 its a eco spa 3
What is the water capacity of my ECO 4 spa
The water capacity of the Eco Spa E1 is 210 gallons.
This answer is automatically generated
Spa Not responding to Control. Display is lit up but no message on the LED panel won't respond to short or long press. I removed cover to Gecko YE-3-NA Spa pump. i see Leds lit up and power is present to the power supply terminal block
The Eco Spa E1 may not be responding to the control panel despite the display being lit due to the system being in OFF Mode, which includes a 30-minute delay before resuming normal operation. Restarting the system before this delay expires may resolve the issue. Additionally, if the pump has been left running for 20 minutes, the built-in timer may have turned it off automatically, requiring the JETS button to be pressed again to resume operation.
This answer is automatically generated