Advertisement
Quick Links
Advertisement

Related Manuals for Dahua DH-IPC-C15


Summary of Contents for Dahua DH-IPC-C15
- Page 1 C Series Home Camera Quick Start Guide V 1.0.1...
-
Page 2: Packing List
1 Packing List Device × 1 USB ×1 Power Adapter ×1 QSG ×1 Screw Package ×1 Iron Plate(for magnetic installation)×1... -
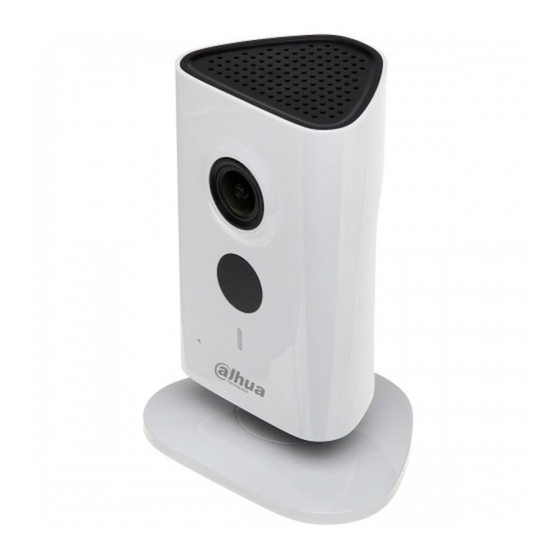
Page 3: Product Appearance
2 Product Appearance Figure 2-1 Figure 2-2 Figure 2-3 Please refer to the following sheet for more details about each port. Name Speaker Lens IR (Infrared Ray) LED Indicator light Microphone USB power supply Reset/ WPS (Wi-Fi Protected Setup) button Micro SD Card Slot Sheet 2-1 Note:... - Page 4 3 Operate by EasyViewer Step 1 Power on the camera. Step 2 Connect iphone to a WiFi signal. Step 3 Open EasyViewer (downloaded from APP Store), choose Device Manager. Figure 3-1 Step 4 Please select “P2P” when the network cable is connected, select “WiFi configuration” for wireless connection.
- Page 5 Figure 3-2 Step 5 Input a device name and scan the QR code on camera, then “next”. Figure 3-3 Figure 3-4 Step 6 Input the WiFi password, then “next”.
- Page 6 Figure 3-5 Step 7 Connection succeeds. Figure 3-6 Figure 3-7 Figure 3-8 Note: Please try again or check the WiFi password if it failed. The WiFi configuration will be closed if activating WPS (Wi-Fi Protected Setup) function, please reset the device if you still need to configure WiFi via EasyViewer.
-
Page 7: Device Installation
4 Device Installation Important Before the installation, please make sure the installation environment can at least support 3x weight of the camera. 4.1 Non-metal Surface Step 1 Fix the metal plate with screws. Step 2 Stick the camera onto the metal plate. 4.2 Metal Surface Stick the camera onto the metal surface directly.
Need help?
Do you have a question about the DH-IPC-C15 and is the answer not in the manual?
Questions and answers