
Summary of Contents for Lumicon Easy Guider LG1015
- Page 1 Lumicon Easy Guider for 2 inch focuers The Original Off Axis Guider. Patent:4,448,500 - 1981 Part number LG1015 Configured for DSLR Camera setups...
- Page 2 – The Lumicon Easy Guider. Lumicon first patented the Off-Axis Guider in 1981 and has been manufacturing this same device since that time. Lumicon OAG’s have been sold world wide and is the most used off-axis guiding system in the world.
- Page 3 Off-Axis Guiding Tips First things first. If your mount has a periodic error • correction system make sure it is well trained. We recommend using PEMPro. Make sure your mount is well polar aligned. Guiding will • keep the guide star stationary but the field will still rotate.
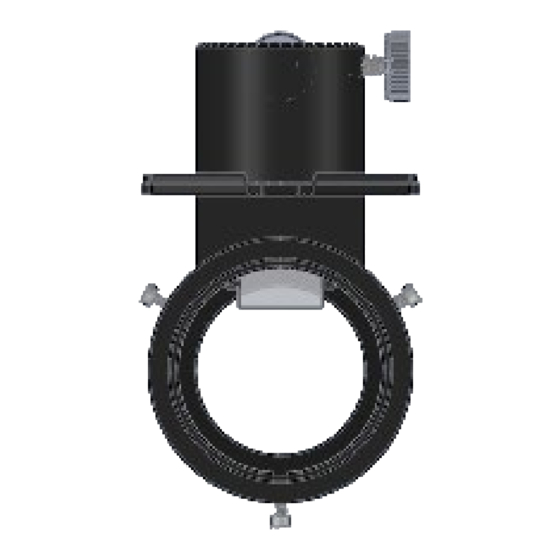
- Page 4 Guider Layout & Setup The guider is fairly straightforward and consists of the main guider body, a pick-out prism, guide camera drawtube, and removable/rotating T-thread adapter. To assemble your system, loosen the 3 locking screws that hold the T-thread adapter in place and remove the adapter from the guider body. Thread the adapter into the front of your camera adapter (DSLR T-ring) and firmly tighten.
- Page 5 Guider Setup Continued Attach the 1.25” extension tube to the guide camera. DSLR cameras have a larger Back Focal Distance, therefore the guide cameras need to be spaced back further. The extension tube allows for the required back focus spacing.
- Page 6 Guider Setup Continued Insert the guide camera into guide camera drawtube, midway down the tube, and lightly lock the thumb screws. In later steps you will adjust the position (focus) of the guide camera and re- lock the screws more firmly. As you insert the guide camera into the drawtube align the orientation of the guide chip with the edge of the pick-out prism in a similar fashion as you did the main camera.
- Page 7 Optical Spacing Configuration In order for the off-axis guider to work, both the main camera and the guide camera have to come to focus. For this to happen, the distance of both camera detectors must be located the same distance from the center of the pick-out prism. All units in mm.
- Page 8 Example #1: NIKON D7000 DSLR • o BFD = 46.5mm T-Ring Thickness = 8.0mm • o BFD = 20mm ZWO ASI “Mini” camera (all models) as guider • o BFD = 8.5mm Extension Tube Length (Provided with Guider) • o BFD = 25.0mm Calculation: First Calculate B: B = Camera BFD + 17.5 + T-Ring thickness –...
- Page 9 Example #2: • Canon 5D DSLR o BFD = 44.0mm • T-Ring Thickness = 8.0mm o BFD = 20mm • ZWO ASI “Mini” camera (all models) as guider o BFD = 8.5mm • Extension Tube Length (Provided with Guider) o BFD = 25.0mm Calculation: First Calculate B: B = Camera BFD + 17.5 + T-Ring thickness –...
- Page 10 Zwo guiders Back Focal Distance Table Mini's / Guiders Model Back Focus (mm) ASI120MM Mini Mono ASI174MM Mini Mono ASI290MM Mini Mono Other Guiders Back Focal Distance Table Model Back Focus (mm) Lodestar 12.5 QHYCCD5 Version 1 12.5 QHY5III174 11.0 QHY5III178 11.0 QHY5III185C...
- Page 11 Final Guider Setup – Focusing Once your camera and OAG setup is attached to the telescope and connected to the control computer: Center a bright star such as Vega or Antares and bring the main camera to focus using the telescope’s focuser. We recommend using a Bahtinov mask to assist if the telescope is manually focused and autofocus software, such as FocusMax, if the focus is controlled by the computer.
- Page 12 Lumicon is owned by Optical Structures Incorporated. 11371 Pyrites Way, Suite A Rancho Cordova, CA 95670 916-638-2003 www.FarpointAstro.com...
Need help?
Do you have a question about the Easy Guider LG1015 and is the answer not in the manual?
Questions and answers