Advertisement
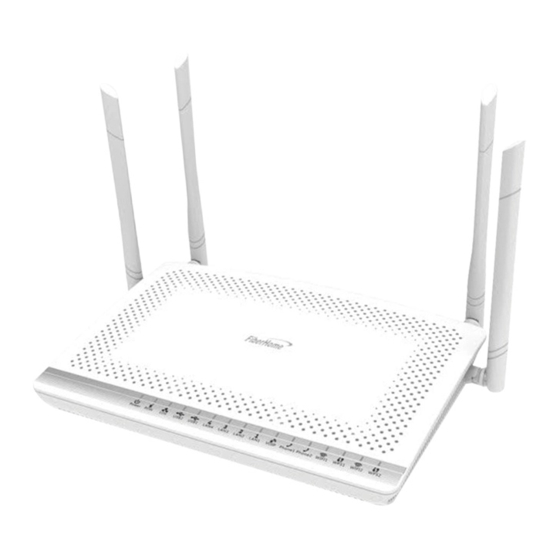
FiberHome AN5506-04-FA
Instruction
Version FiberHome AN5506-04-FA
1. AN5506-04-FA Router power status
2. Internet connection Settings
3. WAN, Wireless Settings
4. DHCP Settings
5. Bridge Mode Settings
6. Forward Port Settings
7. Dynamic DNS Settings
8. Power Checking
9. Product version, Hardware and software Checking
10. Firmware Upgrading
11. Restoring to Default
12. Ping and Traceroute
13. Hardware Installation
14. Technical Specification
15. Product Overview
16. Packing List
Advertisement
Table of Contents

Summary of Contents for FiberHome AN5506-04-FA
- Page 1 FiberHome AN5506-04-FA Instruction Version FiberHome AN5506-04-FA 1. AN5506-04-FA Router power status 2. Internet connection Settings 3. WAN, Wireless Settings 4. DHCP Settings 5. Bridge Mode Settings 6. Forward Port Settings 7. Dynamic DNS Settings 8. Power Checking 9. Product version, Hardware and software Checking 10.
-
Page 2: Indicator Status
1. AN5506-04-FA Router power status Status No. Indicator Status Description Steady green The terminal is powered on. POWER The power supply is cut off. The GPON terminal is prohibited by the upper-layer device, contact the service provider for help. Blinks... -
Page 3: Internet Connection Settings
2. Internet connection Settings There are 2 type to set the Internet connection Type 1. Shortcut Step 1 Open the Internet Explorer (IE) browser and enter http://192.168.1.1/3bb. Step 2 In the Quick Configuration page that is displayed, enter the username, password (for surf internet) and validate code. - Page 4 3. WAN, Wireless Settings 3.1 WAN settings When you login to the system, you will see various menu. Follow these steps: - Click Network(1) Click BroadBand Settings(2) Screen showing Internet Settings Follow these settings(3) - Service Type ; Choose INTERNET - Connection Type ;...
- Page 5 3.2 Wireless Settings There are 2 step to set wireless connection Step 1: Set all for Wireless 2.4G or Wireless 5G - Click Network(1) Click Wlan Settings(2) Click Basic(3) for Wireless 2.4G or 5G Basic(4) for Wireless 5G (You can choose to set both or just one signal) Follow these settings(5)
- Page 6 Step 2 : SSID Settings for Wireless 2.4G or Wireless 5G - Click Advanced(7)for Wireless 2.4G or 5G Advanced(8) for Wireless 5G ( You can choose to set both or just one signal - SSID Choice(9) ; 1 (Choose the required number of signals) ;...
- Page 7 5. Bridge Mode Settings Click Network(1) --> Click BroadBand Settings(2) Screen showing Internet Settings Follow these settings(3) - Service Type ; Choose INTERNET - Connection Type ; Choose Bridge - VLAN ID ; 33 - Priority - Click Apply(4) - Set up the router that you want to connect to Internet, then connect both device by connecting Lan cable to the Prepared WAN - Bridge Mode Settings finished, you can access the internet 6.
- Page 8 - When done, the setting’s information will show above(6) - You can use CCTV after Forward Port settings finished In case if you want to set more Port numbers click Add(7) To add additional port numbers...
- Page 9 7. Dynamic DNS Example: Customer apply Dyndns’s Host by use “contact2nma.dyndns.org” name, that is a domain that customers can use to view the camera from any point that no need to remember IP’s received from service providers. - Click Application(1) -->...
-
Page 10: Firmware Upgrading
9. Product version, Hardware and software Checking - Click Status tab(1) Device Information(2) Product version, Hardware and software Checking(3) 10. Firmware Upgrading Is Upgrading Firmware of device to be a new version to fix a problem of using such as internet unstable or not compatible with other devices - Click Management tab(1) - Page 11 11. Restore to Default There are two steps can restore to Default Step 1 Hardware (Device reset) - Press the Router Hardware(Reset) button and hold for 10 seconds, after that the router will restart to be default Step 2 Software(System Reset) - Click Management(1) -->...
-
Page 12: Traceroute Test
12.2 Traceroute Test You can use Traceroute to check Server route connection use in case of cannot ping (the destination website cannot be connected) - Click Application(1) --> Click Diagnosis(2) --> Screen Showing Diagnosis - Destination Address(3) ; fill in IP, Host Name or Website - Click Traceroute(4) Note :... -
Page 13: Hardware Installation
13. Hardware Installation Step 1 : Connect The PON interface and the optical interface on the wall with the optical fiber(11) Step 2 : Connect The LAN interface and the network interface of a computer through an ethernet cable.(6) Step 3 : Connect The Phone interface with a telephone through a phone cable. Step 4 : Connect The Power interface with the power adapter, and the plug to the power socket. -
Page 14: Product Overview
Environmental humidity 10% to 90% , non-condensing 15. Product Overview product Function - 4 GE Interfaces - 2 Phone Interfaces AN5506-04-FA - Wi-Fi Interfaces (2.4GHz, 5GHz ) - USB Interfaces 16. Packing List Item Quantity GPON Terminal Power Adapter...


Need help?
Do you have a question about the AN5506-04-FA and is the answer not in the manual?
Questions and answers