
Related Manuals for Helmer iB105


Summary of Contents for Helmer iB105
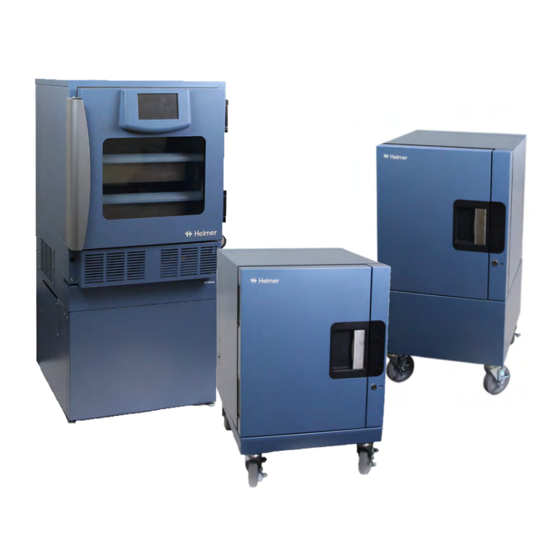
- Page 1 Cart and Pedestal User Guide Countertop Refrigerators Undercounter Refrigerators and Freezers 360382/B...
-
Page 2: Copyright And Trademark
Notices and Disclaimers This User Guide provides information about use of the Helmer cart and pedestal. Refer to the product operation or service manual for general information regarding your Helmer refrigerator or freezer. -
Page 3: Table Of Contents
Helmer Scientific Cart and Pedestal User Guide Contents About this Manual . . . . . . . . . . . . . . . . . . . . . . . . . . . . . . . . . . . . . . . . . . . . . . . . . . . . . . . . . . . . . . . . . . . . . . . . . . . . . . . . . . . . . . . . . . . . . . . . 3 1.1 Safety Precautions and Symbols . -
Page 4: About This Manual
Intended Use The Helmer countertop cart is available in two sizes. The tall cart is intended to elevate a single MLR102 model refrigerator and allow temperature-controlled transport of refrigerated medications and vaccines from one location to another within the facility. The short cart provides easy access for under counter placement. -
Page 5: Countertop Cart Installation
Helmer Scientific Cart and Pedestal User Guide Countertop Cart Installation 2 .1 Required Parts ♦ 401642-1 Tall Cart ♦ 401714-1 Short Cart 2 .2 Required Tools ♦ 10 mm wrench or adjustable wrench ♦ #2 Phillips screwdriver 2 .3 Location Requirements ♦... - Page 6 Helmer Scientific Cart and Pedestal User Guide Installing Cart 1. Position cart in an open area. 2. Using a #2 Phillips screwdriver, remove the six screws securing the back panel of the cart (Figure 2). Figure 2 3. Using two people to lift, carefully place the refrigerator on the cart aligning the 4 threaded holes located where the leveling feet were with the four open holes on the top of the cart.
-
Page 7: Required Parts
• The pedestal must sit using leveling legs and should never use caster wheels. • The pedestal kit may only be used with Helmer undercounter units. • Due to the size and weight of the undercounter units, extreme care must be taken when positioning the unit to allow accessibility to the underside. - Page 8 Helmer Scientific Cart and Pedestal User Guide Remove Leveling Legs (if installed) 1. Tilt or raise the refrigerator or freezer 1"-2" off the floor to gain access to the casters for removal. Note Use of a pallet jack or forklift is recommended for safety. To prevent damage to the unit, push the pallet jack (or forklift) under the refrigerator or freezer so the forks extend beyond the opposite side of the base.
- Page 9 Helmer Scientific Cart and Pedestal User Guide 4. Using two people to lift, carefully place the unit on the pedestal aligning the four threaded holes located where the leveling feet were with the four open holes on the top of the pedestal. The refrigerator or freezer should be flush with the front panel and back panel of the pedestal (Figure 9).
- Page 10 4. Position the pedestal assembly and top unit along the wall in the desired location. 5. Attach wall mount brackets (2) into the wall stud following local codes. 6. Refer to the Helmer refrigerator or freezer Operation Manual for instructions regarding unit start-up. 360382/B...
-
Page 11: Cart And Pedestal Care
Clean exterior surfaces with a soft cotton cloth and non-abrasive liquid cleaner For information regarding cleaning of your Helmer countertop refrigerator, refer to the Countertop Refrigerator Operation and Service Manual. For information regarding cleaning your undercounter refrigerator or freezer, refer to the Service Manual provided with the unit. - Page 12 Helmer Scientific 14400 Bergen Boulevard, Noblesville, IN 46060 USA 360382/B Copyright © 2019 Helmer, Inc.
Need help?
Do you have a question about the iB105 and is the answer not in the manual?
Questions and answers