Advertisement
Installation Instructions
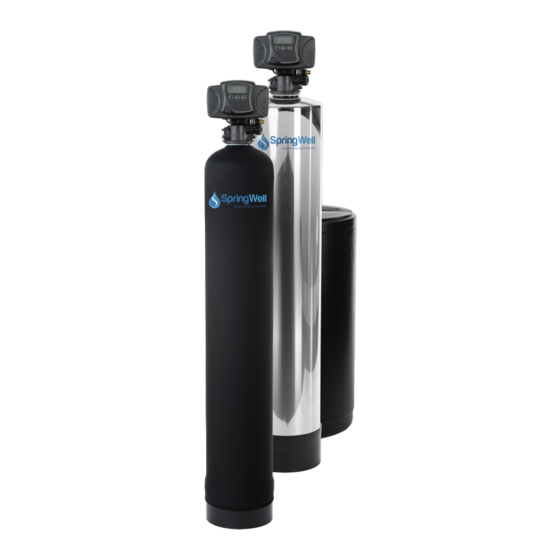
SALT-BASED WATER SOFTENER
MODELS: SS1, SS4, SS+
Our traditional salt-based whole house water softeners
are the most reliable ion exchange softeners on the
market today. Use 40% less detergent, extend the life of
your appliances see less spotting on hard surfaces. All
with an industry-leading warranty!
CUSTOMER SERVICE IS AVAILABLE MON-FRI 9AM-6PM EST
800-589-5592
WWW.SPRINGWELLWATER.COM
1
Advertisement
Table of Contents

Subscribe to Our Youtube Channel
Related Manuals for Spring Well SS+


Summary of Contents for Spring Well SS+
- Page 1 Installation Instructions SALT-BASED WATER SOFTENER MODELS: SS1, SS4, SS+ Our traditional salt-based whole house water softeners are the most reliable ion exchange softeners on the market today. Use 40% less detergent, extend the life of your appliances see less spotting on hard surfaces. All with an industry-leading warranty! CUSTOMER SERVICE IS AVAILABLE MON-FRI 9AM-6PM EST 800-589-5592...
- Page 2 Additional Parts Included Electronic Head 50’ Drain Line Brine Tank Hose Clamp PLEASE READ INSTRUCTIONS FULLY BEFORE INSTALLATION. Be sure to follow all applicable plumbing codes. The system must be installed on main water supply line. CAUTION: Do not install on well water unless you have spoken to a customer service representative first.
-
Page 3: Product Specs
Product Specs Tank Width 9” Tank Height 48” (57” with head) Flow Rate 11 GPM Service Connection Size 3/4” Backwash Rate 2 GPM Operating Pressure 25-80 PSI Operating Temperatures 36 - 120 F pH Range 6.5 - 10 Grain Brine Tank 18”(w) x 33”... -
Page 4: Installation Instructions
Installation Instructions Locate main tank box and unpack the tank. Next find the brine tank box and unpack the brine tank. Inside the brine tank you will find the parts and the electronic head. Remove the gray cap on top of the main tank. Remove the blue cap from the distributor tube. - Page 5 Determine the area where you want to install your system. Be sure there is an electrical outlet for the electronic head. Set the brine tank next to the main tank. At this point you are ready to plumb the system into the main plumbing supply. Follow the arrows on top of the bypass valve to determine the flow of the water.
-
Page 6: Brine Tank Setup
Brine Tank Setup Take the lid off of the brine tank and set it aside. Now remove the white cap on top of the brine tank float assembly and set aside. Locate the black brine draw line coming off the side of the electronic head and insert into the opening on the float assembly. -
Page 7: Connect Drain Line
Connect Drain Line Locate the drain line. Connect the drain line to the white barb fitting on the electronic head. Slip the drain line over the barb then secure it with the hose clamp provided. Run the drain line to a drain or to the outside. Cut the excess off. - Page 8 Setting The Electronic Head Plug the electronic head into the outlet and it will automatically come on. To set the head the time must always be on 12:01 PM. Hold up or down button until you get to 12:01 PM. Hit the regen button once to set time.
- Page 9 Turning Main Water Back On Before you turn the water back on be sure metal tabs are fastened to the edges and screws are tightened all the way down.
- Page 10 (on position) Finish The Install: Now that the water is back on check for leaks and make sure there are none. Check drain hose and make sure it’s in the drain or run to the outside. It’s time now to do a manual regeneration of the system. At this time you can’t use water as the system will be using the water.
-
Page 11: Warranty Information
Warranty Information For more information on our warranty, please visit www.springwellwater.com/warranty/...
Need help?
Do you have a question about the SS+ and is the answer not in the manual?
Questions and answers