Advertisement
Quick Links
WD1
Water Detector
Installation Manual
Introduction
The WD1 is a two-way wireless water detector designed to trigger an
alarm upon contact with water, minimizing the risk of severe water dam-
age from leaks or floods while you are at home or away. Being a two-way
device provides an extra level of security and ensures communication to
the panel, especially during detection, is received and acknowledged by
your system. It is designed to be fixed-mounted or free-standing.
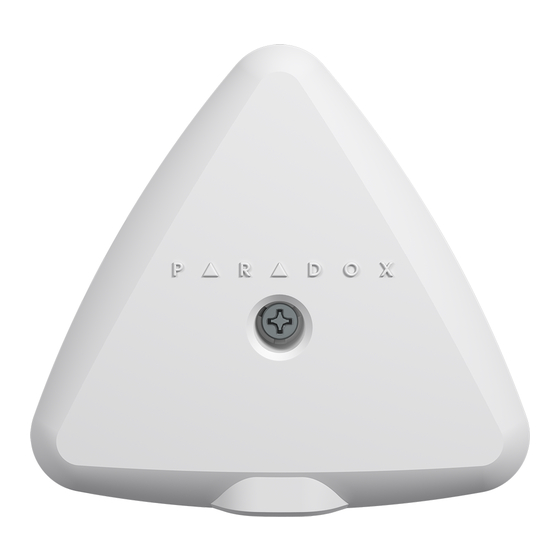
Front View
LED
Mounting Screw
Extension Sensor Jack
Installing the WD1
Prior to fix-mounting the WD1, ensure it was programmed to a panel. To
learn the unit, please refer to the corresponding panel programming
section in this manual.
The WD1 should be placed on a flat surface where floods, leaks, and
water infiltration can occur. Ensure that the detection probes touch the
surface being monitored. When water touches any of the three pairs of
probes, an alarm will be sent to the panel the WD1 will continue to send
an alarm until the panel acknowledges receipt. It is strongly recom-
mended that the WD1 is fixed-mounted with the mounting screw pro-
vided.
To Install:
1.
Press and hold the tamper button at the bottom of the WD1 for
three seconds, the detector will sound an OK beep (three small
beeps) to indicate that it is powered up.*
2.
Bracket: Remove the bracket installed under the WD1. Remove the
double-sided tape protective film from the bottom of the bracket and
secure bracket to the floor. Align the WD1 to the bracket until it snaps
into place. Secure the mounting screw using a Phillips screwdriver, as
shown in Figure 3.
3.
Without Bracket: Secure an appropriate flat-head screw using a
Phillips screwdriver, as shown in Figure 3.
* The tamper will be activated after being pressed continuously for 10
seconds. Three audible beeps will be heard followed by a blue LED
indication.
PARADOX.COM
Back View
Detection Probes
Tamper Button
FIGURE 1
Installing the ES1 (Optional)
The WD1 can function as a standalone unit or with the optional Exten-
sion Sensor. It acts as an extension of the WD1 that allows you to extend
(up to 2 meters) or add an additional detection area. Install the extension
sensor as shown in Figure 2. Ensure that the extension sensor is laying
flat on the surface (any side); it can be secured with a mounting screw.
Please note that we do not support any 3.5 mm extension cables.
WD1 Mounting Screw
Replacing Battery
1.
Remove the mounting screw from the WD1. If a mounting screw
has not been installed, proceed to Step 3.
2.
Press and release the Tamper button at the bottom of the WD1 to dis-
able the piezo.
3.
Using a Phillips screwdriver, remove the three screws located at the
bottom of the WD1.
4.
Remove the top cover.
5.
Remove the old battery and replace with a new battery (verify the
polarity and insert properly + and - marked on the battery terminals),
see Figure 3.
Caution: Risk of explosion if battery is replaced by an
incorrect type.
6.
Reassemble the WD1; ensure that the silicone gasket is secure to
avoid any water infiltration.
7.
Press and hold the tamper button at the bottom of the WD1 for three
seconds, the detector will sound an OK beep (three small beeps) to
indicate that it has been powered-up.
Note: We recommend to replace the battery every three
years to avoid leakage.
1 x AA Battery
Sensor Jack Plug
Mounting Screw
(optional)
2 meters
FIGURE 2
Freq. Selection
Floor Bracket
FIGURE 3
WD1-EI00 03/2019
Ext. Sensor
Advertisement

Related Manuals for Paradox WD1


Summary of Contents for Paradox WD1
- Page 1 Sensor. It acts as an extension of the WD1 that allows you to extend age from leaks or floods while you are at home or away. Being a two-way (up to 2 meters) or add an additional detection area.
- Page 2 Consult the dealer or an experienced radio/TV technician for help. Enter the 3-digit Event Group (001 for zone open), Feature Group Changes or modifications to this equipment not expressly approved by the party responsible for compliance (Paradox Security Systems Ltd.) could void the user’s authority to operate the equipment.
Need help?
Do you have a question about the WD1 and is the answer not in the manual?
Questions and answers