Table of Contents
Advertisement
Advertisement
Table of Contents

Related Manuals for Momentum Meri

Summary of Contents for Momentum Meri
- Page 1 Meri INSTALLATION GUIDE...
- Page 2 Introduction The Meri™ Smart WiFi Thermostat allows you remotely control and schedule your home’s temperature with ease. It can support most conventional heating and cooling systems with up to 3 heating and 2 cooling stages. Key Features By connecting to the app, you can control your cooling and heating systems from anywhere.
-
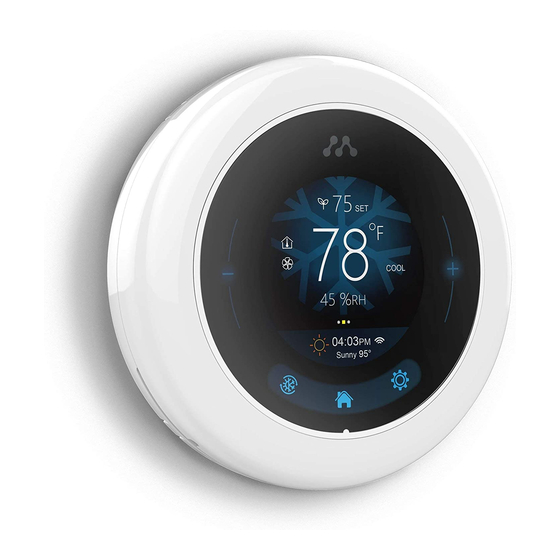
Page 3: Product Features
Product Features Main display screen Control buttons Setting controls Wall Plate Wire terminals... - Page 4 What’s Included Meri Smart Wall Anchors Screws Wire Label Thermostat (x2) (x2) Stickers Additional tools you’ll need: Screwdriver Pen or pencil (to mark drilling holes) Additional tools you MIGHT need: Needle-nose pliers Wire stripper Drill and drill bit (7/32”)
- Page 5 2.4GHz (802.11b/g/n) for WiFi connectivity WiFi Requirements The Meri requires 2.4GHz (802.11b/g/n) for WiFi connectivity. This is a standard home WiFi router. You will need your WiFi name and password when connecting your Meri thermostat to your home WiFi network.
- Page 6 Installation The Meri WiFi Thermostat should be mounted in a suitable location. It is recommended to install the thermostat about 5 ft above the floor and in an open area with good air circulation. Do not install in locations that may affect the ...
- Page 7 4. Make sure the wires you have are supported. If you have thick black wires, wire nuts connected on the wires coming from the wall, or uses 120V or higher, then your system is not compatible with the Meri thermostat.
- Page 8 8. Insert the wall anchors (optional). You may choose to use the wall anchors to insert into the wall first before applying the new wall plate. First, hold the Meri wall plate onto the wall where you’ll be installing it...
- Page 9 9. Bring the wires through the Meri wall plate. Bundle the wires together and through the middle hole of the Meri wall plate. Also check to make sure there is enough exposed wiring (at least ¼ inch) for each wire so...
- Page 10 10. Connect your R wire(s). Depending on your heating/cooling system you may have an R, Rh, and/or Rc wire(s). The Meri thermostat can accommodate for these three wires but some configurations require a “jumper” to connect the power. The jumper switch is located on the back of the thermostat...
- Page 11 To determine the switch position, use the follow chart as a guide. Turn the switch ON if: Turn the switch OFF if:...
- Page 12 11. Connect the remaining wires. Match your wires to the appropriate connectors on the wall plate. You will be connecting to the same labeled terminals as your old thermostat connections. You may use the images below as a reference according to your heating/cooling system.
- Page 13 Conventional 1 Stage Heat Pump with Aux and Emer 2 Stage Heat and Cool 2 Stage Heat Pump 2 Stage Heat Pump with Aux with Aux and Emer...
- Page 14 12. Attach your Meri WiFi Thermostat. Firmly attach the Meri thermostat to the wall plate. 13. Turn the power back ON. Turn ON the power at the breaker box. 14. Follow on-screen instructions Once the power is back on, there will be a sequence of instructions to connect the WiFi, enter zip code, and app pairing.
- Page 15 © 2016 Momentum Momentum is a registered trademark in the United States. Apple and iPhone are registered trademarks of Apple Inc. Google, Google Play, and Android are trademarks of Google LLC. All other brands and product names are or may be trademarks of their respective owners.
Need help?
Do you have a question about the Meri and is the answer not in the manual?
Questions and answers