
Related Manuals for GPO Jive


Summary of Contents for GPO Jive
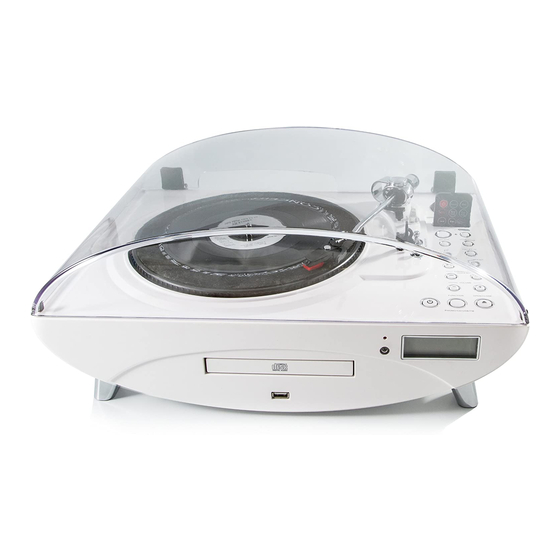
- Page 1 SLEEK DESIGN FULL SIZE TURNTABLE, CD/MP3/USB WITH MP3 ENCODING, PLL FM STEREO RADIO MODEL NO. GPO Jive Turntable INSTRUCTION MANUAL...
- Page 2 CAUTION RISK OF ELECTRIC SHOCK DO NOT OPEN CAUTION: TO REDUCE THE RISK OF ELECTRIC SHOCK, DO NOT REMOVE COVER (OR BACK). NO USER SERVICEABLE PARTS INSIDE. REFER SERVICING TO QUALIFIED SERVICE PERSONNEL. The lightning flash with arrowhead symbol, within an equilateral triangle, is intended to alert the user to the presence of un-insulated “dangerous voltage “within the product‟s enclosure that may be of sufficient magnitude to constitute a risk of electric shock to persons.
-
Page 3: Location Of Controls
TIMER SET Press TIMER SET two second, the LCD will be displayed 24 or 12 hours for setting, press CLOCK SET to set time. Press TIMER SET two second again, the LCD will be displayed “00” for setting, press CLOCK to set time, press TIMER SET to confirm the clock set. - Page 4 12. EQ Button (Equalization - Rock ,Pop, Jazz, 29. USB Port Classic) 13. Folder Up Button 30. FM Antenna 14. Play / Pause Button 31. Audio LINE OUT Jacks 15. Stop/Timer Set Button 32. External Speakers Connection Jacks 16.Tuning/Clock Set Skip - Button 33.
-
Page 5: Activating The Remote Control
Remark : Saving energy when the unit has no sound output on turntable player mode, CD mode and USB mode about 30 minutes, it will be switched to stand-by automatically. It can be switched ON the unit by switching the button again. - Page 6 At any time during playback, press the EQ key (on remote control) repeatedly to choose the desired sound effect according to the music you are listening to: PLAYING PHONO RECORDS 1. Raise the Turntable Dust Cover. 2. Remove the stylus protector and release the Tone Arm Clamp (4) 3.
- Page 7 USB CAPACITY , then “REC” and “USB” will begin to flash in the display, If a USB Flash Drive is inserted. 3. Select the track to be encoded and start playing the record. 4. Press the Record button to start sync encoding. The following will be displayed depending on what media you are using to store the music.
- Page 8 Press the PLAY/PAUSE button on the unit once to start playing the CD From the first track. Press the PLAY /PAUSE button again to playing the CD “pause” indicator will appear on the display (the track number is flash). To stop playback, press the “Stop” button. TRACK SKIP Selecting a different track during CD Play Press the SKIP (REW.
-
Page 9: Usb Operation
COPYING FROM MP3 DISC You can copy your favorite CD-MP3 file into USB drive.. 1. Set the Function Selector (21) on the unit to choose the CD mode 2. Press the TUNING/SKIP >> button (16, 17) to select the track, then press the PLAY/PAUSE button (14) to be copied. -
Page 10: Line Out Operation
3. The chosen track, „005‟, will appear and blink in the Display to prompt for confirmation. In case you want to cancel the delete function just briefly press the STOP Button. 4. To confirm, briefly press the DELETE (10) button once. „DEL‟ will appear steadily in the Display for few seconds and then the Display will resume to USB playback stop mode with the total track number deducted by 1. -
Page 11: Care And Maintenance
Inserting the plug of your headphones into the Headphone jack (33) will enable you to listen privately. When using headphones, the speakers will be disconnected automatically. PROTECT YOUR HEARING Listening advice to avoid hearing damage Listening via headhones,earbuds or headsets at a high volume may cause permanent hearing loss to occur. -
Page 12: Specifications
Rotate the cabinet for better Poor FM reception Weak signal on distant stations reception, loose the FM wire antenna to better reception. The volume Control has been Turn the Volume control to a higher turned all the way down output Unit ON but there is ...
Need help?
Do you have a question about the Jive and is the answer not in the manual?
Questions and answers
Saving radio presets on GPO jive?