
Summary of Contents for SAFETY SIREN Pro Series3
-
Page 1: Table Of Contents
Pro Series3 Radon Gas Detector HS71512 User Guide CONTENTS 1. Radon Gas – Facts and Concerns 2. Placement of the Detector 3. Installation of the Detector 4. Areas to be Avoided 5. Display Features Short-Term Display Long-Term Display 6. Initial Start-Up 7. -
Page 2: Radon Gas - Facts And Concerns
2. Placement of Radon Detector Safety Siren Pro Series3 Radon Detector should be positioned in the lowest living area of your home in a location where it will be kept undisturbed. The audible alarm should be able to be heard from those areas. A second detector can also be placed in a basement room that is rarely used. -
Page 3: Areas To Be Avoided
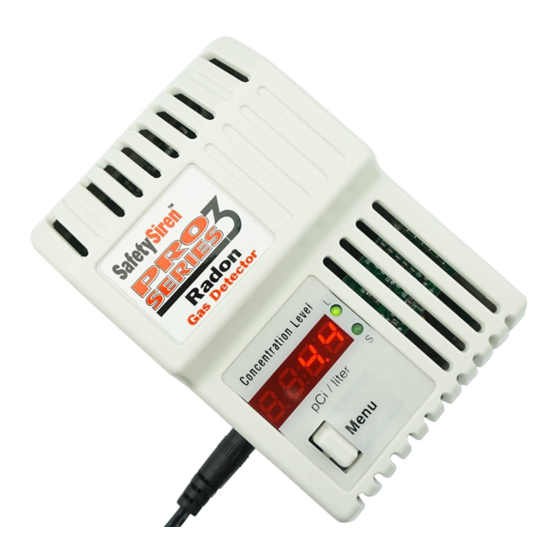
The Safety Siren Pro Series3 Radon Detector is well designed to plug into a standard 120–volt household outlet using the provided and attached power cord. The detector should be placed facing up on a tabletop or any other flat surface where the ventilation slots won’t be blocked. -
Page 4: Initial Start-Up
4pCi/L or until the user mutes the alarm. 8. Menu Button Operation The menu button manages 4 different functions for the Safety Siren Pro Series 3 radon detector. These functions are controlled by the length of time that the button is pushed. -
Page 5: Test
instantly with the release of menu button. The LED indicator light next to the “S” or “L” point outs which reading is being viewed. If the menu button is held in for longer than 3 seconds, the display doesn’t change. 8.2. -
Page 6: Error Messages
Contact Family Safety Products Inc. to request a Calibration Authorization Number (CA#) as the units without CA# will be returned to sender (freight prepaid). The fee for calibration is $75. The time taken is approximately two weeks. Note for Home Owners Annual calibration is optional for any private use of this detector. -
Page 7: Specifications
Specifications 120Vac, 60Hz, 6.5 W Power Source Adapter Model No. DCU180020 Input for the Detector 18VDC, 200mA Sensor Ionization Chamber Sensor Voltage 250VDC Full Scale Reading 0.0 to 999.9pCi/L Operating Environment 0 C (32 F) to 40 C (104 F) Storage Environment -20 C (-4 F) to 85 C (185 F) 85dB at 10cm... - Page 8 Average from the time of last reset. Maximum sampling time is of Long-Term 5 years. The detector will automatically reset after 5 years of accumulated data. Accuracy +/- 20% pCi/L Dimensions 4.7” x 3.1” x 2.1” One Year Limited Period Warranty Family Safety Products, Inc.
- Page 9 Family Safety Products, Inc. 2879 Remico St. SW, Grandville, MI 49418. This Warranty Does Not Cover: Cost of shipping the product Normal wears & tears, scratches or fading of product Damage caused by misuse or tampering with the product ...
Need help?
Do you have a question about the Pro Series3 and is the answer not in the manual?
Questions and answers