
Related Manuals for Daikin R71KV1


Summary of Contents for Daikin R71KV1
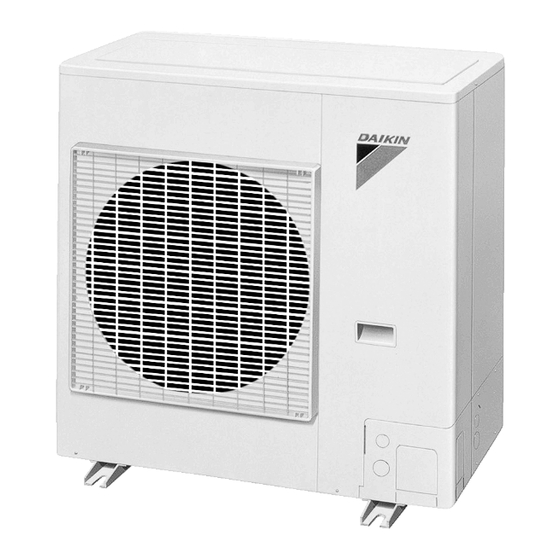
- Page 1 Si211311E REMOVAL PROCEDURE S E R V I C E M A N U A L 3 HP Class Outdoor Unit Non-Inverter Multi Type...
- Page 2 Service Manual Removal Procedure Outdoor Unit Applicable Models Cooling Only R71KV1 R71KY1 R71KVAL Heat Pump RY71KV1 RY71KY1...
-
Page 3: Table Of Contents
Si211311E Table of Contents 1. Procedure to Remove External Casing...........2 2. Procedure to Remove Outdoor Unit Fan and Fan Motor ......3 3. Procedure to Remove Outdoor Unit PCB ..........5 4. Procedure to Remove Electrical Parts Box ..........6 5. Procedure to Remove Electronic Expansion Valve and Solenoid Valve ..................8 6. -
Page 4: Procedure To Remove External Casing
Procedure to Remove External Casing Si211311E 1. Procedure to Remove External Casing Procedure Warning Be sure to wait for 10 minutes or more after turning off all power supplies before disassembling work. Procedure Points Step Remove the 8 top plate screws. -
Page 5: Procedure To Remove Outdoor Unit Fan And Fan Motor
Si211311E Procedure to Remove Outdoor Unit Fan and Fan Motor 2. Procedure to Remove Outdoor Unit Fan and Fan Motor Procedure Warning Be sure to wait for 10 minutes or more after turning off all power supplies before disassembling work. Step Procedure Points... - Page 6 Procedure to Remove Outdoor Unit Fan and Fan Motor Si211311E Step Procedure Points Locate the 2 clamps holding the fan motor lead wire in place. ∗4 clamps in RY100 to 140K. Secured by tie-band Clamped by claw on divider plate Lead wire Propeller fan Caution during motor installation...
-
Page 7: Procedure To Remove Outdoor Unit Pcb
Si211311E Procedure to Remove Outdoor Unit PCB 3. Procedure to Remove Outdoor Unit PCB Procedure Warning Be sure to wait for 10 minutes or more after turning off all power supplies before disassembling work. Procedure Points Step ∗ Remove the top plate, front casing and side casing according the procedure for removing the external... -
Page 8: Procedure To Remove Electrical Parts Box
Procedure to Remove Electrical Parts Box Si211311E 4. Procedure to Remove Electrical Parts Box Procedure Warning Be sure to wait for 10 minutes or more after turning off all power supplies before disassembling work. Procedure Points Step ∗ Remove the top plate, front <In case of cooling only model>... - Page 9 Si211311E Procedure to Remove Electrical Parts Box Step Procedure Points 3) Remove the outdoor air thermistor. Disconnect the motor operated valve coil, and Note : crank case heater If not dismounting the rear/side connectors from the casing, remove the 2 screws of PCB.
-
Page 10: Procedure To Remove Electronic Expansion Valve And Solenoid Valve
Procedure to Remove Electronic Expansion Valve and Solenoid Valve Si211311E 5. Procedure to Remove Electronic Expansion Valve and Solenoid Valve Procedure Warning Be sure to wait for 10 minutes or more after turning off all power supplies before disassembling work. Step Procedure Points... -
Page 11: Procedure To Remove Four Way Valve And Coil
Si211311E Procedure to Remove Four Way Valve and Coil 6. Procedure to Remove Four Way Valve and Coil Procedure Warning Be sure to wait for 10 minutes or more after turning off all power supplies before disassembling work. Procedure Points Step ∗... -
Page 12: Procedure To Remove Compressor
Procedure to Remove Compressor Si211311E 7. Procedure to Remove Compressor Procedure Warning Be sure to wait for 10 minutes or more after turning off all power supplies before disassembling work. Procedure Points Step ∗ Remove the external casing, etc., according to its removal procedure. - Page 13 Si211311E Procedure to Remove Compressor Step Procedure Points Disconnect the crankcase heater’s spring and remove the heater. Crankcase heater Remove the compressor’s 3 washer based nuts. Use a T-type box Partition plate spanner. Lift the compressor slightly and draw out toward yourself.
- Page 14 Revision History Month / Year Version Revised contents 06 / 2013 Si211311E First edition...
- Page 15 Improper installation can result in water or refrigerant leakage, electrical shock, fire or explosion. Use only those parts and accessories supplied or specified by Daikin. Ask a qualified installer or contractor to install those parts and accessories. Use of unauthorised parts and accessories or improper installation of parts and accessories can result in water or refrigerant leakage, electrical shock, fire or explosion.
Need help?
Do you have a question about the R71KV1 and is the answer not in the manual?
Questions and answers