Vent-Axia VA100 Series Installation And Wiring Instructions
220-240v, 50hz
Hide thumbs
Also See for VA100 Series:
- Installation and wiring instructions (8 pages) ,
- Installation and wiring instructions (12 pages)
Table of Contents
Advertisement
Quick Links
Advertisement
Table of Contents

Related Manuals for Vent-Axia VA100 Series


Summary of Contents for Vent-Axia VA100 Series
- Page 1 VA100 Installation and Wiring Instructions Stock Ref. N° VA100LP 25 11 10B VA100LT 25 12 10B VA100XP 25 13 10C VA100XT 25 14 10C VA100LHP 25 16 10E VA100XHP 25 17 10F VA100XHT 25 15 10C 220-240V~50Hz IP44 PLEASE READ INSTRUCTIONS IN CONJUNCTION WITH ILLUSTRATIONS.
- Page 2 C. Ensure that the mains supply (Voltage, Frequency, and Phase) complies with the rating label. D. The fan should only be used in conjunction with the appropriate Vent-Axia products. E. It is recommended that the connection to the fan connector terminals is made with flexible cable.
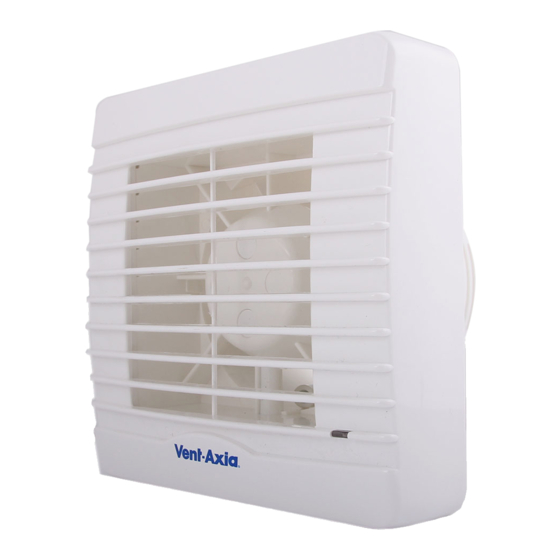
- Page 3 DESCRIPTION The VA100 from Vent-Axia is a 100mm extract fan for domestic bathrooms and WC’s available as window, wall or panel mounted models. Model options with shutter, timer and auto humidity control. ACCESSORIES (not supplied) Stock Reference White Brown A range of 100mm wall and window kits are available for...
- Page 4 WALL MOUNTING (Wall kit not supplied – see Accessories above) Cut a 115mm diameter hole through the wall and insert the wall sleeve with the large diameter sleeve on the room side. Slope the sleeve slightly downwards away from the fan. Cement both ends into position flush with the wall faces. Remove the grille by loosening the screw at the bottom of the grille.
- Page 5 HUMIDITY SET-POINT ADJUSTMENT BEFORE ADJUSTING THE CONTROLLER, SWITCH OFF THE MAINS SUPPLY. HUMIDISTAT SHOULD ONLY BE ADJUSTED BEFORE OR DURING INSTALLATION. Remove the fan grille. The controller is factory set to switch on at about 70% RH. The humidity set point can be adjusted from 40-95%RH by altering the adjuster on the control PCB.
- Page 6 Fig. 1 PULL CORD Fig. 2 : VA100L FUSE 1 PHASE SUPPLY 1 AMP (220-240V 50Hz). SWITCHED FUSED SPUR (1A) Fig. 3 : VA100X/VA100LH/VA100XH FUSE 1 AMP (220-240V 50Hz). SWITCHED FUSED SPUR (1A) PULL CORD Fig. 4 : VA100XT/VA100LT/VA100XHT (VA100LH & VA100XH LS CAN BE USED AS OVERRIDE)
- Page 7 PRODUCT FICHE For Residential Ventilation Units (Complying Commission Delegated Regulation (EU) No 1254/2014) Name: Vent-Axia Vent-Axia Vent-Axia Vent-Axia Vent-Axia Vent-Axia Vent-Axia VA100LP - VA100LT - VA100XP - VA100XT - VA100LHP - VA100XHP - VA100XHT - Model ID (Stock Ref.) :...
- Page 8 SALES ENQUIRIES: Tel: 0844 8560590 Fax: 01293 565169 TECHNICAL SUPPORT: Tel: 0344 8560594 Fax: 01293 539209 For details of the warranty and returns procedure please refer to www.vent-axia.com or write to Vent-Axia Ltd, Fleming Way, Crawley, RH10 9YX 446428D 0917...
Need help?
Do you have a question about the VA100 Series and is the answer not in the manual?
Questions and answers