
Related Manuals for Atomos SHINOBI


Summary of Contents for Atomos SHINOBI
- Page 1 SHINOBI User Manual EDITION 1: FEBRUARY 2019 Register your SHINOBI to receive the latest software updates and user information Registering your product ensures you receive communication on all future updates...
-
Page 2: Table Of Contents
Main Screen - Information Bar • Do not expose to liquids, rain or moisture. Home Screen / Menu functions • Do not dispose of the Shinobi in municipal waste and do not incinerate it, - Video input always follow local regulations for safe disposal. -
Page 3: Warranty & Conditions
• The main product, not including the IPS screen, or any external accessories, EULA. If you do not agree to the terms of this EULA, ATOMOS is unwilling will be free from defects in materials and workmanship for a period of 1 year to license the Software to you. -
Page 4: Introduction
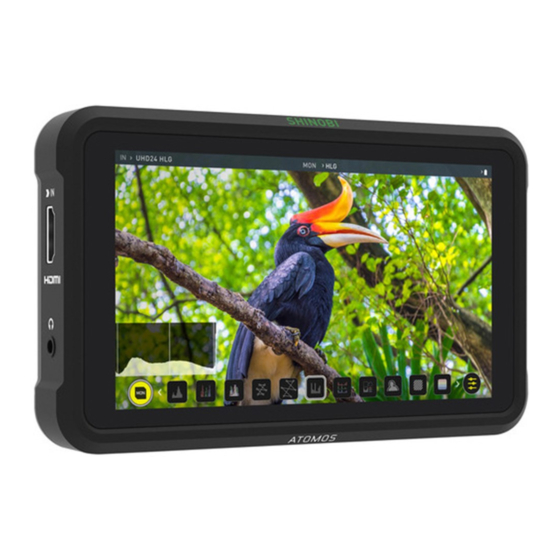
Introduction SHINOBI Thank you for choosing the Atomos Shinobi 5.2 inch HDR Monitor. Featuring a super high-resolution screen in a lightweight polycarbonate ABS chassis, and an array of essential production tools including waveform monitoring, vectorscope, luma, focus assist and the world’s leading support for HDR monitoring. This user manual will get you up to speed with all the amazing features packed into the Shinobi. -
Page 5: What's Included
2. What you also need HDMI cables Your Shinobi includes base accessories to get you started, such as a mains power supply. Additionally you will need a compatible HDMI cable Take care to use HDMI cables of the appropriate grade and take care to (Camera out/Shinobi in) and compatible batteries. Optional AtomX... -
Page 6: Powerng The Shinobi
Battery Eliminator 7800mAh - 12hrs 7800mAh - 6hrs Included in the Shinobi box is a Battery Eliminator. This connects directly to We recommend using Atomos NP-F series batteries. the battery slot of your Shinobi and enables AC power connection. Please note the Battery Eliminator is suitable for use with Atomos devices only. -
Page 7: Power On/Power Off
Do not press and hold the power button in when the Shinobi while the circular button to power up the unit. After a couple of seconds you will see unit is off. This will place the device in to a Firmware recovery mode. -
Page 8: Shinobi Connections
4. Shinobi Connections 1. SD Card Slot Mounting options Use SD cards to load LUTs and/or update firmware. The Shinobi unit includes 1/4”-20 screw mounts top and bottom, ensuring it is secure on gimbals, and compatible with the latest mounting solutions. 2. Remote/Calibration Port Top view The remote 2.5mm jack on the right hand side (looking from the front), allows for the connection of the ATOMOS USB to Serial LANC cable to any computer device. An X-Rite i1Display Pro calibration device needs... -
Page 9: Using The Shinobi
Screen Lock Lock the Display Screen You can lock the display of the Shinobi by tapping the power button. This will ensure no changes can be made by mistakenly touching the screen. The screen lock function will simultaneously lock or unlock both Channels of the Shinobi. - Page 10 In the unlikely event of your Shinobi becoming unresponsive, there is a built-in recovery mechanism. All you have to do is press and hold the on/off button for 10 seconds. If you do this your Shinobi will revert to its factory condition, and you will be able to retry the firmware update later (taking due precautions to identify and remove possible reasons for the failure of the previous attempt).
-
Page 11: Setting Up For Monitoring
5. Using the Shinobi Setting up for monitoring Connect to different devices As soon as you connect a supported signal to the Shinobi input the Video Cameras following will happen; Video Monitor: With the Shinobi, users will be able to monitor their •... -
Page 12: Main Screen - Information Bar
5. Using the Shinobi The Main Screen - Information Bar At the top of the Shinobi screen is the area referred to as the Information The content of the Information Bar is dependent on the settings from your Bar. Info here relates to the settings of your input device/camera, Shinobi, input device. -
Page 13: Video Input
Choose to use Log/HDR, camera type, Gamma, Gamut you time in post production. To understand more about or enable HDMI HDR auto if required. Your Shinobi will recognise most cameras when correctly attached via a the importance of this function please see page 20. -
Page 14: Audio
100% full. The displayed voltage will be determined by the input source. Refer to your Shinobi quickstart guide for more information regarding battery life. When a battery is running low a message will appear on screen. -
Page 15: Monitor Features
Histogram Blue Only Exposure Anamorphic Desqueeze Visualize your exposure over Observe the noise content Allows you to correctly the entire image. of a video image. view images when using anamorphic lenses Atomos Shinobi – User Manual Edition 1: February 2019... -
Page 16: Using Waveform Monitoring Tools
To toggle between Waveform Monitor sizes of 1/4, 1/3 and Full Screen during monitoring, recording and playback, tap in the bottom left corner of the screen. You can also adjust the brightness and opacity of the waveform display whilst monitoring. Atomos Shinobi – User Manual Edition 1: February 2019... -
Page 17: Histogram / Rgb Histogram / Analysis
Luma Waveform OR Vectorscope OR Histogram OR RGB Parade Vectorscope Zoom RGB Histogram RGB Histogram RGB Overlay monitors the level of Red, Green and Blue from an input. Atomos Shinobi – User Manual Edition 1: February 2019... -
Page 18: Using Monitor Assist Tools
This gives a visualization of what is going on with exposure across the image. There is a scale on the left hand side, overexposed elements will display as red, and underexposed elements will display as blue. Atomos Shinobi – User Manual Edition 1: February 2019... -
Page 19: Blue Only / Zoom / Grid Lines / Safe Guides / Desqueeze
Cinema Guides / Safe Areas / Anamorphic De-Squeeze To help you determine the exposure range with more accuracy, please use AtomOS 10 has advanced frame guides and safe areas. You can cycle the scale on the left hand side of the display. -
Page 20: Luts
Davinci Resolve, Photoshop or dedicated applications like LUTCalc. to create you own custom Looks that can then be imported to your Atomos device. They can provide a great base or primary grade that allow you to apply an instant look to your footage. -
Page 21: Monitor
LUT options: Monitor Before entering into the operation of HDR monitoring it is important to understand the background of HDR. We advise that you read the Atomos Compare HDR Guide to familiarise yourself with the key terms and differences During color management it’s likely that you may want to review a number between the existing Rec.709 standard dynamic range (SDR) and the... -
Page 22: Understanding Hdr And Log
The image appears washed out and desaturated as each pixel Secondly ensure you are sending a Log signal into the Shinobi so that you contains more brightness information than SDR can display, if it were to do are recording the HDR Log information (See page 19 for more info). -
Page 23: Display
Gamma control allows you to create darker and richer shadows. This may be useful when monitoring in bright daylight conditions. Gain: Gain will boost the image brightness and affect the highlights Reset: Quickly return all values to default Atomos Shinobi – User Manual Edition 1: February 2019... -
Page 24: Technical Specifications
Zoom (1:1, 2:1, 4:1), SMPTE Safe Areas, Cinema Guides, Anamorphic Desqueeze. Construction note: Shinobi is designed to operate in ambient temperatures up to 40°C/104°F. If you wish to What’s in the Box extend the temperature of operation in high temperature conditions, set the TFT brightness to a minimum. - Page 25 @atomos_news @Atomos_News /atomosglobal /AtomosVideo /atomosvideo ® © Atomos 2019. All trademarks and registered trademarks are the property of their respective owners. Atomos Shinobi – User Manual Edition 1: February 2019...
Need help?
Do you have a question about the SHINOBI and is the answer not in the manual?
Questions and answers