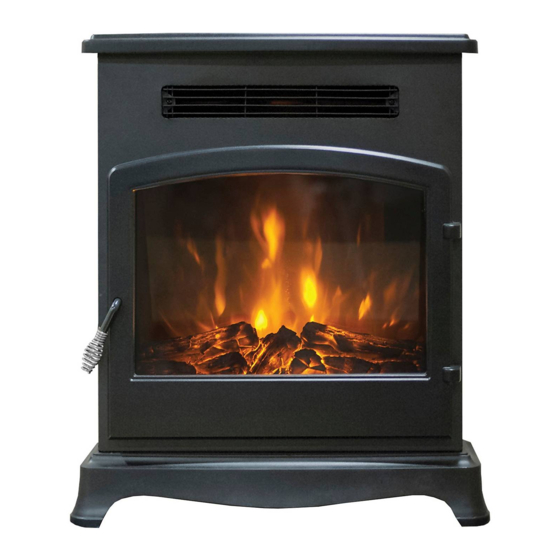
Summary of Contents for Be Modern 2646
- Page 1 INSTALLATION AND USER INSTRUCTION GUIDE Electric Stove with Remote Control Model No.: 2646 Read these instructions thoroughly before use and keep for future reference.
- Page 2 Important Safety Instructions When using this electrical appliance, basic precautions should be followed to reduce the risk of fire, electric shock and injury to persons including the following: This heater must be used on an AC supply only and the voltage marked on the heater must correspond to the supply voltage.
- Page 3 Getting Started · Remove the appliance from the box. · Remove any packaging from the appliance. · Place the packaging inside the box and either store or dispose of safely. Contents of Carton · 1 piece: Electric Heater · 2 pieces: Fixing screws ·...
- Page 4 Installation Requirements Installing appliance into a one piece back-panel no cut out (Flat Wall) Take care to measure the distance from the bottom of the appliance to the middle of the keyhole slots on the fixing rail on the rear of the stove body (Fig 4), mark and drill the back panel in the fixing location (Fig 5). Insert the two screws leaving approximately 2-3mm between the screw head and panel (Fig 6).
- Page 5 Operation Instructions The Controls ▪ Switching ON / OFF · Use the ON / OFF switch to power on the heater (set it to standby mode). · In standby mode, the heater can be operated either manually by the switches located at the top and right side of heater or by the supplied remote control.
- Page 6 ▪ Remote Operation · NOTE: The heater should be powered on using the ON/OFF switch before it can be operated using remote control. · The remote control requires 2 x AAA size batteries (Supplied). · Open the battery compartment by sliding the cover down and insert the batteries noting the polarity indicated in the battery compartment.
- Page 7 Display (Shown on appliance screen) Settings ▪ Setting weekday and time · Press the key. When the day is flashing press the ▲ or ▼ key to select the day. DAY / TIME · Press the key again, then press the + or – key to set the hour. DAY / TIME key again, then press the + or –...
- Page 8 · Press the TIMER SET key to set the off time. The hour digit starts blinking. · Press the + or – key to set the hour. · Press the TIMER SET key. The minute digit starts blinking. · Press the + or – key to set the minute. ·...
- Page 9 [no] with open window detection with distance control option [no] with adaptive start control [yes] with working time limitation [no] with black bulb sensor [no] Contact details BE MODERN LIMITED; 19/34 BEDESWAY,BEDE INDUSTRIAL EST, JARROW,TYNE AND WEAR NE32 3BE...
- Page 10 Electrical Connections - UK Plug Wiring Instruction · If the plug has to be changed because it is not suitable for your socket, or due to damage, please follow the wiring instructions shown below. · The wires in the mains lead are coloured in accordance with the following code: BROWN LIVE (L) BLUE...
- Page 11 Electric Fire Guarantee Be Modern Ltd. (the ‘Company’) provides a Twelve month guarantee in respect of electric fire (the ‘Product’) ranges. 1. The Twelve month Guarantee applies to: a. All products in the ranges manufactured by the ‘Company’ (but subject to the exceptions below): where b.


Need help?
Do you have a question about the 2646 and is the answer not in the manual?
Questions and answers