Table of Contents
Advertisement
Quick Links
Advertisement
Table of Contents

Related Manuals for PURE VR1

Summary of Contents for PURE VR1
- Page 1 OW N E R ’S M A N UA L V R 1...
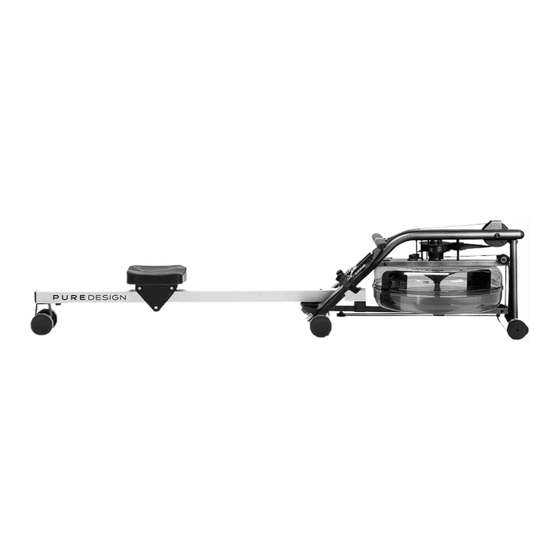
- Page 2 ASSEMBLY Congratulations on purchasing the Pure Design Fitness VR1! Please see the following pages for instructions on assembling your VR1. BITS BAG CONTENTS: Rail Cross Bolt Rail Cross Nut Rail Bolt (x2) Rear Leg Bolt (x2) 5mm Allen Key (x2)
- Page 3 Open box, remove the bits bag, seat, and rear leg from the cardboard insert. Remove the cardboard insert. Carefully pull the tank out of box. Using the Allen key, remove the stops from each side of the rail and slide the seat onto the rail (front/wider end) first.
- Page 4 Slide the rail into the gap in the footboard between the heel rests. The seat should be upwards. The rail end should slide in until the holes on the side of the rail line up with the holes behind the footboard. (You may need to lift tank to slide rail through.) Install the rail cross bolt (A) through the back of the footboard and rail and into the rail cross nut (B) (inserted into the opposite side).
- Page 5 Stand the unit up. Use the Allen key (E) to install the rail bolt and washer through the hole in the bottom of the tank sub frame, and into the rail underside. Use the Allen key (E) to firmly tighten the bolt. (D) Rail Bolt (E) Allen Key (F) Black Washer...
-
Page 6: Basic Maintenance
When the VR1 is in its upright storage position, take care it is not bumped as this may cause it to fall over. Take extra caution with children. Do not pull on the handle when the VR1 is upright. This can cause the VR1 to fall over. BASIC MAINTENANCE Periodically ensure all bolts are tight. -
Page 7: Level Gauge
VR1, as well as to assist you with proper rowing technique OPERATION The VR1 uses the effect of drag to provide an exercise which is entirely self paced. Because drag is linked to speed, a crew rowing down a river chooses its intensity of exercise simply by altering the pace at which they row. - Page 8 MAINTENANCE - CLEANING The VR1 does not require heavy maintenance. We suggest you take care of it as you would with any other piece of furniture in your home. Regularly clean the VR1 with a soft cloth dampened with water or eco-friendly cleaner.
- Page 9 MONITOR GUIDE INTRODUCTION The VR1 Monitor has been designed to balance function with user friendliness. The VR1 Monitor Display consists of 4 information windows, 2 select buttons and 3 navigation buttons. Display Windows Include: INTENSITY - Shows the intensity of exercise in various units...
-
Page 10: Information Windows
STARTING INFORMATION Please press the button to turn on the monitor. The four information windows will read zeros and be in Ready Mode. The monitor will commence monitoring as soon as you begin rowing. Note: the monitor will turn off automatically after about 2 minutes of no use. INFORMATION WINDOWS A) INTENSITY WINDOW The Intensity Window of the VR2 Monitor displays speed in units of time/500m... -
Page 11: Setting Units
SETTING UNITS Display units may be changed by pressing the button. button once to change intensity units / twice to change distance units. Press the Intensity Units • Press the U button until only the intensity digits appear along with the list of intensity units (see image below). - Page 12 SETTING WORKOUTS Workouts may be set by pressing the button. button once to set distance workouts / twice to set time workouts. Press the Distance Workouts • Press the P button until only distance digits appear along with Program Workout Distance flag (see image below) with the distance units flashing.
- Page 13 ROWING TECHNIQUE Following proper rowing technique will allow you to get the best of your VR1. The rowing action has been broken down into 3 phases and 3 positions to make it easier for you to learn the technique and we hope it will soon become second nature.
- Page 14 WARRANTY (COVERS PRIVATE AND NON-COMMERCIAL USE) The VR1 was designed to be a home use machine, and is not a commercially rated machine, therefore should only be used in a home setting. Pure Design Fitness will replace or repair at its factory or nominated service center any component found to be defective in material or workmanship for a period of ONE year from the date of initial shipment or retail purchase.
- Page 16 Please make note of your serial number which is located on the level gauge. You will need to reference this for any service or support you may need with your VR1. Store this pamphlet in a safe place for easy reference.
Need help?
Do you have a question about the VR1 and is the answer not in the manual?
Questions and answers