Advertisement
Quick Links
Quick Installation Guide
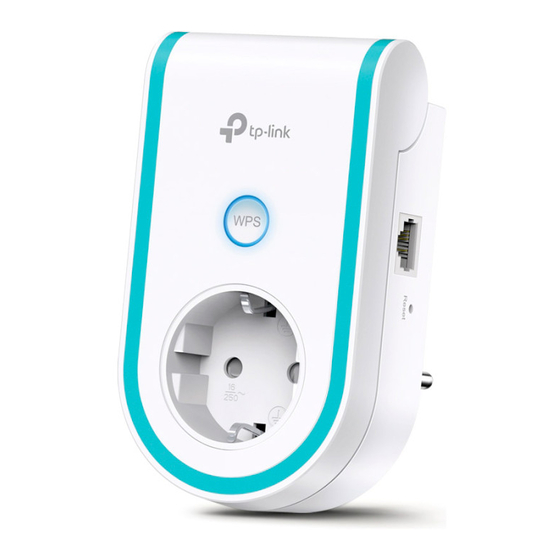
Note: RE365 (UK version) is used for demonstration in this guide.
Images may differ from actual products.
2
Connect and Extend
Method 1: Via a Web Browser
1. Connect your computer or smartphone to the
extender's network.
TP-Link_Extender_2.4GHz
TP-Link_Extender_5GHz
2. Launch a web browser, and enter
http://tplinkrepeater.net or http://192.168.0.254
in the address bar. Create a password to log in.
Note: If the login window does not appear, refer to FAQ > Q1.
http://tplinkrepeater.net
Create Password
Confirm Password
Start
3. Follow the instructions to complete the setup.
Note:
1. The Signal LED
should turn solid on. If not, refer to FAQ > Q3.
2. You can customize the network names during the setup.
3
Relocate and Enjoy
1. Plug in the extender about halfway between your router and the Wi-Fi dead
zone. The location you choose must be within the range of your host network.
2. Wait until the Signal LED turns solid blue. If it doesn't, relocate the extender
closer to the router to achieve better signal quality.
Enjoy the internet!
1
Plug the extender into a power outlet next to your router. Wait until its
Power LED turns solid on.
Method 2: Via the Tether App
1. Download the Tether app.
or
Scan for Tether
2. Connect your smartphone to the extender's
network.
TP-Link_Extender_2.4GHz
TP-Link_Extender_5GHz
3. Launch the Tether app, and select your extender.
Create a password to log in.
4. Follow the instructions to complete the setup.
Note:
1. The Signal LED
should turn solid on. If not, refer to FAQ > Q3.
2. You can customize the network names during the setup.
Power On
Power
Ethernet
On
2.4GHz
5GHz
Power
LED
Power
Method 3: Via the WPS Button
1. Press the WPS button on your router.
Tether
2. Within 2 minutes, press the WPS button on the
extender.
The extended networks share the same network
names and passwords as your router.
Note:
1. If the extender connects to a dual band router but only the
2.4GHz or 5GHz LED is on, repeat steps 1 and 2 above to
connect to the other band.
2. If the WPS method fails, or if you want to customize the
extended network names, use Method 1 or 2.
Host Network
The WPS button might
look like one of these:
WPS
The Signal LED should
change from blinking to
solid on, indicating
successful connection.
Blinking
On
Network Names:
Customized/same as host network
Passwords:
Same as host network
Extended Network
Signal LED
Blue: Suitable location
Red: Too far away
Advertisement

Related Manuals for TP-Link RE365


Summary of Contents for TP-Link RE365
- Page 1 Ethernet 2.4GHz 5GHz Power Power Note: RE365 (UK version) is used for demonstration in this guide. Images may differ from actual products. Connect and Extend Method 1: Via a Web Browser Method 2: Via the Tether App Method 3: Via the WPS Button 1.
- Page 2 LEDs turn on momentarily, then release the button. TP-Link hereby declares that the device is in compliance with the essential requirements and other relevant provisions of directives 2014/53/EU, 2009/125/EC and 2011/65/EU. The original EU declaration of conformity may be found at http://www.tp-link.com/en/ce.
Need help?
Do you have a question about the RE365 and is the answer not in the manual?
Questions and answers