Advertisement
Contents:
Notes on these installation instructions
Safety precautions
Technical specifications, waste disposal
Dimensional drawings
Possible installation positions
Installation examples
Parts supplied
Dismounting „Skalar" and installation also in new constructions
Electrical connection, wiring diagrams
Run-out setting
Filter change, cleaning
Accessory and replacement parts
Notes on these instructions
• Read these instructions carefully and completely prior to starting installation! The general safety precautions and
safety symbols with notes in the text must be observed
• When installation has been completed, pass these directions on to the user (renter, owner, block manager or
other)
Symbols in these directions:
This symbol warns on danger of injury
This symbol warns on danger of injury by electricity
Safety precautions
Danger! Assembly work is only to be carried out on the ventilator when it is separated from the line voltage!
The ventilator is protectively insulated to protective class II, the protective conductor is not needed!
Caution! Electrical connection is only to be made by authorised skilled personnel and under observance of
current VDE 0100 regulations of the German Electrical Engineering Association!
Caution! This piece of equipment is not to be operated (filter change, cleaning) by children or persons who
cannot operate it properly because of their physical, sensorial or mental ability, or their inexperience or lack of
appropriate knowledge.
Ventilators involved in off-air exhaust must always be supplied with a functioning flow-in of outside air.
Ventilator
Area 1
Area 2
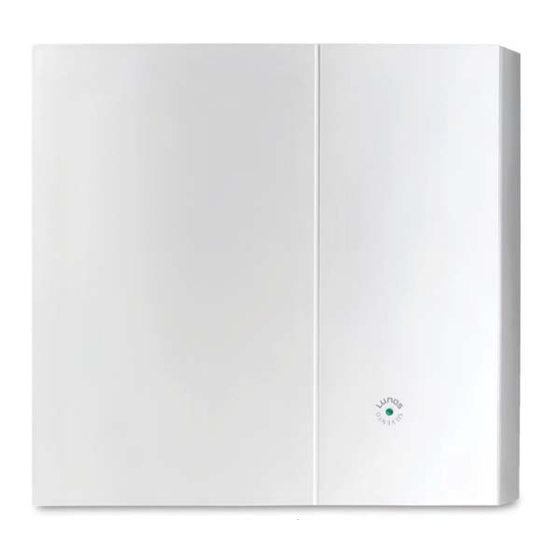
Silvento concealed variant clamped-ventilator
- Replaces Skalar-; Skalar-V...; Skalar-2V... -
The German VDE 100
regulation permits installa-
tion in bath and shower
room area 1.
2.25 mm
Installation directions
- Please pass on to the user -
Page:
1
1
2
3
3
4
5
5-7
8-9
10
10
10
Ventilator installation
as extractor hood is
not permitted here
1
Advertisement
Table of Contents

Summary of Contents for Lunos Skalar Series
- Page 1 Silvento concealed variant clamped-ventilator - Replaces Skalar-; Skalar-V...; Skalar-2V... - Installation directions - Please pass on to the user - Contents: Page: Notes on these installation instructions Safety precautions Technical specifications, waste disposal Dimensional drawings Possible installation positions Installation examples Parts supplied Dismounting „Skalar“...
-
Page 2: Area
2) Silvento KL units are complete single pipe ventilators that are clamped in the curtain wall construction. Silvento KL single pipe ventilators fit in concealed housings of LUNOS Skalar versions. 3) The updated DIN 18017-3 requires the removal of a further 15 m³ air over the ventilation system after switching off the fan. -
Page 3: Dimensional Drawings
Dimensional drawings: 32 mm Conical exhaust vent nozzle for DN 75 to DN 80 Grip 1: bis 42 mm Grip 2: ab 57 mm No grip possible bet- ween 42 and 57 mm Break off the stems (2x) for installation un 3/LB and 3/LS housings 206 mm Possible installation positioning for duct mounting... -
Page 4: Installation Examples
Installation examples UP-Clamped-ventilators can replace all build-in versions of the “Skalar” series! These installation examples are therefore only a few of many possibilities Clamping housing only With Styrofoam housing Installation in housing 3/LS With fire-protected housing 2-room ventilator Installation in housing 3/LB Installation in housing 3/LS or 3/LB 2... -
Page 5: Parts Supplied
Parts supplied Check delivery for completeness and undamaged condition! Slide nozzle with flap valve (for rising Seal (stick on when building) replacing a Skalar-V...) Ventilator insert for clamped- ventilator Filter Power supply terminal Front cover plate Pushbutton* Illuminated display* Incl. screws for connecting grid Sound insulation (not cover frame to ventilator insert with 2-room ventilators) - Page 6 Mains Connection: Fasten the power supply terminal to the mains cable as shown in the appropriate wiring dia- Top view of power gram (see “Wiring diagrams”). supply terminal Caution! The mains cable must be dead! Plug the power supply terminal on and latch on behind the notched hook Lock the power supply terminal in behind the...
- Page 7 Fixing the ventilator insert • Screw the fixing screws moderately tight with a screwdriver • The clamps come out automatically and lay themselves from behind at the curtain wall facing or in the recesses in the plaster frame of housings 3/LS, 3/LB, 3/LS 2 and 3/LB 2 •...
-
Page 8: Electrical Connection, Wiring Diagrams
Electrical connections - Wiring diagrams Safety Precautions: Caution! Carry out installation work on the ventilator only • One-step operation, switchable to 60 m when it is separated from the mains voltage! The ventilator (Ventilator types ... 30/60) is protectively insulated according to protective class II, the protective conductor connection is not needed. - Page 9 1 hour and so helps to avoid freezing of the heating. When 17°C is exceeded, it switches on again. Note: LUNOS standardly supplies an adhesive label set for marking switch positions when series switches from an installation-switch manufacturer are used.
-
Page 10: Accessory And Replacement Parts
Silvento decor plate incl. filter display Order no. 039 551 Silvento decor plate with movement detector 2/SB Order no. 039 578 LUNOS Lüftungstechnik GmbH für Raumluftsysteme Tel.: 0 30 / 36 20 01 - 0 Mail: info@lunos.de Wilhelmstr. 31-34 Fax:...


Need help?
Do you have a question about the Skalar Series and is the answer not in the manual?
Questions and answers