Advertisement
Installation instructions
Please read and follow the
'Safety and
warnings' and 'installation instructions' sections carefully before using your
rangehood.
Contents of packaging
Installation instructions User guide
manual
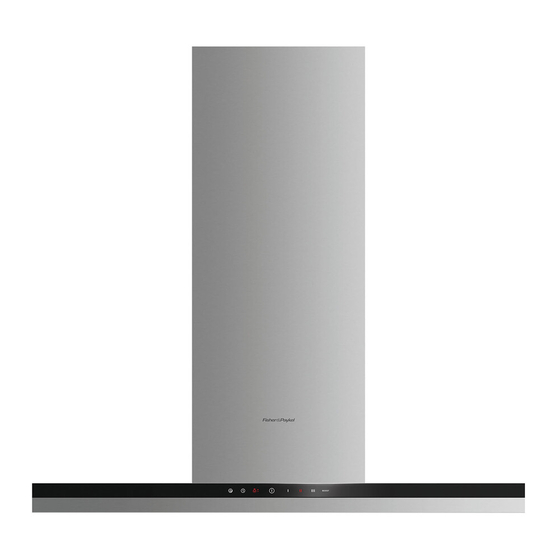
Rangehood (1)
(1)
Chimney (1)
https://producthelp.fisherpaykel.com/au/Cook/Rangehoods/Canopy/HC90DCXB3/User_Guide_HC90DCXB3/03_Installation_instructions
Updated: Wed, 06 Mar 2019 11:36:04 GMT
Powered by
1
Advertisement
Table of Contents

Summary of Contents for Fisher & Paykel HC90DCXB3
-
Page 1: Installation Instructions
Installation instructions Please read and follow the ‘Safety and warnings’ and ‘installation instructions’ sections carefully before using your rangehood. Contents of packaging Installation instructions User guide manual Rangehood (1) Chimney (1) https://producthelp.fisherpaykel.com/au/Cook/Rangehoods/Canopy/HC90DCXB3/User_Guide_HC90DCXB3/03_Installation_instructions Updated: Wed, 06 Mar 2019 11:36:04 GMT Powered by... - Page 2 Chimney bracket (1) Upper chimney (1) 150 mm diameter ducting adapter (1) 30 mm self tapping screw (8) Expansion plug (8) 10 mm self tapping screw (4) 125 mm ducting adapter (1) https://producthelp.fisherpaykel.com/au/Cook/Rangehoods/Canopy/HC90DCXB3/User_Guide_HC90DCXB3/03_Installation_instructions Updated: Wed, 06 Mar 2019 11:36:04 GMT Powered by...
- Page 3 Updated: Wed, 06 Mar 2019 11:36:04 GMT Powered by...
- Page 4 I. Distance from centre of ducting outlet to side of chimney J. Diameter of ducting outlet K. Distance between centre of lights L. Distance from centre of lights to back of product Length of power cord 1200 1200 1200 https://producthelp.fisherpaykel.com/au/Cook/Rangehoods/Canopy/HC90DCXB3/User_Guide_HC90DCXB3/03_Installation_instructions Updated: Wed, 06 Mar 2019 11:36:04 GMT Powered by...
- Page 5 N. Height top of cooktop to base of product min. 600 – max. 750 * Electric cooktop (for induction cooktop see note below) min. 650 – max. 750 Gas cooktop https://producthelp.fisherpaykel.com/au/Cook/Rangehoods/Canopy/HC90DCXB3/User_Guide_HC90DCXB3/03_Installation_instructions Updated: Wed, 06 Mar 2019 11:36:04 GMT Powered by...
-
Page 6: Venting Options
‘Operating instructions’ section on how to use the timer function. Venting options Attention should be given to ensure that any applicable regulations concerning the discharge of exhaust air are fulfilled. https://producthelp.fisherpaykel.com/au/Cook/Rangehoods/Canopy/HC90DCXB3/User_Guide_HC90DCXB3/03_Installation_instructions Updated: Wed, 06 Mar 2019 11:36:04 GMT Powered by... -
Page 7: Ducted Externally
Failure to install the screws or fixing device in accordance with these instructions may • result in electrical hazards Wear gloves to protect against sharp edges. The manufacturer is not liable for any damage caused by not following these instructions. https://producthelp.fisherpaykel.com/au/Cook/Rangehoods/Canopy/HC90DCXB3/User_Guide_HC90DCXB3/03_Installation_instructions Updated: Wed, 06 Mar 2019 11:36:04 GMT Powered by... -
Page 8: Installation
Fig.2 and 3. Use the 30 mm screws and expansion plugs if attaching to masonry. Ensure that there is a 2 mm gap between the screw head and the wall – see Fig.1. Fig. 1 https://producthelp.fisherpaykel.com/au/Cook/Rangehoods/Canopy/HC90DCXB3/User_Guide_HC90DCXB3/03_Installation_instructions Updated: Wed, 06 Mar 2019 11:36:04 GMT Powered by... - Page 9 HC60 (mm) HC90 (mm) HC120 (mm) A. Lower rangehood attachment point width B. Chimney bracket attachment point height C. Upper rangehood attachment point height 42.5 D. Lower rangehood attachment point height https://producthelp.fisherpaykel.com/au/Cook/Rangehoods/Canopy/HC90DCXB3/User_Guide_HC90DCXB3/03_Installation_instructions Updated: Wed, 06 Mar 2019 11:36:04 GMT Powered by...
- Page 10 • Place the ducting adapter onto the hood and screw it in place using the 10 mm screws. 4. Attach hood to wall • Remove filters and air flow balancing plate from hood as shown in Fig.4. https://producthelp.fisherpaykel.com/au/Cook/Rangehoods/Canopy/HC90DCXB3/User_Guide_HC90DCXB3/03_Installation_instructions Updated: Wed, 06 Mar 2019 11:36:04 GMT Powered by...
- Page 11 • Bend the tabs on the chimney (A). • Place chimney around the hood chassis and hang off the bracket (B). • Extend the upper chimney and attach to the chimney bracket with 10 mm screws (C). https://producthelp.fisherpaykel.com/au/Cook/Rangehoods/Canopy/HC90DCXB3/User_Guide_HC90DCXB3/03_Installation_instructions Updated: Wed, 06 Mar 2019 11:36:04 GMT Powered by...
- Page 12 Updated: Wed, 06 Mar 2019 11:36:04 GMT Powered by...


Need help?
Do you have a question about the HC90DCXB3 and is the answer not in the manual?
Questions and answers