Advertisement
Quick Links
)OH[*XDUG
Š
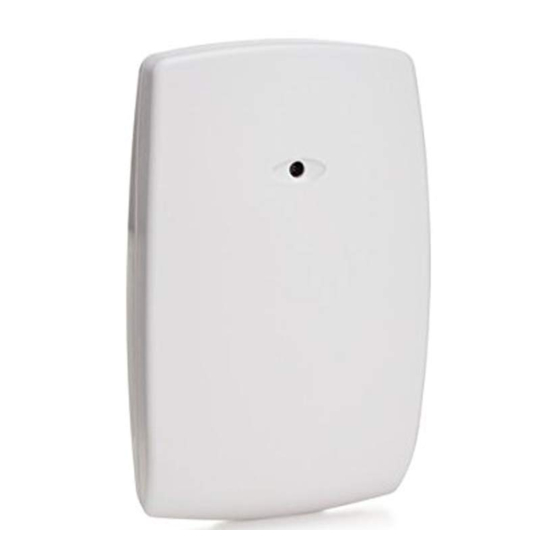
5853 Wireless Glassbreak Detector Installation Instructions
Refer to Supplemental Information (next page) for complete descriptions of these installation steps
5853 Glassbreak Detector Internal Parts
Latch
Mounting Hole
Front Tamper Switch
Microphone
Wall Tamper (behind battery)
Sensitivity Switches
Batteries
Test Mode pads (on PCB)
Mounting Hole
LED Indicators
Front Cover
Break out flash
for cover screw
Connect Batteries
Remove pull tab to connect batteries
Select Mounting Location
Wall Mount
(Top View)
Avoid mounting within
0.3m (1 ft.) of a corner
Ceiling Mount: (Side View)
5-051-735-00BX
Set Sensitivity (Range)
SENS1 & SENS2 configure sensitivity
SENSITIVITY
APPROXIMATE
MAX
25 ft (7.6m)
MEDIUM
15 ft (4.6m)
LOW
LOWEST
5 ft (1.5m)
Enroll Detector
Refer to text and control panel's installation
instructions.
When programming the transmitter, specify:
•
Input Type = 3 (Supervised RF)
•
Loop Number = 1
Mount Detector
•
Use mounting holes as a template to mark
mounting locations on ceiling or wall.
•
If using the optional wall tamper, remove
the batteries, then mark the rear tamper
location through its mounting hole.
•
Mount detector using appropriate hardware.
•
Close detector cover when finished.
#6 x 1-1/2"
#6 x 1-1/2"
Test Detector Installation
Enter Test Mode using GBS-7 (see text). To enter
Test Mode manually, short Test Mode pads (as below).
WallMount_001-V0
TEST
CeilingMount_001-V0
ON
OFF
SENS1
SENS2
RANGE
OFF
OFF
ON
OFF
10 ft (3m)
OFF
ON
ON
ON
#6 x 1"
Optional Tamper Screw
TEST
Page 1
Install Cover Screw (optional)
®
5853_006-V0
Advertisement

Related Manuals for ADEMCO FlexGuard 5853


Summary of Contents for ADEMCO FlexGuard 5853
- Page 1 )OH[*XDUG Š 5853 Wireless Glassbreak Detector Installation Instructions Refer to Supplemental Information (next page) for complete descriptions of these installation steps 5853 Glassbreak Detector Internal Parts Set Sensitivity (Range) Install Cover Screw (optional) Latch Mounting Hole Front Tamper Switch Microphone Wall Tamper (behind battery) Sensitivity Switches Batteries...
- Page 2 Press the red START button. The simulator refer to the control panel’s instructions to enroll the serial clicks on and starts an eight-second armed Two 3 V Batteries (included). Replace only with ADEMCO # ID number which appears on the product. period.
Need help?
Do you have a question about the FlexGuard 5853 and is the answer not in the manual?
Questions and answers